

You start a print, walk away, and come back to find the whole thing curled up at the corners or slid clean across the bed. It’s one of the most common frustrations in this hobby, and it hits beginners and veterans alike.
The good part? Learning how to improve 3D printer bed adhesion is one of the most rewarding fixes you can master. It solves more failed prints than almost any other single skill.
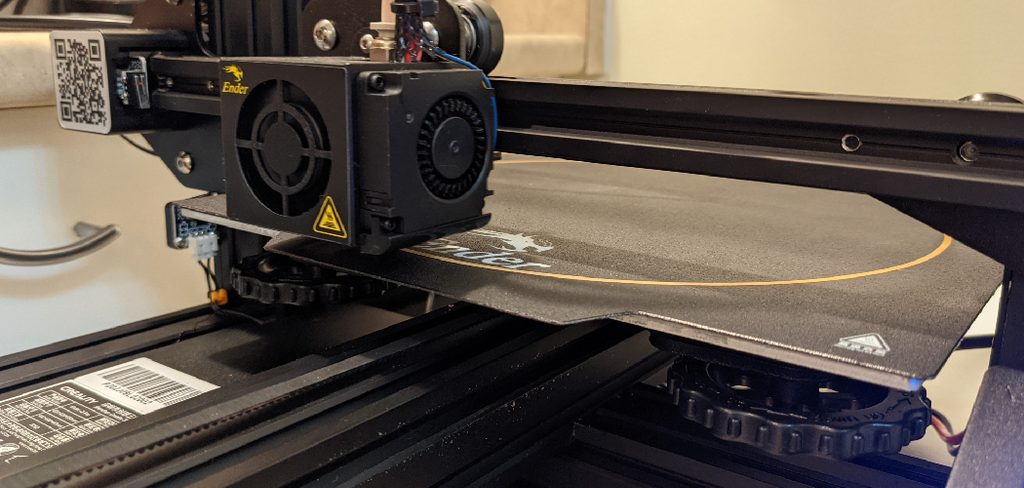
Better still, it rarely costs a thing. Strong adhesion comes from a handful of simple habits and settings, not expensive upgrades or fancy gear.
In this guide, I’ll walk you through what actually causes prints to lift, the different bed surfaces you might be working with, and a step-by-step process to lock that first layer down. We’ll also cover slicer settings, material-specific tips, and the mistakes worth sidestepping.
Why Bed Adhesion Matters
It’s tempting to treat adhesion as an afterthought. The print either sticks or it doesn’t, right?
But that first layer sets the tone for everything above it. Get it right, and the rest of the print usually follows without drama. Get it wrong, and you’re courting failure from the very first pass.
Preventing Failed and Wasted Prints
Here’s the most obvious payoff. A print that lifts mid-job is a print you’ve lost, along with the filament and hours that went into it.
Poor adhesion is behind a huge share of failed prints. When the base detaches, everything above it warps, shifts, or collapses into a stringy mess. Fixing adhesion means fixing most of those failures at their source.
Protecting Print Quality
Even a print that technically sticks can suffer from weak adhesion. Corners that lift slightly pull the layers out of alignment, leaving warped edges and a base that never sits flat.
A firmly anchored first layer keeps the geometry true from bottom to top. That flat, even foundation shows up in the final quality more than people expect.
Saving Time and Frustration
There’s a quieter benefit too. When adhesion is dialed in, you stop hovering over the printer during that nerve-wracking first layer.
You can start a long print, walk away, and actually trust it. That confidence is worth a lot, especially for overnight jobs. A little attention to adhesion now spares you a pile of restarts later.
Understanding Different Bed Surfaces
Not all print beds behave the same. The surface under your print shapes how you approach adhesion, so it helps to know what you’re working with.
Match your method to your surface, and half the battle is already won.
Glass and Borosilicate Beds
Glass gives you a wonderfully smooth, flat finish on the bottom of your prints. It’s rigid, easy to clean, and produces a glossy underside that many people love.
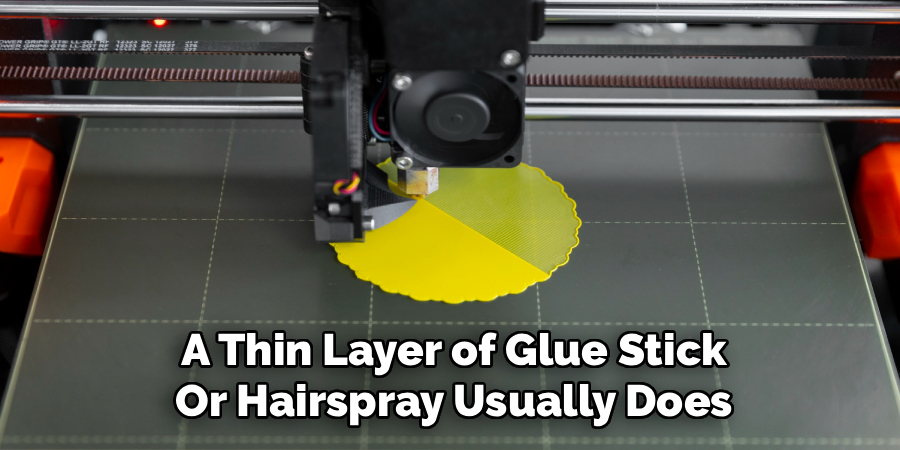
The trade-off is grip. Bare glass can be slick, so it often needs a little help. A thin layer of glue stick or hairspray usually does the trick, giving the print something to hold onto.
PEI Sheets, Smooth and Textured
PEI has become a favorite for a reason. It grips prints strongly when hot and tends to release them as it cools, which feels almost magical the first time.
Smooth PEI leaves a shiny bottom, while textured PEI gives a subtle matte finish and even stronger mechanical grip. Both work with minimal fuss. Often a clean surface is all you need, no adhesives required.
Flexible and Magnetic Build Plates
Spring-steel and magnetic plates solve one of printing’s most annoying problems: removal. You just pop the plate off, flex it, and the print snaps loose.
Their coatings vary, though. Some are PEI-backed, others use different textures, and the stickiness shifts accordingly. Once you learn how your particular plate behaves, they’re a joy to use.
BuildTak and Specialty Coatings
Then there are dedicated surfaces built for tricky materials. BuildTak and similar coatings offer aggressive grip, which helps with warp-prone filaments.
Each has its own strengths and quirks worth knowing before you buy. For most everyday printing, they may be more than you need, but for stubborn materials, they earn their keep.
Preparing Your Bed for Success
Before you touch a single setting, a bit of prep makes adhesion almost automatic. These are the habits that quietly prevent problems.
Skip them, and even perfect settings can fall short.
Cleaning the Surface Properly
This is where I’d start every time. Wipe the bed down with isopropyl alcohol and a lint-free cloth before important prints.
Oils, dust, and old residue create an invisible barrier between the filament and the bed. Fingerprints alone can ruin adhesion in a spot. A clean surface fixes more sticking problems than any other single step, honestly.
Leveling and Setting the Z-Offset
Next comes leveling, which shapes how evenly that first layer lands. Use the paper-drag method, adjusting each corner until you feel a light, consistent resistance under the nozzle.
Then fine-tune your Z-offset so the first layer presses down just enough to spread and bond. Too high and the lines sit round and loose. Too low and they smear. We’ll walk through both in detail shortly.
Choosing the Right Adhesive Helper
Sometimes the surface needs a little assist, and that’s fine. Glue stick, hairspray, and specialty adhesion sprays each have their place.
The trick is knowing when to reach for them. A slick glass bed benefits from glue stick, while a warp-prone material might call for a stronger spray. On a good PEI sheet, you may need nothing at all.
How to Improve 3D Printer Bed Adhesion: Step-by-Step Guide
Here’s the heart of it. Work through these eight steps in order, since each one builds on the last. A clean, level bed comes first for a reason, and skipping ahead usually means circling back.
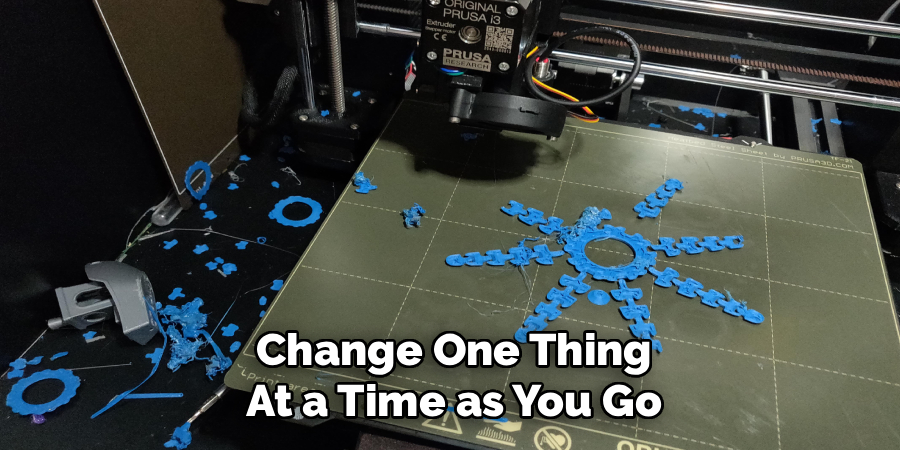
Change one thing at a time as you go. That habit makes it far easier to spot what actually solved your problem.
Step 1: Clean Your Print Surface
Start every important print with a wipe-down. Isopropyl alcohol on a lint-free cloth removes the oils and dust that quietly sabotage adhesion.
Give it a moment to dry, then avoid touching the surface with bare hands. Skin oils undo the work instantly. This single step alone fixes a surprising number of sticking problems, so never rush it.
Step 2: Level the Bed Carefully
With the surface clean, home the printer and level each corner. Slide a sheet of paper under the nozzle and adjust until you feel a light drag.
Aim for that same resistance across every corner. A level bed keeps the first layer even, so no area sits too high to stick. It’s tedious, but it’s the foundation everything else depends on.
Step 3: Dial In the Z-Offset
Now fine-tune the gap between nozzle and bed. You want the first layer squished just enough to spread into flat, connected lines.
Print a small first-layer test and watch closely. Lines that look round and separate mean the nozzle sits too high. Lines that turn translucent and rough mean it’s too low. A well-set Z-offset anchors the whole print.
Step 4: Set the Right Bed Temperature
Heat matters more than beginners realize. Match your bed temperature to the filament, around 60 degrees for PLA, higher for PETG and ABS.
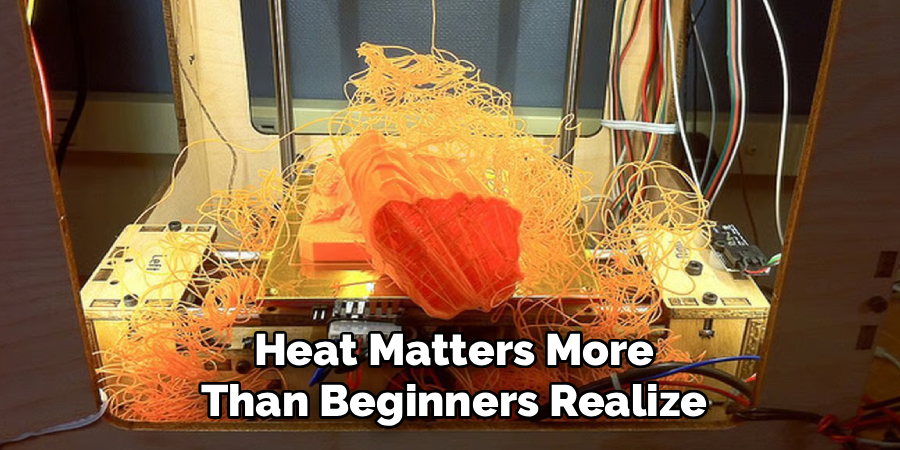
A warm bed keeps the first layer soft enough to bond and resist curling as it cools. Set it too cool, and the print lifts before it’s had a chance to grip. When in doubt, nudge it up a few degrees.
Step 5: Slow Down the First Layer
Here’s a change people overlook. Drop your first-layer print speed in the slicer, often to around 20 millimeters per second.
A slower first layer gives the filament time to settle onto the surface and grip firmly. Rushing it leaves the plastic barely touching before the head moves on. Speed the rest of the print up if you like, but let that first layer take its time.
Step 6: Adjust First-Layer Height and Flow
For extra grip, tweak how much material goes down first. A slightly taller first-layer height and a small bump in flow press more filament into the bed.
That fuller first layer creates a stronger foundation for everything above it. You don’t need to overdo it. A modest increase is often enough to turn a marginal grip into a solid one.
Step 7: Add Adhesion Helpers and Bed Aids
If the print still struggles, bring in reinforcements. A thin layer of glue stick or a light mist of hairspray adds grip on slick surfaces.
For tall, large, or small-footprint models, enable a brim or a raft in your slicer. A brim adds a ring of grip around the edges, while a raft gives a fresh base for uneven beds. These helpers shine on the trickiest prints.
Step 8: Run a Test Print and Refine
Finally, confirm your work with a small first-layer test print. Watch how those initial lines lay down and whether they hold.
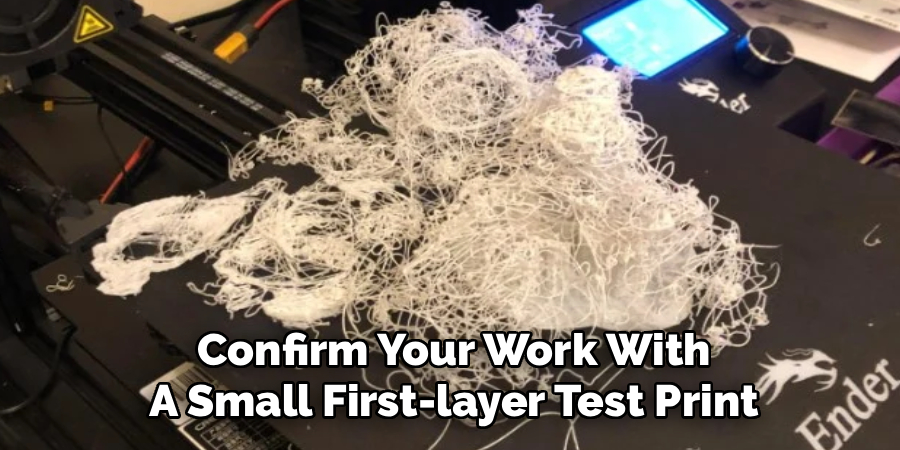
If the layer looks strong and even, you’re set. If not, adjust one setting, reprint, and check again. Once it sticks perfectly, save your winning values so you don’t have to rediscover them next time.
Best Slicer Settings for Strong Adhesion
Hardware is only half the story. Your slicer holds several settings that can turn a marginal grip into a rock-solid one.
A few thoughtful tweaks here make a real difference, especially on difficult models.
Using Brims and Rafts Wisely
A brim adds a thin skirt of plastic connected to the print’s edges. That extra contact area fights the corner-lifting that plagues tall or warp-prone parts.
A raft goes further, laying a full base beneath the model. It’s ideal for uneven beds or delicate prints with tiny footprints. Both add cleanup afterward, so use them where the grip actually justifies it.
Tuning First-Layer Speed and Temperature
We touched on this in the steps, but it’s worth repeating as a slicer habit. Slowing the first layer and warming it slightly helps filament bond right from the start.
Many slicers let you set a separate temperature and speed just for that opening layer. Take advantage of it. A hotter, slower first layer often solves adhesion issues no other setting can.
Adjusting Initial Layer Line Width
Here’s a lesser-known lever. Widening the first-layer line width lays down more material per pass, boosting contact with the bed.
A line width of 120 percent or so gives the base extra grip without affecting the rest of the print. It’s a small change with an outsized effect on how firmly that foundation holds.
Adhesion Tips for Different Materials
Every filament sticks a little differently. What works beautifully for PLA might frustrate you with ABS, so it pays to tailor your approach.
Here’s how the common materials tend to behave.
PLA for Easy, Reliable Sticking
PLA is the forgiving one. A clean bed at around 60 degrees usually gets it to stick with no extra effort.
You rarely need adhesives for PLA on a decent surface. If it’s lifting, the culprit is almost always a dirty bed or a first layer sitting too high. Fix those, and PLA behaves.
PETG and Its Sticky Balance
PETG grips strongly. Sometimes too strongly, to the point where it bonds to a bare surface and refuses to let go without damage.
Here’s the counterintuitive trick: a thin layer of glue stick can act as a release agent, protecting your bed while still holding the print. It’s less about adding grip and more about controlling it. Slightly cooler bed temperatures help too.
ABS and Warp-Prone Filaments
ABS is the challenging one. It needs a hot bed, often around 100 degrees, plus an enclosure to keep drafts and cold air away.
Even then, warping is a constant threat as the material cools and contracts. An adhesive like ABS slurry or a strong spray fights the curling. Brims help enormously here too. ABS rewards patience and a controlled environment more than any other common filament.
Common Bed Adhesion Mistakes to Avoid
Everyone stumbles a little while chasing good adhesion. These are the missteps I see most, and each is easy to sidestep once you know it’s coming.
No judgment here. I’ve made all of them at some point.
Touching the Bed With Bare Hands
This one’s sneaky. You clean the bed perfectly, then press it flat with your fingers, leaving oily prints exactly where the filament needs to grip.
Those invisible spots stop adhesion cold. Handle the plate by its edges, and clean it again if you’ve touched the surface. It’s a small habit that prevents a maddening problem.
Skipping Regular Cleaning
A bed that worked great last month can slowly lose its grip. Residue builds up over time, coating the surface in a thin film you can’t quite see.
So don’t assume a once-clean bed stays clean. A quick alcohol wipe before important prints keeps the grip consistent. Neglect it, and adhesion quietly degrades until prints start failing again.
Setting the Nozzle Too High
A first layer printed too far from the bed barely makes contact. The lines sit rounded and loosely spaced, gripping almost nothing.
This traces straight back to Z-offset and leveling. If your prints lift despite a clean, warm bed, the nozzle is probably sitting too high. Lower it a touch until the first layer spreads and bonds.
Frequently Asked Questions
A few questions come up again and again once people start troubleshooting adhesion. Here are honest answers.
Why Does My Print Keep Lifting at the Corners?
Corner warping is one of the most common complaints. It usually points to a bed that’s running too cool or an environment with drafts pulling heat away as the print cools.
The first layer might also be sitting too high to grip firmly. Try a warmer bed, a slower first layer set slightly lower, and a brim for extra edge grip. For warp-prone materials, an enclosure helps too.
Do I Really Need Glue Stick or Hairspray?
Not always. Many surfaces, especially PEI, hold prints beautifully with nothing but a clean wipe-down.
Adhesives earn their place with specific challenges: large prints, warp-prone filaments, slick glass beds, or models with tiny footprints. Reach for them when a print fights you, not as a default. Sometimes they even prevent PETG from bonding too aggressively.
What Bed Temperature Should I Use?
It depends on the filament. PLA generally likes around 60 degrees, PETG sits comfortably around 70 to 80, and ABS wants roughly 100.
Treat these as starting points rather than fixed rules. Different brands and colors can shift the ideal by a few degrees. If corners lift, nudge the temperature up and see whether it helps.
Conclusion
Learning how to improve 3D printer bed adhesion turns one of printing’s biggest frustrations into a solved problem. What once felt like random failure becomes a first layer that grips firmly and finishes reliably, print after print.
Success comes from a clear sequence. Clean and level the bed, dial in your temperature and Z-offset, slow that first layer down, and add helpers only when a print genuinely needs them.
A few habits carry you the rest of the way. Keep the surface clean, match your settings to the filament, and handle the plate by its edges rather than its face.
So start with a clean bed and careful leveling, since those two steps solve the majority of adhesion woes. Run a quick first-layer test, make one change at a time, and watch that foundation lock into place. There’s a real satisfaction in walking away from a print and trusting, completely, that it’ll still be there when you get back.

About
Zevric Halden is a dedicated expert in the world of 3D printing, printer repair, and additive manufacturing, with years of hands-on experience troubleshooting, maintaining, and optimizing desktop 3D printers. His professional focus lies in combining practical mechanical knowledge with modern 3D printing technologies to help users solve printer problems, improve print quality, and keep their machines running reliably. As the author of 3DMend, Zevric explores the technical side of 3D printing, making complex printer issues easier to understand for makers, hobbyists, and professionals alike.
Education
Rochester Institute of Technology
(Rochester, New York, USA)
Associate Degree in Mechanical & Manufacturing Technology
- Focused on mechanical systems, manufacturing processes, machine maintenance, and precision tools.
- Developed practical experience with mechanical troubleshooting, electronic components, and computer-controlled equipment.
- Gained hands-on knowledge of CAD systems, rapid prototyping, and additive manufacturing technologies.
Worcester Polytechnic Institute
(Worcester, Massachusetts, USA)
Bachelor’s in Mechanical Engineering & Additive Manufacturing
- Specialized in digital fabrication, 3D printing systems, mechanical design, and manufacturing technologies.
- Studied printer calibration, motion systems, extrusion mechanisms, material behavior, and print optimization.
- Participated in practical engineering projects involving rapid prototyping, machine diagnostics, and 3D-printed components.
Publications and Impact
Through 3DMend, Zevric shares his expertise on 3D printer troubleshooting, maintenance, calibration, hardware repair, print-quality issues, and additive manufacturing. His writing focuses on turning frustrating printer problems into clear, practical solutions that readers can understand and apply.
From nozzle clogs and extrusion problems to bed-leveling issues, calibration errors, overheating, unusual noises, failed prints, and mechanical wear, Zevric’s guides are designed to help users identify the underlying cause rather than simply treating the symptoms.
His work bridges the gap between technical engineering knowledge and everyday 3D printing, making reliable repair and maintenance information accessible to everyone—from first-time 3D printer owners and hobbyists to experienced makers and professionals.