

To connect an Ender 3 to your PC, plug the printer into your computer with a USB cable, install the right driver (usually CH340), then open slicing software like Cura. Pick the correct COM port and baud rate (115200), and your PC will talk to the printer directly.
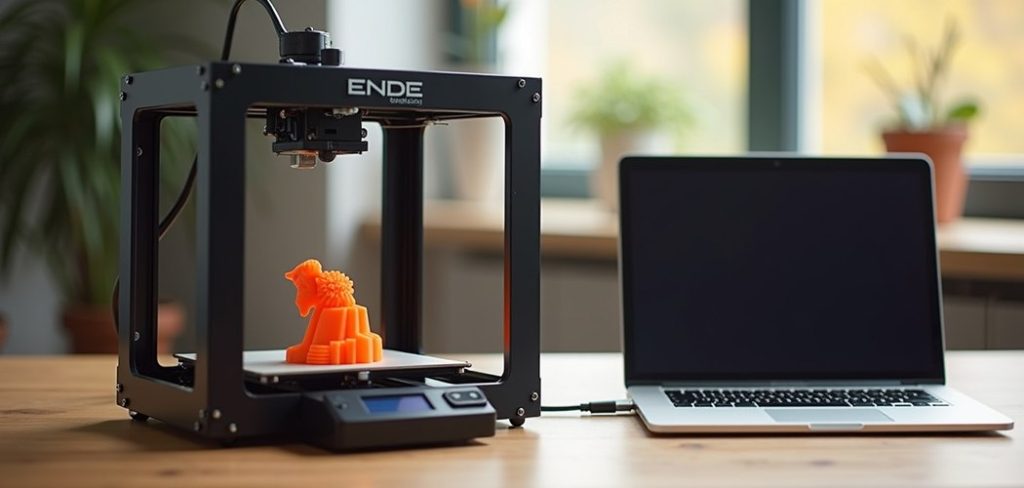
You’ve unboxed your new Ender 3. Maybe you’ve already run a few prints straight off the SD card. That method works. But it’s a bit like shuttling files around on a floppy disk when you could just plug in and go.
Connecting the printer directly to your computer changes how you work with it. Prints go out instantly. You can watch progress unfold in real time.
And tweaking a setting no longer means ejecting a card, walking to your desk, and walking back.
Here’s the part that surprises most people: it isn’t nearly as fiddly as it sounds. A decent cable, one small driver, a handful of clicks in your slicer—and you’re done, usually inside ten minutes. What follows walks through each step.
I’ve also thrown in troubleshooting notes and a few safety pointers, because things do occasionally go sideways, and it helps to know why.
In this guide on how to connect ender 3 to pc, we will cover the step-by-step process of connecting your Ender 3 printer to your computer.
Understanding the Ender 3 PC Connection
The Ender 3 runs on a mainboard that speaks to your computer over USB.
Plug it in, and your PC treats the printer as a serial device—rather like an old peripheral chatting away over a COM port.
That connection is what lets you push G-code straight to the machine, jog the print head around, and kick off a print without an SD card anywhere in sight.
Most Ender 3 boards lean on a small chip called the CH340 to manage that USB conversation. Here’s the catch.
Windows doesn’t always spot this chip on its own, which is why you might have to install a driver by hand.
Sort that out, and your slicing software can suddenly “see” the printer and take the reins.
What You Need Before You Start
A little prep saves a lot of grumbling. Round up these few things first, and the rest tends to fall into place.
USB Cable
Depending on your board revision, the Ender 3 usually takes a USB-A to Mini-USB or Micro-USB cable.
Check which port sits on your printer before you dig through the drawer of tangled cables everyone seems to own. One more thing worth stressing: use a data-capable cable.
Some of the cheaper ones only push power, and a power-only cable will leave you puzzled for ages.
CH340 Driver
As mentioned, most Ender 3 boards use the CH340 chip. You can grab the driver for free from the manufacturer’s site or from well-regarded 3D printing communities. Windows 10 and 11 will sometimes install it for you, though not always—so keeping a copy tucked away on your machine is a sensible habit.
Slicing Software
You’ll want slicing software such as Ultimaker Cura or PrusaSlicer, or a host program like Pronterface or OctoPrint. Cura tends to be the go-to free choice, and it plays nicely with the Ender 3 out of the box.
A Windows or Mac Computer
Almost any modern PC or Mac handles this fine. Just make sure it has a free USB port and a bit of room to install whichever software you settle on.
7 Simple Steps on How to Connect Ender 3 to PC
Step 1: Gather Your Cable and Check the Port
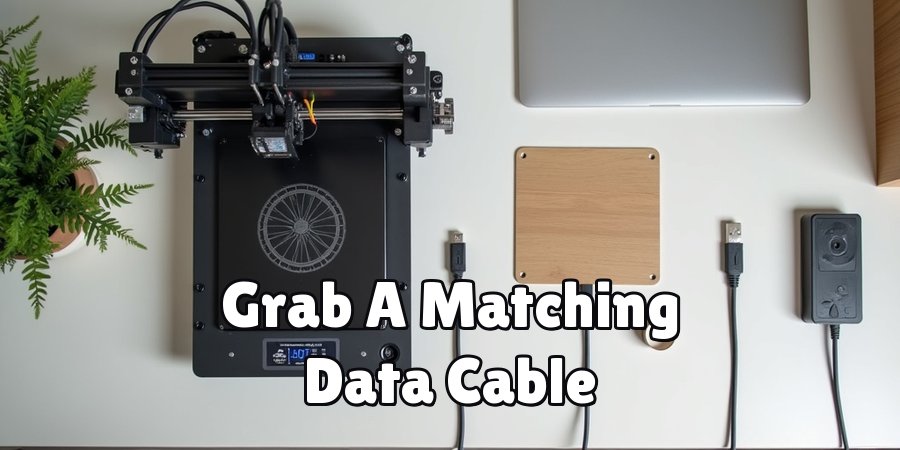
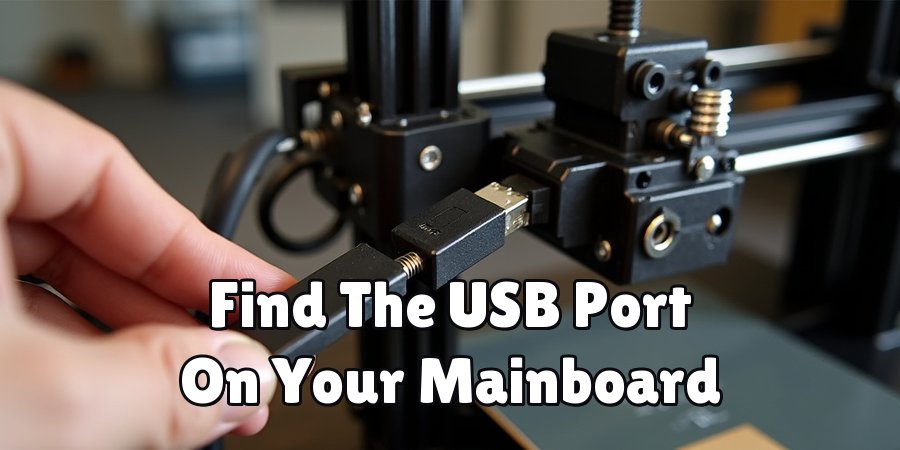
Find the USB port on your Ender 3 mainboard—typically tucked on the side of the control box. Work out whether it’s Mini-USB or Micro-USB, then grab a matching data cable.
Step 2: Install the CH340 Driver
Download the CH340 driver and run the installer. Follow the prompts, and restart the computer if it nudges you to. This is what lets Windows recognize your printer properly.
Step 3: Connect the USB Cable
Push one end of the cable into your Ender 3 and the other into your computer. You’ll often hear that little connection chime, and the printer’s screen should light up if it wasn’t already on.
Step 4: Confirm the COM Port
Open Device Manager in Windows and expand the “Ports (COM & LPT)” section. Look for something labeled “USB-SERIAL CH340” with a COM number beside it. Jot that number down—you’ll want it shortly.
Step 5: Install and Open Cura
Download Ultimaker Cura, install it, and add the Ender 3 as your printer during setup. Cura ships with a ready-made Ender 3 profile, so this bit barely takes a minute.
Step 6: Set the Baud Rate
Head into Cura’s connection settings, choose the right COM port, and set the baud rate to 115200. That’s the standard speed for Ender 3 communication, and sticking to it helps head off dropped connections.
Step 7: Test the Connection
Fire off something simple—homing the print head is a good test—to check everything’s talking. If the printer obeys, you’re connected and ready to print straight from your PC.
Work through these steps on how to connect ender 3 to pc in order. A stable connection should follow.
Troubleshooting Connection Problems
When your PC flat-out refuses to acknowledge the Ender 3, the cable is nearly always the first suspect. Swap it for one you know carries data, not just power.
After that, pop open Device Manager and confirm the CH340 driver actually installed. A yellow warning triangle sitting next to the device is your sign that the driver needs another go.
Still nothing? Try a different USB port. Ideally, one wired straight to the motherboard rather than a front-panel socket or a hub, since those can be flaky.
Restarting both the printer and the computer clears up temporary hiccups more often than you’d expect.
And if Cura still won’t connect, go back and check that the COM port and baud rate line up exactly with what your printer expects—a small mismatch there causes surprisingly big headaches.
USB Connection Safety Tips
It’s worth thinking about the safety of your gear during a wired setup. Ground loops and small voltage differences between devices can occasionally introduce interference, and in rare cases they may even harm the mainboard. A quality shielded USB cable helps cut down on electrical noise and keeps the link steady.
One habit to avoid: yanking the cable in or out while a print is running. That can interrupt the job or throw errors that ruin an otherwise good print.
Keeping your printer’s firmware current is a good idea too. And though it’s tempting, never walk away and leave a PC-controlled print completely unattended—a stable, well-managed setup protects the hardware and whatever you’re printing.
Alternative Ways to Control an Ender 3
A direct USB link isn’t the only game in town. Plenty of makers swear by OctoPrint, a free tool that runs on a Raspberry Pi.
It hands you wireless control over your home network, lets you keep an eye on prints through a webcam, and manages jobs from more or less any device—no cable snaking across the desk.
There are other routes worth weighing. Some people upgrade the mainboard or bolt on a Wi-Fi module for remote access. Others happily stay with the humble SD card for offline printing, and honestly, there’s nothing wrong with that. Which one suits you comes down to your workflow, your budget, and how much you enjoy tinkering.
Frequently Asked Questions
Q1: Do I Need a Special Cable to Connect My Ender 3?
A1: You need a data-capable USB cable that matches your board’s port—usually Mini-USB or Micro-USB. Charge-only cables won’t move data, so your PC won’t spot the printer at all.
Q2: Why Isn’t My PC Detecting the Ender 3?
A2: Usually it comes down to a missing CH340 driver, a charge-only cable, or a dud USB port. Reinstall the driver, switch the cable, and try a different port to work through it.
Q3: Can I Control the Ender 3 Without a USB Cable?
A3: Yes. OctoPrint on a Raspberry Pi gives you wireless control, and a Wi-Fi-enabled mainboard offers much the same freedom. The SD card is still a dependable offline fallback.
Q4: What Are Some Common Problems With 3D Printing?
A4: Some common problems with 3D printing include:
These issues can be caused by a variety of factors, such as incorrect printer settings, filament quality, or mechanical issues with the printer. Troubleshooting and adjusting these factors can help resolve these common problems.
- Warping or cracking of the printed object
- Layer shifting during the printing process
- Poor adhesion to the print bed
- Clogged or jammed extruder nozzle
- Filament tangling or breaking during printing
Conclusion
Wiring your Ender 3 to a PC opens up smoother, more flexible printing.
With a good cable, the CH340 driver, and a slicer like Cura, you can send prints directly, watch how they’re going, and adjust settings without ever reaching for an SD card.
Once you know the steps, the whole thing takes only a few minutes.
And if it goes wrong? Most snags trace back to the cable, the driver, or the COM port settings—so start there.
When you feel like pushing further, something like OctoPrint brings wireless control and remote monitoring into the mix. Whichever path you take, you’re now set up to get more out of your Ender 3.
Thanks for reading this guide on how to connect ender 3 to pc.

About
Zevric Halden is a dedicated expert in the world of 3D printing, printer repair, and additive manufacturing, with years of hands-on experience troubleshooting, maintaining, and optimizing desktop 3D printers. His professional focus lies in combining practical mechanical knowledge with modern 3D printing technologies to help users solve printer problems, improve print quality, and keep their machines running reliably. As the author of 3DMend, Zevric explores the technical side of 3D printing, making complex printer issues easier to understand for makers, hobbyists, and professionals alike.
Education
Rochester Institute of Technology
(Rochester, New York, USA)
Associate Degree in Mechanical & Manufacturing Technology
- Focused on mechanical systems, manufacturing processes, machine maintenance, and precision tools.
- Developed practical experience with mechanical troubleshooting, electronic components, and computer-controlled equipment.
- Gained hands-on knowledge of CAD systems, rapid prototyping, and additive manufacturing technologies.
Worcester Polytechnic Institute
(Worcester, Massachusetts, USA)
Bachelor’s in Mechanical Engineering & Additive Manufacturing
- Specialized in digital fabrication, 3D printing systems, mechanical design, and manufacturing technologies.
- Studied printer calibration, motion systems, extrusion mechanisms, material behavior, and print optimization.
- Participated in practical engineering projects involving rapid prototyping, machine diagnostics, and 3D-printed components.
Publications and Impact
Through 3DMend, Zevric shares his expertise on 3D printer troubleshooting, maintenance, calibration, hardware repair, print-quality issues, and additive manufacturing. His writing focuses on turning frustrating printer problems into clear, practical solutions that readers can understand and apply.
From nozzle clogs and extrusion problems to bed-leveling issues, calibration errors, overheating, unusual noises, failed prints, and mechanical wear, Zevric’s guides are designed to help users identify the underlying cause rather than simply treating the symptoms.
His work bridges the gap between technical engineering knowledge and everyday 3D printing, making reliable repair and maintenance information accessible to everyone—from first-time 3D printer owners and hobbyists to experienced makers and professionals.