

Your print finishes, the printer beeps, and there it sits. Perfect on top, but hugged all around the base by that thin plastic skirt refusing to let go.
That little ring is a brim, and it did its job holding your print down. Now it just needs to come off cleanly. The good news is that learning how to remove brim from 3D print parts is quick and painless once you know the right moves.
You don’t need special equipment either. A few basic tools and a bit of patience get you a clean, professional-looking edge every time.
In this guide, I’ll cover why brims exist in the first place, the different types you might run into, and a step-by-step process to remove one without scarring your print. We’ll also get into best practices, common mistakes, and how to adjust your approach for different materials.
Why Brims Are Used in 3D Printing
Before you peel that skirt away, it helps to understand what it was doing there. A brim isn’t clutter. It’s a deliberate helper the slicer adds to keep a print from failing.
Knowing its purpose makes the removal feel less like an afterthought and more like the final step of a job done right.
Improving First-Layer Adhesion
Here’s the main reason. A brim adds extra surface area around the base of your print, giving it a wider footprint to grip the bed.
That added contact fights the tendency of prints to lift mid-job. Especially with small or tricky models, a brim can be the difference between a finished part and a curled-up mess.
Preventing Warping and Curling
Some materials shrink as they cool, and that shrinkage pulls the corners upward. It’s one of the more frustrating ways a print goes sideways.
A brim holds those corners down while the print cools. By anchoring the edges, it keeps them flat instead of letting them peel away from the bed.
Stabilizing Small or Tall Prints
Thin, tall, or small-footprint models have a habit of toppling mid-print. A tiny base simply doesn’t offer much to stand on.
A brim widens that base considerably, giving the model a steadier foundation. It’s a bit like adding training wheels for a print that would otherwise wobble.
Understanding the Types of Brims
Not every brim comes off the same way. Before you start prying, it’s worth figuring out what you’re actually dealing with.
The type of brim and how it compares to similar helper shapes your whole removal approach.
Standard Single-Layer Brims
This is the one you’ll see most often. A thin ring of plastic, just one layer tall, tracing the outline of your print’s base.
Single-layer brims tend to peel away with light effort. Often you can lift an edge and pull the whole thing off in one satisfying piece.
Multi-Layer or Thick Brims
Sometimes you’ll set a brim to several layers for extra hold, especially on stubborn prints. That added thickness clings much harder.
These rarely peel cleanly. You’ll usually need cutting tools rather than your fingers, since a thick brim resists the gentle tug that removes a thin one.
Brims Versus Skirts and Rafts
It’s easy to mix these up, so a quick clarification helps. A skirt sits separate from the print entirely, drawn as a loop around it to prime the nozzle, so it lifts right off with no attachment.
A raft, by contrast, sits underneath the whole print as a base layer. It comes off differently again, peeling from the bottom rather than the sides. A brim connects to the outer edge, which is what makes it the trickiest of the three to remove neatly.
Tools You Will Need to Remove a Brim
The nice thing about brim removal is how little it asks of you. Most of these tools are probably already sitting on your workbench.
Gathering them first keeps you from stopping halfway to hunt something down.
Flush Cutters and Snips
These are your go-to tools. Flush cutters slice cleanly right along the brim edge, giving you control instead of forcing you to yank.
For thicker or more stubborn brims, they’re close to essential. A good pair makes the difference between a tidy cut and a torn, ragged edge.
Hobby Knife or Deburring Tool
A sharp blade earns its keep on the fiddly bits. A hobby knife trims tight spots the cutters can’t reach, and a deburring tool cleans up leftover nubs along the base.
Both work best with a light, patient hand. Rushing a knife near your print is how accidents happen, so take it slow.
Sandpaper and Finishing Supplies
Once the bulk of the brim is gone, a little fine-grit sandpaper smooths whatever remains. A small file helps too, particularly on flat edges.
These aren’t always necessary, but they turn a decent removal into a truly clean one. When the base needs to look flawless, they’re worth reaching for.
How to Remove Brim From 3D Print: Step-by-Step Guide
Here’s the heart of it. Work through these seven steps in order, and take your time, especially early on. Rushing a brim removal is the fastest way to crack a print or gouge its base.
Each step builds on the last, so don’t skip ahead. The whole process is simple once you feel the rhythm of it.
Step 1: Let the Print Cool Completely
Patience pays off right from the start. Wait until both the print and the bed have cooled fully before you touch that brim.
Warm plastic bends and stretches, which makes for messy removal. A cool print releases its brim far more cleanly, so resist the urge to grab it the moment printing stops.
Step 2: Remove the Print From the Bed
With the print cool, ease it off the surface. A flexible build plate makes this trivial, since you just flex it and the print pops loose. Otherwise, a thin spatula slid gently under the base does the job.
Try to lift it off in one piece, brim and all. Keeping everything intact makes the actual brim removal easier to handle in the steps ahead.
Step 3: Peel Away the Loose Brim Edges
Now find a starting point along the outer edge of the brim. Get a fingernail or a thin tool under it, then slowly peel inward toward the print.
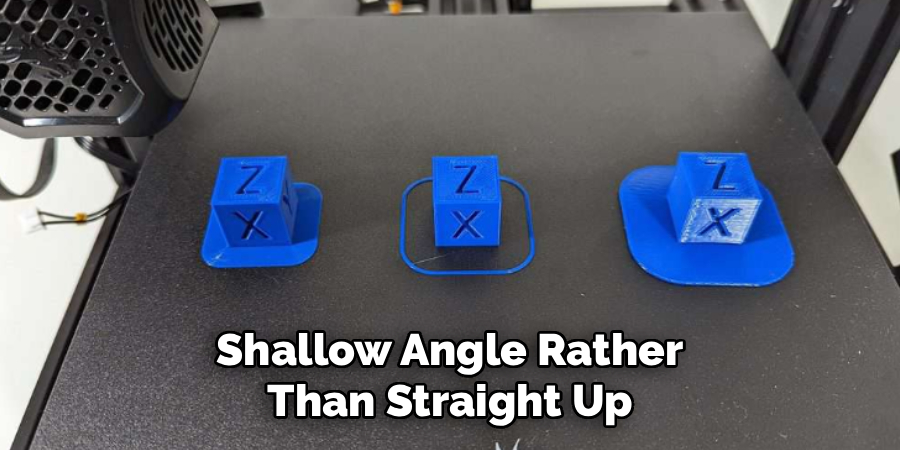
Pull at a low, shallow angle rather than straight up. That low approach lets the thin plastic lift away smoothly without cracking the base it’s attached to. On single-layer brims, much of it may come off in one clean strip.
Step 4: Cut Stubborn Sections With Flush Cutters
Some spots won’t peel, and that’s normal. When a section refuses to budge, switch to your flush cutters and snip it away.
Work close to the print wall, but not so close that you nick the model itself. Small, controlled cuts protect the print while clearing the tough spots. Let the tool do the work instead of forcing it.
Step 5: Trim Leftover Nubs and Tags
After the main brim is gone, you’ll likely spot little remnants where it met the print. These nubs are what give away a rushed job.
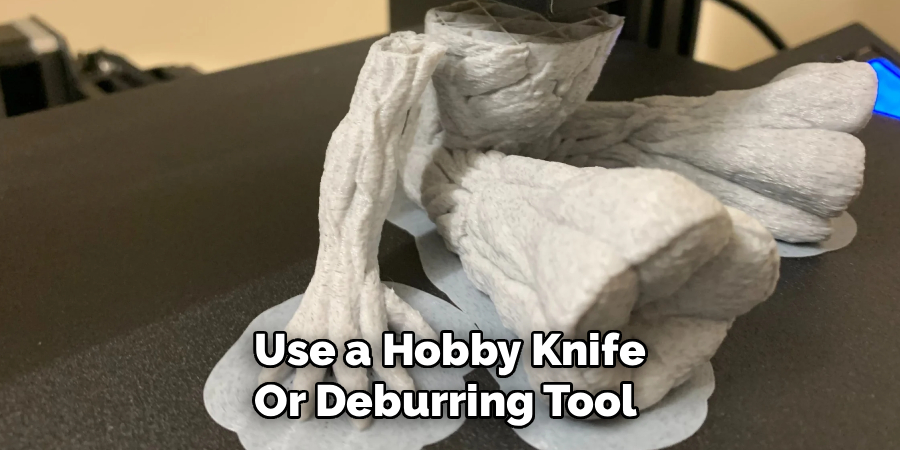
Use a hobby knife or deburring tool to slice them away. Angle your cuts carefully and go gently, since patient trimming leaves a clean edge rather than a fresh scar. This is where a steady hand really shows.
Step 6: Sand the Base Smooth
For a truly finished look, take some fine-grit sandpaper to the bottom edge. Light, even strokes erase any last marks the cutting left behind.
Don’t press hard here. Gentle sanding blends the base into a smooth surface, so no one would ever guess a brim was once attached. Wipe away the dust when you’re done to check your progress.
Step 7: Inspect and Finish the Edge
Finally, hold the print up to good light and examine the base. Look for rough patches, stray bits, or spots that catch your fingertip as you run it along the edge.
Touch up anything that needs it with another quick pass. Then step back and take in the clean result. A print with a smooth, brim-free base simply looks more professional, and there’s real satisfaction in that finished edge.
Best Practices for Clean Brim Removal
A few habits separate a rough brim removal from a flawless one. None of them take much extra effort, and they add up quickly.
Mostly, they come down to slowing down and working with the plastic rather than against it.
Work Slowly and Patiently
I’ll keep saying it because it matters most. Rushing leads to cracked edges and gouged surfaces, which then need far more cleanup than the brim itself.
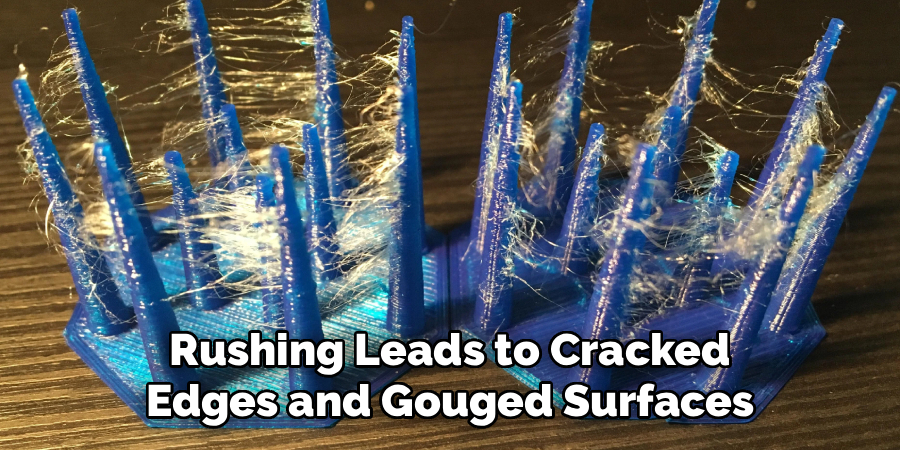
Steady, unhurried effort keeps the print intact. A brim that fights you is a signal to switch tools, not to pull harder.
Cut Toward the Waste, Not the Print
Here’s a small habit that protects your work. When you’re cutting, angle the blade away from the model and toward the brim you’re discarding.
That way, if the tool slips, it slips into the waste rather than the surface you want to keep clean. It’s a subtle shift in technique that saves a lot of accidental damage.
Keep Your Tools Sharp
Dull cutters and blades don’t slice; they tear. And torn plastic leaves ragged, uneven edges that are harder to fix.
A sharp tool does the opposite, cutting cleanly with less force. Maintaining your cutters and swapping in fresh blades now and then makes every removal smoother.
Common Mistakes to Avoid
Everyone botches a brim or two while learning. These are the missteps I see most, and each is easy to sidestep once you know it’s coming.
No judgment here. I’ve cracked a print base myself by getting impatient.
Removing the Brim While Warm
This is the big one. Peeling a hot print stretches the base and warps edges that would otherwise come off cleanly.
The plastic is soft and pliable when warm, so it deforms under pressure. Waiting those extra few minutes for it to cool spares you a distorted base later.
Pulling Too Hard or Too Fast
Yanking a stubborn brim feels productive, but it rarely ends well. A hard pull can snap off part of the print or leave a jagged, damaged edge.
If a section resists, that’s your cue to reach for cutters instead of muscle. Force is rarely the answer with a clinging brim.
Skipping the Final Cleanup
It’s tempting to call it done once the brim is off. But leaving nubs and rough marks undoes all your careful work.
Those little remnants catch the eye and the fingertip. A quick trim and a light sanding pass finish the job properly, so don’t stop one step short.
Brim Removal Tips for Different Materials
Not every filament behaves the same when it’s time to remove the brim. What peels easily on one material may cling stubbornly on another.
Adjusting your approach to the plastic saves you a fair bit of frustration.
PLA for Easy, Clean Peeling
PLA is the forgiving one here. Its brims usually snap and peel away with little effort, often lifting off in a single satisfying strip.
Cleanup tends to be fast and simple. A quick peel, maybe a trim or two, and you’re done. If any filament makes brim removal feel effortless, it’s this one.
PETG and Its Sticky Grip
PETG is a different animal. It bonds firmly, sometimes to the point where peeling by hand just stretches the brim without releasing it.
For PETG, flush cutters and patience beat brute force. Snip the stubborn sections cleanly rather than fighting to peel them, and you’ll get a much tidier result.
ABS and Flexible Filaments
These two sit at opposite ends but call for the same gentle approach. ABS can turn brittle at the thin brim edge, so it may crack or splinter if you’re rough with it.
Flexible filaments do the reverse, stretching and bending instead of breaking. In both cases, careful cutting works better than pulling. Let the tool separate the brim so the print underneath stays intact.
Frequently Asked Questions
A few questions come up again and again once people start dealing with brims. Here are honest answers.
Why Is My Brim So Hard to Remove?
Usually it comes down to a few things. A brim set too close to the print with too small a gap fuses tightly to the base, making it cling hard.
Removing it while the print is still warm makes matters worse, as does a naturally sticky material like PETG. Widening the brim gap in your slicer for next time, and always letting the print cool, tends to help a lot.
Can I Reduce Brim Width to Make Removal Easier?
You can, and it’s a smart move if brims keep giving you trouble. Lowering the brim line count in your slicer creates a narrower ring that still aids adhesion but peels off more easily.
Adjusting the brim gap, or brim separation distance, helps too. A slightly larger gap keeps the brim from bonding quite so aggressively, so it releases with less effort.
Will Removing the Brim Damage My Print?
It shouldn’t, provided you take a careful approach. Letting the print cool, peeling slowly at a low angle, and cutting the stubborn spots all protect the base.
The risks appear when people rush or pull too hard. Follow the steps patiently, and you’ll be left with a smooth base rather than a damaged one.
Conclusion
Learning how to remove brim from 3D print parts turns that clingy plastic skirt into a quick, satisfying finishing step rather than a chore you dread. What looks like an annoyance is really just the last small task standing between you and a polished print.
The path is straightforward. Let the print cool, peel the loose edges, cut the stubborn sections, then trim the nubs and sand the base smooth before a final inspection.
A few habits carry you the rest of the way. Work slowly, cut toward the waste rather than the print, and keep your tools sharp for clean results.
So start with a fully cooled print and a good pair of flush cutters, since those two things make the whole job simpler. Take it one step at a time, and adjust your touch for the material you’re working with. There’s a genuine little pleasure in running a finger across a clean, brim-free base and knowing you finished the job right.

About
Zevric Halden is a dedicated expert in the world of 3D printing, printer repair, and additive manufacturing, with years of hands-on experience troubleshooting, maintaining, and optimizing desktop 3D printers. His professional focus lies in combining practical mechanical knowledge with modern 3D printing technologies to help users solve printer problems, improve print quality, and keep their machines running reliably. As the author of 3DMend, Zevric explores the technical side of 3D printing, making complex printer issues easier to understand for makers, hobbyists, and professionals alike.
Education
Rochester Institute of Technology
(Rochester, New York, USA)
Associate Degree in Mechanical & Manufacturing Technology
- Focused on mechanical systems, manufacturing processes, machine maintenance, and precision tools.
- Developed practical experience with mechanical troubleshooting, electronic components, and computer-controlled equipment.
- Gained hands-on knowledge of CAD systems, rapid prototyping, and additive manufacturing technologies.
Worcester Polytechnic Institute
(Worcester, Massachusetts, USA)
Bachelor’s in Mechanical Engineering & Additive Manufacturing
- Specialized in digital fabrication, 3D printing systems, mechanical design, and manufacturing technologies.
- Studied printer calibration, motion systems, extrusion mechanisms, material behavior, and print optimization.
- Participated in practical engineering projects involving rapid prototyping, machine diagnostics, and 3D-printed components.
Publications and Impact
Through 3DMend, Zevric shares his expertise on 3D printer troubleshooting, maintenance, calibration, hardware repair, print-quality issues, and additive manufacturing. His writing focuses on turning frustrating printer problems into clear, practical solutions that readers can understand and apply.
From nozzle clogs and extrusion problems to bed-leveling issues, calibration errors, overheating, unusual noises, failed prints, and mechanical wear, Zevric’s guides are designed to help users identify the underlying cause rather than simply treating the symptoms.
His work bridges the gap between technical engineering knowledge and everyday 3D printing, making reliable repair and maintenance information accessible to everyone—from first-time 3D printer owners and hobbyists to experienced makers and professionals.