

Your printer is set up, your model is sliced, and now there’s just one thing standing between you and a finished print. Getting that file from your computer to the machine.
It sounds trivial, and often it is. But if you’ve never done it, that small gap can feel oddly stubborn. Learning how to connect FlashForge 3D printer to computer clears it up for good, whether you prefer a cable or a wireless link.
The reassuring part is that both routes are simple. In this guide, I’ll cover why a proper connection matters, your USB and Wi-Fi options, and what to gather before you start. Then we’ll walk through installing the software, setting up drivers, and a step-by-step process that ends with your first successful transfer.
Why Connecting Your Printer to a Computer Matters
It’s fair to ask whether this even matters. After all, you could just shuffle files around on an SD card.
But a real connection changes how the whole process feels. It smooths out the little friction points you stop noticing only once they’re gone.
Faster, Easier File Transfers
Here’s the most immediate payoff. A direct connection lets you send sliced models straight from your computer to the printer.
No more copying files onto a USB drive, walking it over, and plugging it in. You slice, you click send, and the file lands on the machine. Over dozens of prints, that saved shuffle adds up.
Remote Monitoring and Control
A connected printer also lets you keep tabs on things without hovering. You can start, pause, and watch a print from your desk rather than crouching beside the machine.
That’s genuinely useful for longer jobs. Instead of interrupting whatever you’re doing to check progress, you glance at your screen. Small convenience, real difference.
Smoother Workflow for Frequent Printing
If you print often, the minutes start to matter. Every job you don’t have to manually transfer is a job that flows a little faster.
For casual printing, sure, an SD card works fine. But once you’re running prints regularly, a steady connection quietly saves you time you’d rather spend elsewhere.
Understanding Your Connection Options
Before you plug anything in, it helps to know your two main paths. FlashForge printers generally support both USB and Wi-Fi, and each suits a different setup.
Neither is objectively better. It really comes down to where your printer sits and how you like to work.
USB Cable Connection
The wired route is the dependable one. A USB cable creates a direct, stable path between your computer and printer.
There’s no network to drop out, no signal to weaken. If your machine sits close to your computer, this is often the simplest, most reliable choice you can make.
Wi-Fi Wireless Connection
Wireless trades a little stability for a lot of freedom. Connect over Wi-Fi, and you can send prints from anywhere on your network.
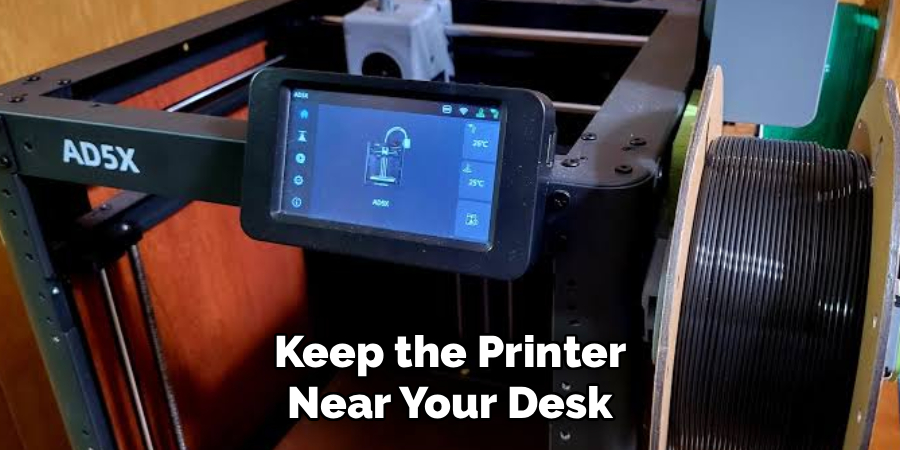
No cable stretching across the room, no need to keep the printer near your desk. For a machine tucked in another corner, or another room entirely, Wi-Fi is hard to beat.
Which Method Is Right for You
So which one wins? Honestly, both work well, and the answer depends on your space.
If the printer lives beside your computer, USB gives you rock-solid reliability. If it’s across the room and you value convenience, Wi-Fi makes more sense. There’s no wrong pick here, just the one that fits your setup.
What You Will Need Before You Start
Gathering everything first keeps the setup from stalling halfway through. The list is short, and you likely have most of it already.
A quick check now saves a frustrating pause later.
The Right Cables and Hardware
For a USB setup, you’ll want a compatible cable, the kind that came with your printer or matches its port. You’ll also need a working power supply, obviously.
Going wireless instead? Then a router within range of the printer is the main requirement. Make sure the signal actually reaches wherever the machine sits.
FlashPrint Software
This is the key tool for the whole job. FlashForge’s FlashPrint slicer both prepares your models and sends them to the printer.
We’ll install it in a moment. For now, just know it’s the piece that ties your computer and printer together.
Printer and Network Details
A little prep here smooths everything. Have your exact FlashForge model on hand, since the software will ask for it.
For Wi-Fi, keep your network name and password nearby too. Nothing derails a setup faster than realizing you’ve forgotten the router password mid-connection.
Installing FlashPrint on Your Computer
Before connecting anything, let’s get the software ready. FlashPrint is the foundation, so it’s worth installing carefully.
The process is quick and follows familiar steps.
Downloading the Correct Version
Head to the official FlashForge site and grab the latest FlashPrint. Match it to your operating system, whether that’s Windows or macOS.
Sticking with the official source matters. Downloads from random third-party sites can be outdated or worse, so go straight to FlashForge for a clean, current version.
Running the Installation
Open the downloaded file and let the installer guide you. You’ll accept the terms, pick an install location, and click through a couple of standard prompts.
There’s nothing tricky here. Within a minute or two, FlashPrint should be installed and ready to open.
Selecting Your Printer Model
On first launch, FlashPrint will ask which machine you’re using. Pick your exact FlashForge model from the list.
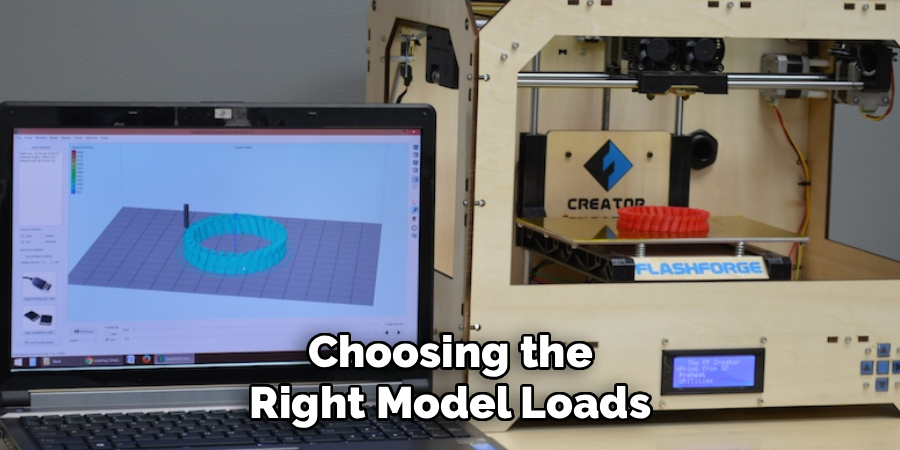
This step matters more than it seems. Choosing the right model loads the correct profiles and settings, so your slices and connections behave the way they should.
Installing Drivers for a USB Connection
If you’re going wired, drivers are the small but essential piece that makes it work. Skip them, and your computer may not see the printer at all.
Let’s get them sorted before you connect the cable.
Why Drivers Matter
Think of a driver as a translator between your computer and printer. Without it, the two speak different languages and simply can’t understand each other.
With the right driver in place, a wired connection works reliably. It’s a background thing you install once and rarely think about again.
Installing on Windows
On Windows, FlashPrint often bundles the needed drivers during its own installation. That covers most people automatically.
To confirm it worked, plug in the printer and open Device Manager. If the machine shows up there without a warning icon, the driver installed correctly and you’re good to go.
Installing on macOS
macOS handles things a little differently. It may prompt you for extra permissions when the printer first connects, especially around security and system extensions.
Just approve those requests when they appear. Once macOS grants permission, the connection should come through cleanly, and you won’t need to repeat it.
How to Connect FlashForge 3D Printer to Computer: Step-by-Step Guide
Here’s the heart of it. Work through these seven steps in order, since each one builds on the last. Knowing how to connect FlashForge 3D printer to computer really comes down to following the sequence patiently rather than skipping ahead.
Take it slow, and you’ll have a working link by the end.
Step 1: Install and Open FlashPrint
Start by confirming FlashPrint is installed and actually running. Launch it before you connect anything else.
Having the software open and ready first makes the whole process flow smoothly. It’s a small thing, but it sets you up for the steps that follow.
Step 2: Choose Your Connection Method
Now decide between USB and Wi-Fi based on your setup. This is the fork in the road.
Both are reliable, so the choice is really about preference. Wired for a printer beside your desk, wireless for one across the room. Pick your path and move on.
Step 3: Connect via USB Cable
Going wired? Plug the USB cable into both the printer and the computer, then power on the machine.
With the drivers already installed, Windows or macOS should detect the printer shortly after. If your system recognizes it, you’ve handled the physical side of the connection.
Step 4: Connect via Wi-Fi Instead
Prefer wireless? Head to the network settings on the printer’s touchscreen instead.
Select your Wi-Fi network from the list and enter the password. The printer will usually confirm the connection and often display an IP address once it joins. Jot that address down, since you may need it in a moment.
Step 5: Link the Printer Inside FlashPrint
Back in FlashPrint, open the connection menu. Choose your machine, then select either the USB port or the printer’s IP address, depending on how you connected.
A successful link typically shows a green status or a “connected” message. When you see it, your computer and printer are officially talking to each other.
Step 6: Send a Test File
Before trusting the connection with a big job, try a small one. Import a simple model, slice it, and send it over your new link.
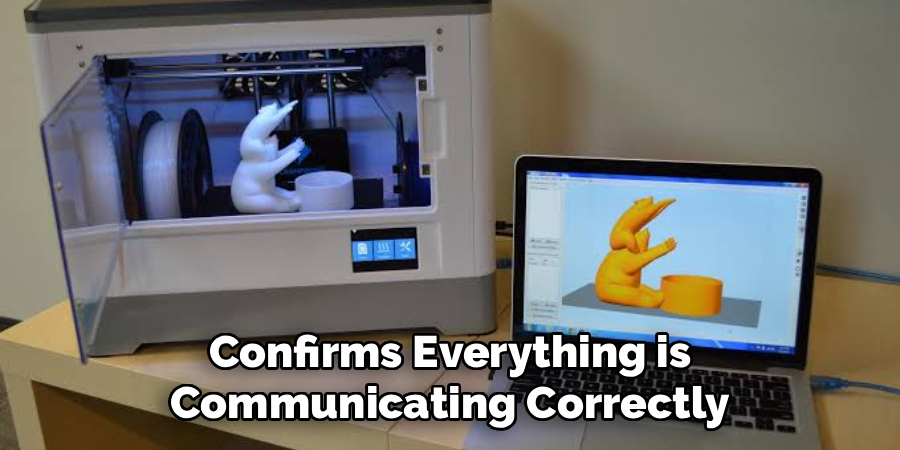
This little test confirms everything is communicating correctly. Far better to catch a problem now, on a quick print, than partway through something important.
Step 7: Confirm and Start Printing
Watch the printer receive the file and begin its first layer. That moment of the machine springing to life is your proof it all worked.
Take a second to note your working setup for next time. A quick mental record of which method and settings you used saves fumbling later.
Troubleshooting Common Connection Issues
Even a simple setup can hit a snag. A few issues crop up often enough that it’s worth knowing the fixes ahead of time.
Most of them are quicker to solve than they first appear.
Printer Not Detected Over USB
When a wired connection won’t register, start with the basics. Check that the cable is seated firmly at both ends.
If that’s fine, try a different USB port, since one can occasionally be faulty. And if it still won’t show, reinstalling the drivers usually clears things up. One of those three fixes handles most cases.
Wi-Fi Won’t Connect or Keeps Dropping
Wireless trouble often traces back to the signal or the password. Double-check that you entered the Wi-Fi password correctly, since a single wrong character stops everything.
If it connects but keeps dropping, the router may simply be too far away. Moving it closer, or relocating the printer, tends to steady the link. A quick printer restart can help too.
FlashPrint Can’t Find the Printer
Sometimes the hardware is fine, but FlashPrint just won’t see the machine. First, confirm you selected the correct model in the software.
Then try refreshing the connection in the menu. For Wi-Fi setups, double-check that the IP address matches what the printer’s screen shows. A mismatch there is a common, easily fixed culprit.
Files Fail to Transfer
Occasionally the connection holds, but a file simply won’t send. An unstable link is often the reason, so confirm your USB or Wi-Fi connection is solid.
Outdated software can cause it too. Make sure FlashPrint is current, and if a particular file keeps failing, try re-slicing it. A fresh export often goes through without complaint.
Best Practices for a Reliable Connection
Getting connected is one thing. Staying connected is another. A few habits keep the link steady long after setup.
None of them take much effort, and they save you repeat troubleshooting.
Keep FlashPrint and Firmware Updated
Software drifts out of date, and old versions can develop compatibility hiccups. Keeping FlashPrint current fixes bugs and smooths transfers.
The same goes for your printer’s firmware. Occasional updates on both sides keep everything talking cleanly, so it’s worth a periodic check.
Use a Strong, Stable Network
Your connection is only as reliable as what carries it. For Wi-Fi, a solid signal prevents those maddening mid-transfer drops.
For USB, a quality cable does the same job. It’s easy to blame the printer when the real weak link is a flaky cable or a distant router, so start there if things feel unstable.
Position the Printer Wisely
Where the machine sits affects the connection more than you’d guess. For wireless, keep it within good range of the router.
For wired, place it close enough to your computer that the cable reaches comfortably, without strain. A little thought about placement heads off a lot of connection frustration.
Frequently Asked Questions
A few questions come up again and again once people start connecting their machines. Here are honest answers.
Can I Connect Without Installing FlashPrint?
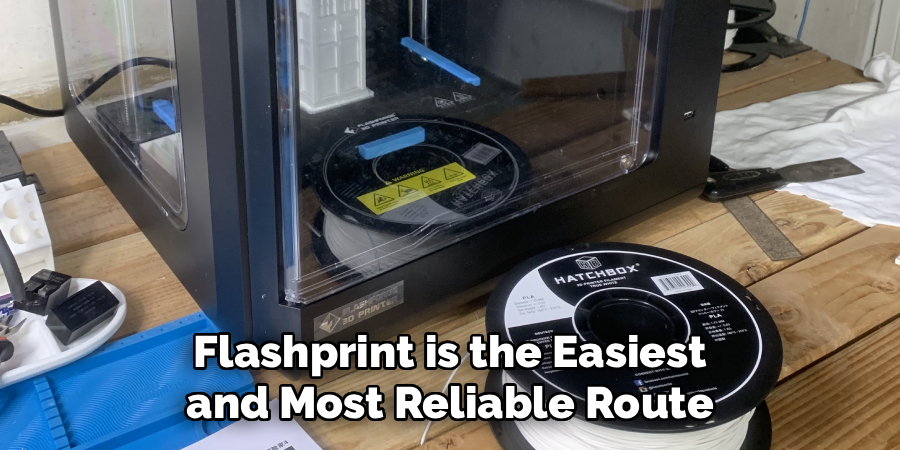
For a live connection, FlashPrint is the easiest and most reliable route. It’s really the intended way to link things up.
That said, some FlashForge models accept files via a USB drive without any live connection at all. So if you’d rather skip the software connection, that manual option may still work for you.
Why Won’t My Computer Recognize the Printer?
This usually comes down to a handful of causes. Missing or outdated drivers top the list, followed closely by a faulty cable.
Selecting the wrong printer model in FlashPrint can also cause it. Each of these is straightforward to fix, so work through them one at a time, and you’ll likely find the offender.
Is Wi-Fi or USB Better for FlashForge Printers?
Neither is universally better. USB offers rock-solid stability, which makes it ideal if the printer sits near your computer.
Wi-Fi adds convenience and freedom, which shines when the machine lives farther away. The best pick really depends on your workspace and how you prefer to print.
Conclusion
Learning how to connect FlashForge 3D printer to computer turns file transfers into a quick, seamless part of your printing routine. What might feel like a hurdle at first becomes something you barely think about.
The path is clear. Install FlashPrint and any drivers, choose USB or Wi-Fi, link the machine, and send a small test file to confirm it all works.
A few habits keep things running smoothly over time. Keep your software updated, lean on a stable network or cable, and position the printer with the connection in mind.
So try a small test file first, since an easy win builds real confidence. There’s a genuine satisfaction in sending a model straight from your computer and watching the printer spring to life, no shuffling of SD cards required.

About
Zevric Halden is a dedicated expert in the world of 3D printing, printer repair, and additive manufacturing, with years of hands-on experience troubleshooting, maintaining, and optimizing desktop 3D printers. His professional focus lies in combining practical mechanical knowledge with modern 3D printing technologies to help users solve printer problems, improve print quality, and keep their machines running reliably. As the author of 3DMend, Zevric explores the technical side of 3D printing, making complex printer issues easier to understand for makers, hobbyists, and professionals alike.
Education
Rochester Institute of Technology
(Rochester, New York, USA)
Associate Degree in Mechanical & Manufacturing Technology
- Focused on mechanical systems, manufacturing processes, machine maintenance, and precision tools.
- Developed practical experience with mechanical troubleshooting, electronic components, and computer-controlled equipment.
- Gained hands-on knowledge of CAD systems, rapid prototyping, and additive manufacturing technologies.
Worcester Polytechnic Institute
(Worcester, Massachusetts, USA)
Bachelor’s in Mechanical Engineering & Additive Manufacturing
- Specialized in digital fabrication, 3D printing systems, mechanical design, and manufacturing technologies.
- Studied printer calibration, motion systems, extrusion mechanisms, material behavior, and print optimization.
- Participated in practical engineering projects involving rapid prototyping, machine diagnostics, and 3D-printed components.
Publications and Impact
Through 3DMend, Zevric shares his expertise on 3D printer troubleshooting, maintenance, calibration, hardware repair, print-quality issues, and additive manufacturing. His writing focuses on turning frustrating printer problems into clear, practical solutions that readers can understand and apply.
From nozzle clogs and extrusion problems to bed-leveling issues, calibration errors, overheating, unusual noises, failed prints, and mechanical wear, Zevric’s guides are designed to help users identify the underlying cause rather than simply treating the symptoms.
His work bridges the gap between technical engineering knowledge and everyday 3D printing, making reliable repair and maintenance information accessible to everyone—from first-time 3D printer owners and hobbyists to experienced makers and professionals.