

Some prints just won’t cooperate. You send a model with a striking overhang or a floating arm to the printer, and without help it droops into a sagging, stringy disappointment. Learning how to add supports in Creality Slicer is the small skill that rescues those tricky prints and opens up designs you’d otherwise avoid.
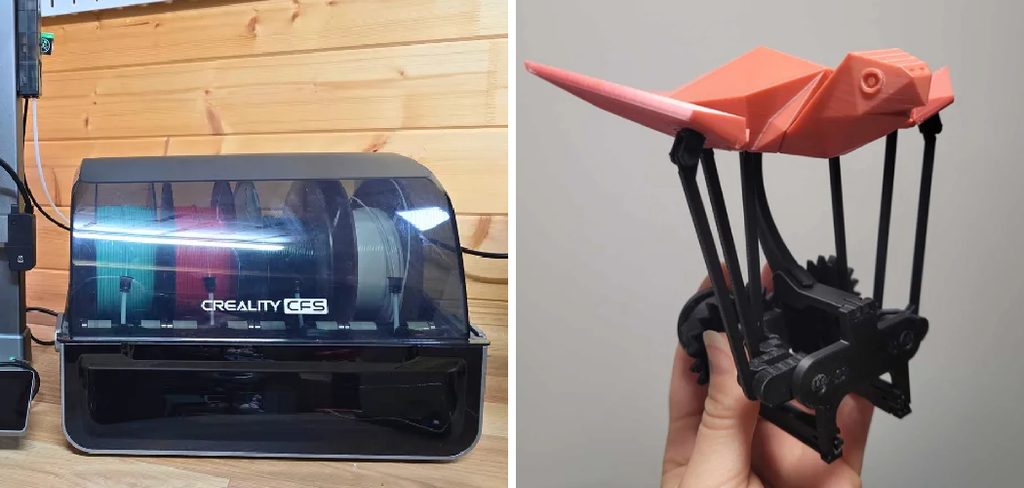
The good part? Creality Slicer makes this genuinely approachable. Even if you’ve never touched a support setting, a few clicks and tweaks get you there.
In this guide, I’ll walk you through why supports matter, when your model actually needs them, and how to find your way around the software. Then we’ll get into the step-by-step process, plus the settings and habits that make supports easy to remove afterward.
Why Supports Matter in 3D Printing
It’s tempting to see supports as a nuisance. Extra material, extra cleanup, extra time. But they earn their place more often than beginners expect.
Understanding what they do makes it far easier to judge when they’re worth adding.
Holding Up Overhangs and Bridges
Here’s the core job. A printer lays plastic on top of the layer beneath it, so anything jutting out into open air has nothing to rest on.
Steep overhangs droop. Long bridges sag in the middle. Supports catch those sections mid-print, giving the molten plastic something to land on until it cools and holds its shape.
Preventing Print Failures
Without support, an unsupported span often turns into a drooping tangle of threads. That mess can ruin hours of printing in a single bad layer.
Well-placed supports stop that from happening. They keep the risky areas intact, which saves both filament and the patience you’d otherwise spend restarting.
Expanding What You Can Print
There’s a creative angle too. Supports let you tackle models you’d never attempt otherwise.
Think figurines with outstretched arms, intricate mechanical parts, or sculptures with dramatic overhangs. Knowing you can support those features means you stop shying away from ambitious designs.
When Your Model Actually Needs Support
Not every print needs supports, and adding them out of habit just creates cleanup you didn’t have to do. So before you enable anything, take a moment to judge whether your model really calls for them.
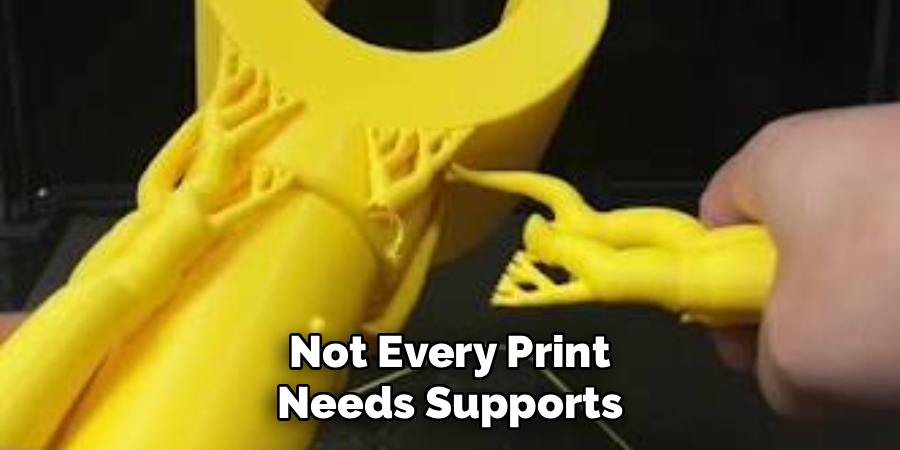
A quick look often saves you the trouble entirely.
The 45-Degree Overhang Rule
Here’s the guideline most people lean on. Overhangs steeper than roughly 45 degrees usually need support, while gentler angles print fine on their own.
The reason is simple geometry. At a shallow angle, each new layer sits mostly on the one below it. Past 45 degrees, more of that layer hangs over empty space, and eventually it can’t hold. It’s a rule of thumb, not a hard law, but it’s a reliable starting point.
Spotting Bridges and Islands
Bridges are flat spans stretched between two higher points, like the top of a doorway. Short bridges often print fine, but long ones tend to sag.
Then there are islands, sections that begin printing in mid-air with nothing beneath them. These almost always need support, since the printer has literally nothing to build on there.
When You Can Skip Supports Entirely
This is worth remembering. Clever orientation and modest overhangs often mean a model needs no support at all.
Rotating a part can turn a steep overhang into a gentle slope, or lay a problem area flat against the bed. When that works, you skip the supports and the cleanup, which is always the better outcome.
Getting Familiar With Creality Slicer
Before diving into the settings, it helps to feel comfortable in the software. Creality Slicer isn’t complicated once you know where things live.
A quick tour now makes the rest of this guide feel much easier to follow.
Downloading and Installing the Software
You can grab Creality Slicer from Creality’s official site. Download the version that matches your operating system, then run the installer.
The setup walks you through a few standard prompts. It’s a short process, and within minutes you’ll have the program ready to open on your computer.
Understanding the Main Workspace
When you first launch it, the layout can feel a little busy. Don’t worry about that.
The center of the screen shows your virtual print bed, where models appear once imported. A toolbar sits along the side for moving, rotating, and scaling parts. And the settings panel, where support options live, waits off to one edge, ready when you need it.
Locating the Support Settings
Speaking of that panel, here’s where you’ll spend most of your time in this guide. The support options tuck into the print settings, usually under a section labeled “Support.”
You may need to switch to a more detailed settings view to see everything. Once you know where that section sits, enabling and tuning supports becomes second nature.
Types of Supports in Creality Slicer
Not all supports are built the same. The kind you choose shapes how strong they are, how much material they use, and how painful they are to remove.
Knowing your options up front helps you match the support to the job.
Normal (Grid) Supports
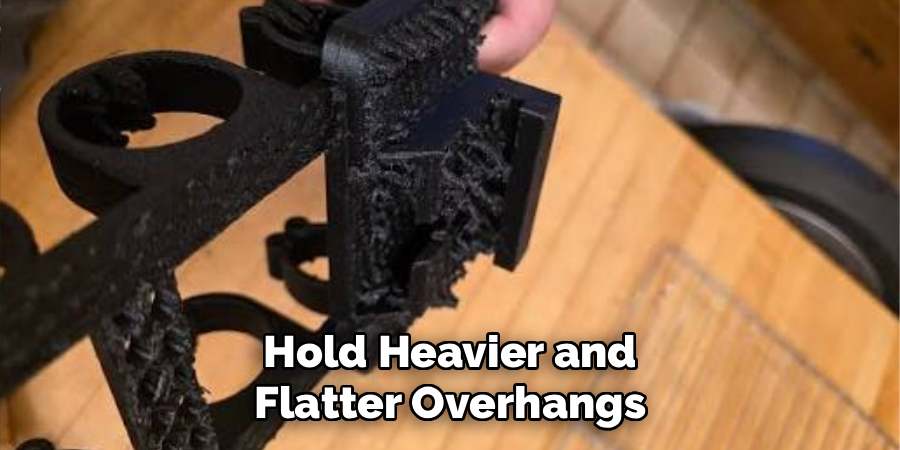
These are the standard choice. Normal supports build a dense grid of columns beneath your overhangs, offering strong, reliable hold for most prints.
The trade-off is contact. Because they touch the model across a wide area, they can leave marks and take some effort to remove. For heavier overhangs, though, that sturdiness is exactly what you want.
Tree Supports
Tree supports take a cleverer approach. Instead of a solid grid, they branch upward like limbs, reaching the model at fewer points.
That means less material, easier removal, and gentler treatment of your surfaces. They shine on organic or detailed models. The one catch is that they don’t always hold heavy, flat overhangs as firmly as grid supports do.
Touching Buildplate vs. Everywhere
There’s one more choice worth understanding. “Touching Buildplate” only generates supports that rise from the bed itself, leaving the model’s surfaces clean.
“Everywhere,” by contrast, also builds supports on top of the model wherever an overhang appears. That covers more difficult geometry, but it may leave marks on the print. Which one fits depends on your model’s shape.
How to Add Supports in Creality Slicer: Step-by-Step Guide
Here’s the heart of it. Work through these seven steps in order, since each builds on the last. Learning how to add supports in Creality Slicer is really about making a few thoughtful choices, not memorizing menus.
Take your time, especially with orientation. A little care early on saves a lot of cleanup later.
Step 1: Import Your Model Into Creality Slicer
Start by opening the software and loading your file. You can drag an STL or OBJ straight onto the bed, or use the import button in the toolbar.
Once it appears, check that it sits flat on the print surface. The slicer judges overhangs based on how the model rests, so a proper starting position matters more than it seems.
Step 2: Position and Orient the Model
Before enabling any supports, spin the model around. Rotating and tilting it can drop steep overhangs below the danger angle or lay them against the bed.
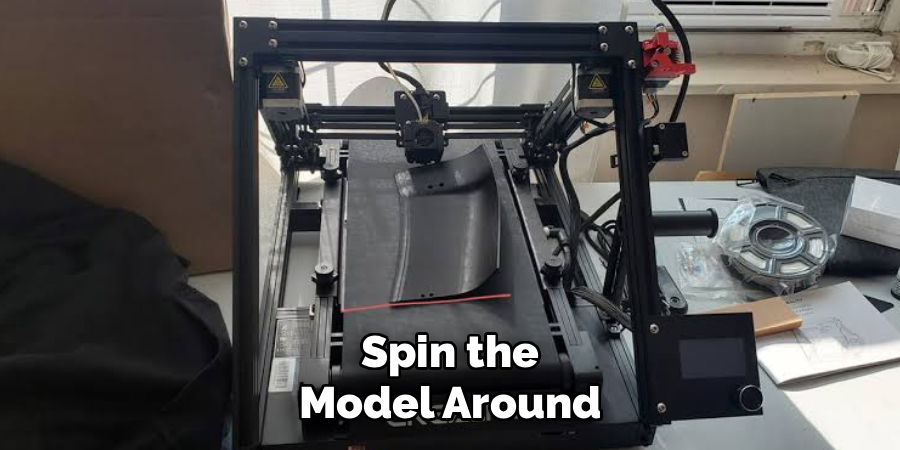
This is the step people rush, and they regret it. Smart orientation often cuts the number of supports you need in half, which means less filament used and far less cleanup afterward. Spend a minute here.
Step 3: Open the Support Settings Panel
Now head into the settings menu and find the support section. Tick the “Generate Support” checkbox to turn the feature on.
That single toggle tells the slicer to start planning scaffolds for the risky areas. With it enabled, the rest is just refining how those supports behave.
Step 4: Choose Your Support Type and Placement
With supports on, pick your style. Decide between normal and tree supports based on your model, then choose “Touching Buildplate” or “Everywhere.”
Each choice affects strength, material use, and how easily everything comes off later. A detailed figurine might prefer tree supports touching only the buildplate. A blocky part with a heavy overhang could call for normal supports everywhere. There’s no single right answer, just the right fit for your model.
Step 5: Adjust the Overhang Angle
Next, set the support overhang angle. This tells the slicer how steep an overhang must be before it earns support, and something around 45 to 55 degrees works well for most prints.
A lower angle adds more support, catching even gentle overhangs. A higher one trims supports back to only the steepest spots. If you’re getting supports where you don’t want them, nudging this value up usually helps.
Step 6: Fine-Tune Density and Z Distance
Two settings do most of the heavy lifting for clean removal. Density controls how packed the supports are, and lowering it makes them easier to peel off while still holding your overhangs.
Then there’s the support Z distance, the gap between the top of a support and the model above it. A small gap here is what keeps supports from fusing to the print. Get this right, and the difference between a clean snap and a stubborn, stuck mess is night and day.
Step 7: Preview, Slice, and Confirm
Before you print anything, use the layer preview. It shows exactly where the supports will land, so you can catch problems while they’re still free to fix.
Look for supports in odd places or missing where you expected them. If it all looks right, slice the model, glance at the estimated time and material, and confirm. A quick check now beats a wasted print later.
Best Support Settings for Clean Results
Getting supports to work is one thing. Getting them to work and come off cleanly is another. A few settings make all the difference.
These are the ones I’d tune first when a print’s supports fight back.
Dialing In Support Density
Lower density uses less filament and peels away with far less effort. For most prints, a sparse setting holds overhangs perfectly well.
You only need denser supports when something heavy or flat is drooping. So start low, and bump it up only if an overhang isn’t holding. There’s no reward for over-supporting a print you then have to fight.
Setting the Right Z Distance
This one deserves attention. The vertical gap between support and model controls how cleanly the two separate afterward.
Too small, and the support fuses to the surface, so removal risks damaging the print. Too large, and the overhang above it starts to droop. A little testing finds the sweet spot for your material and printer.
Using Support Interface Layers
A support interface adds a smoother contact surface right where the support meets the model. It’s a small touch that leaves fewer marks on the finished print.
Think of it as a clean break line. The support snaps off along that layer instead of tearing at the surface beneath. On prints where the finish matters, it’s worth enabling.
Removing Supports Without Damaging Your Print
Good settings get you most of the way, but the removal itself still deserves a careful hand. Rushing this part can undo all your slicer work.
A gentle approach keeps your print looking its best.
Waiting for the Print to Cool
Let the print cool fully before you start pulling. Warm plastic is soft and easily dented, so working on it while hot invites marks and deformation.
A cooled print resists damage far better. Those extra few minutes of patience genuinely pay off.
Using the Right Tools
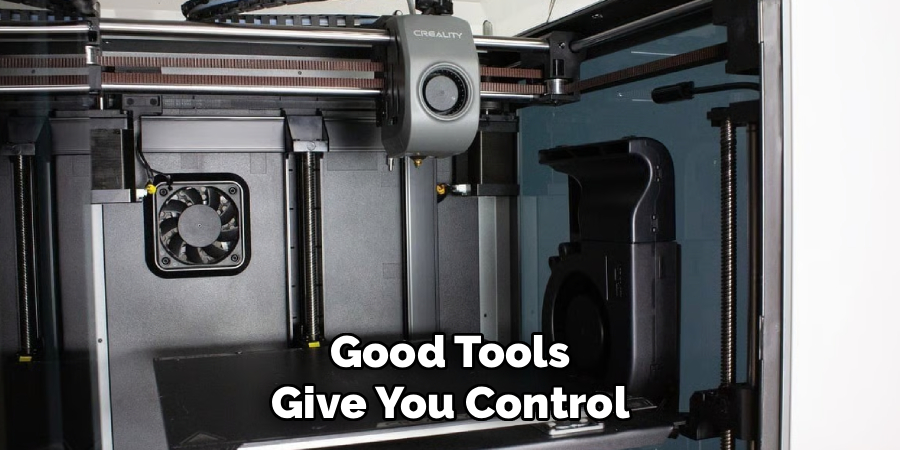
Your fingers won’t reach every spot, and forcing them can gouge the surface. Flush cutters, tweezers, and a hobby knife lift supports cleanly from tight corners.
Good tools give you control, which matters most on delicate areas. Work slowly, and cut toward the support rather than the print.
Cleaning Up Leftover Marks
Once the supports are off, you may spot small nubs where they touched. A light pass with fine-grit sandpaper smooths those away.
It’s a quick finishing step, but it’s what separates a decent result from a polished one. Wipe off the dust, check your work, and you’re done.
Common Support Mistakes to Avoid
Everyone stumbles a little when they start working with supports. These are the missteps I see most, and each is easy to sidestep once you know it’s coming.
No judgment here. I’ve made all of them.
Adding Too Many Supports
More support isn’t safer; it’s just more cleanup. Blanketing a model in scaffolding wastes filament and turns removal into a real battle.
Support only what actually needs it. Use blockers or careful settings to keep the rest of the model clean, and you’ll save yourself a lot of picking and prying.
Setting the Z Distance Too Low
I mentioned this earlier, and it bears repeating because it causes so much grief. A tiny Z gap fuses supports to the print, so removal risks tearing the surface.
If your supports refuse to come off cleanly, this is the first setting to check. Widening it a touch often solves the problem outright.
Ignoring Model Orientation
Skipping the orientation step forces unnecessary supports onto every overhang. It’s the most common oversight, and the most avoidable one.
Always try reorienting first. You may eliminate half your supports before you even enable them, which is the easiest win in this whole process.
Tips for Better Support Results
A few habits push your supports from functional to genuinely clean. None of them take much effort, and they compound nicely across projects.
Mostly, they’re about testing and staying organized.
Test on a Small Print First
Before committing to a long, important print, trial your settings on a quick overhang model. It costs you almost nothing.
You’ll see how your supports hold and how they remove, which builds real confidence. Far better to learn on a ten-minute test than three hours into a prized piece.
Save Your Best Settings as a Profile
Once you’ve dialed in support settings that work, save them as a profile. Then you won’t have to rediscover those values every time.
It feels like a small thing until the day it spares you a round of trial and error. Future you will appreciate the shortcut.
Combine Orientation With Supports
The cleanest results come from pairing thoughtful orientation with light supports. Neither one does the whole job alone.
Orient to reduce the overhangs, then support only what remains. That combination gives you strong prints with minimal cleanup, which is really the goal all along.
Frequently Asked Questions
A few questions come up again and again once people start adding supports. Here are honest answers.
How Do I Turn On Supports in Creality Slicer?
It’s simpler than you might expect. Open the settings panel, find the support section, and tick the “Generate Support” checkbox.
That enables supports automatically on your model’s overhangs. From there, you can refine the type, angle, and density to suit the specific print.
Are Tree Supports Better Than Normal Supports?
It depends on the model. Tree supports remove more easily and mark surfaces less, which makes them great for detailed or organic shapes.
Normal grid supports, though, hold heavier and flatter overhangs more firmly. So neither is universally better. Match the support to what your print actually needs.
Why Are My Supports So Hard to Remove?
Usually it comes down to two settings. A Z distance set too low fuses the supports to the print, and density set too high creates more material to fight through.
Widen the Z distance a little and lower the density. Those two adjustments solve the stubborn-support problem most of the time.
Conclusion
Learning how to add supports in Creality Slicer turns risky overhangs and floating features into clean, successful prints you can be proud of. What once felt like a barrier becomes just another step in getting the model you want.
The path is clear. Import and orient your model, enable supports, choose the right type, then fine-tune the density and Z distance before previewing the result.
A handful of habits keep things running smoothly. Preview before you slice, test settings on small prints, and save a profile that works so you’re not starting over each time.
So begin with good orientation and light supports, since those two moves solve most overhang troubles on their own. Run a quick test, adjust as needed, and build from there. There’s a real satisfaction in peeling supports away cleanly and revealing a flawless print underneath, knowing you set it up to come out right.

The 3D Mend team — we print, we fail, we work out why, and we write it down. Every guide here started as something that went wrong on one of our own machines.