

PETG filament has earned its reputation as the middle-ground material of the 3D printing world. It’s tougher than PLA, far less temperamental than ABS, and versatile enough to handle everything from functional mechanical parts to everyday household prints. That combination has made it a staple in workshops and makerspaces around the world.
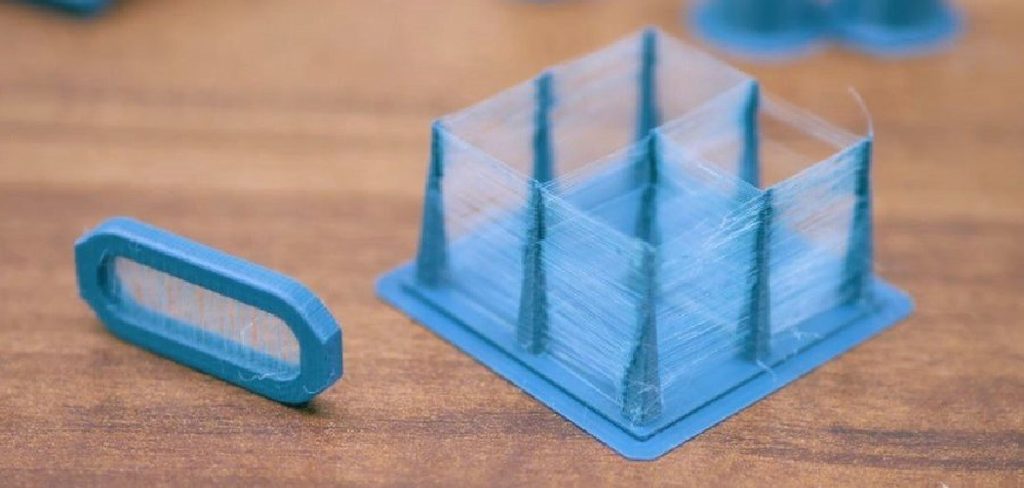
Getting great results with PETG, though, takes a bit more effort than loading a spool and hitting print. The material has its own set of quirks—moisture sensitivity, a tendency to string, and bed adhesion that can go from “barely sticking” to “permanently fused” depending on your setup. Learn to manage those quirks, and PETG becomes one of the most satisfying filaments to work with.
This guide on how to print with PETG walks through everything from filament selection to final calibration. Whether you’re printing PETG for the first time or troubleshooting a batch of stringy, warped failures, you’ll find practical, step-by-step guidance here for producing clean, strong, consistent prints.
How to Choose the Right PETG Filament Before You Print
Not all PETG filaments are created equal, and the quality of your spool has a direct bearing on your results—before you’ve even adjusted a single setting.
Diameter consistency is the first thing worth checking. A good filament maintains tolerances of ±0.02mm or better. Anything wider than that, and you’ll likely see under- or over-extrusion mid-print, which shows up as weak layer bonding and rough surface finishes. Beyond diameter, pay attention to how the filament is packaged. PETG absorbs moisture from the air quickly, so vacuum-sealed spools that include desiccant packets are worth the slight price premium.
Brands like Polymaker, Hatchbox, and Prusament are consistently well-regarded in the 3D printing community for their quality control and material reliability. They’re not the cheapest options on the market, but they tend to produce more predictable results—especially when you’re still dialing in your settings.
7 Simple Steps on How to Print With PETG
Step 1: Dry Your Filament Before Printing
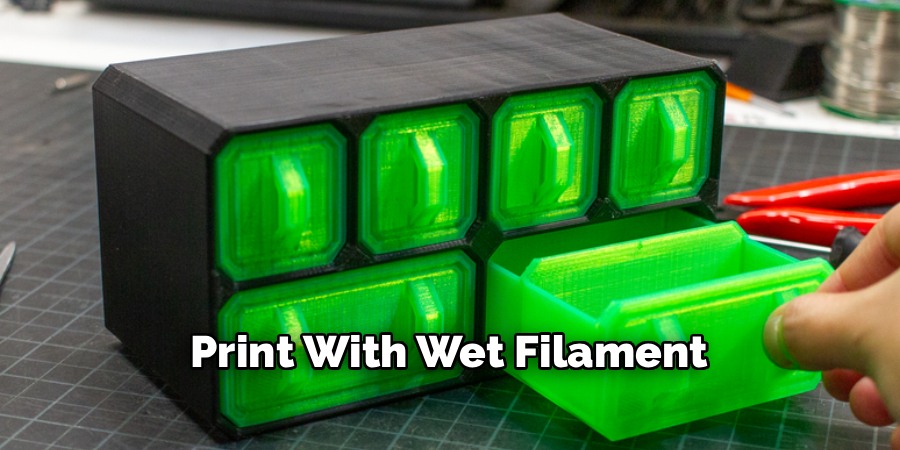
This step gets skipped more often than it should. PETG is hygroscopic, meaning it pulls moisture out of the ambient air even during a few hours of exposure. Print with wet filament, and you’ll hear it—a faint popping or crackling sound from the nozzle, followed by bubbles, stringing, and a surface finish that looks like something went very wrong.
Before any print session, dry your PETG spool at around 65°C (149°F) for four to six hours. A dedicated filament dryer like the Polymaker PolyDryer holds a consistent temperature without the guesswork of an oven. Once dried, keep your filament in an airtight container with silica gel until it’s time to print. It’s a small habit that prevents a disproportionate number of problems.
Step 2: Set the Right Print Temperature
PETG generally prints well at nozzle temperatures between 230°C and 250°C, though the sweet spot varies by brand. A reasonable starting point for most spools is 235°C—from there, adjust based on what you observe.
For the heated bed, target 70°C to 85°C. A properly heated bed improves first-layer adhesion and significantly reduces warping, which tends to catch people off guard after printing mostly with PLA. If your layers aren’t bonding well, try increasing the nozzle temperature in 5°C increments rather than jumping to a dramatically higher setting. Gradual changes make it much easier to identify what’s actually working.
Step 3: Prepare Your Print Bed Properly
Bed adhesion with PETG sits in a strange middle ground. The material bonds well to most surfaces—sometimes aggressively so—which means preparation matters as much for easy removal as it does for adhesion.
On glass beds, a thin layer of glue stick or hairspray acts as a release barrier, making it far easier to detach the print once the bed cools. PEI sheets are arguably the cleaner solution: PETG adheres reliably while the surface is warm and releases with minimal effort once everything cools to room temperature. What you want to avoid is printing directly onto bare glass with no release agent. PETG can bond to it so firmly that removing the print risks cracking the glass or destroying the part.
Step 4: Slow Down Your Print Speed
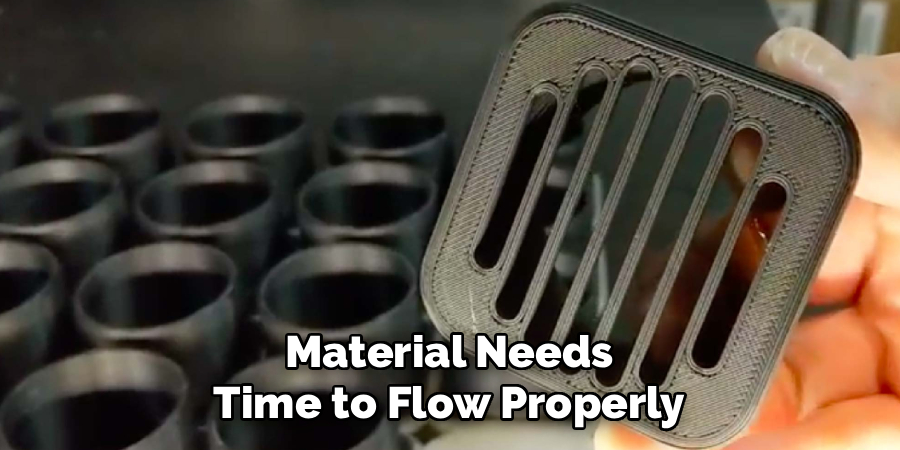
Speed is where a lot of PETG prints quietly go wrong. The material needs time to flow properly and bond between layers, and pushing it faster than it can manage results in weak, underextruded prints with poor surface quality.
A print speed of 40mm/s to 60mm/s works well for most PETG profiles. That’s slower than typical PLA settings, and the difference shows up clearly in layer strength and overall finish. For the first layer specifically, drop further to around 20mm/s to 25mm/s. First-layer adhesion is the foundation of the entire print, and a slower initial pass dramatically reduces the risk of a failed build.
Step 5: Adjust Your Cooling Settings
PLA printing logic doesn’t transfer well to PETG when it comes to cooling. Running your part cooling fan at full blast—common practice with PLA—can cause PETG layers to delaminate and weaken the finished part considerably.
For most PETG prints, keep the cooling fan at 30–50%. Bridging sections may benefit from a brief increase, but sustained high airflow does more damage than good. For functional parts where maximum strength matters, consider turning the fan off entirely for the first few layers to encourage solid adhesion to the build surface before gradually introducing any cooling.
Step 6: Fine-Tune Retraction to Reduce Stringing
Stringing is probably the most common frustration with PETG. Those thin, wispy threads that appear between separated sections of a print are caused by filament oozing from the nozzle during travel moves—and retraction is the primary tool for managing it.
For direct-drive extruders, start with a retraction distance of 1–2mm at a speed of around 25–45mm/s. Bowden setups typically require more—4–6mm is a reasonable starting range. If stringing persists after tuning retraction, try increasing travel speed to reduce the time the nozzle spends moving between points. Enabling the “combing” feature in your slicer is another effective option, as it forces travel moves to stay within the boundaries of the print rather than crossing open air where oozing becomes visible.
Step 7: Run a Test Print and Calibrate
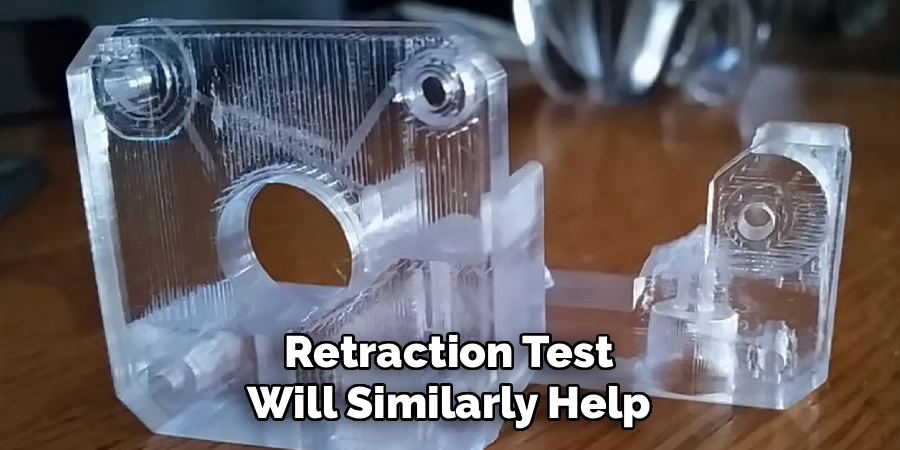
Before committing to a long or complex print, run a calibration test. A temperature tower is one of the most practical tools available here—it prints the same geometry at a series of different temperatures in a single run, giving you a clear visual reference for where your filament performs best. A retraction test will similarly help you isolate stringing issues specific to your printer and filament combination.
These tests take minutes. They can save hours of wasted filament and frustration on failed full-size prints, so the tradeoff is well worth it.
Following these steps on how to print with PETG will ensure a successful print and minimize any potential issues.
Common Mistakes to Avoid When Printing With PETG
Most PETG problems trace back to a short list of recurring errors. Recognizing them upfront is half the battle.
Skipping filament drying is the most preventable one. Even experienced users sometimes gamble on a spool that’s been sitting out, and the results are rarely worth it. Printing too fast is another widespread issue—the smoother surface and stronger layers that come from slowing down are almost always noticeable.
Excessive cooling trips up a lot of people who are used to PLA workflows. Setting the bed temperature too low leads to warping and poor first-layer adhesion, often mid-print. And over-tightening retraction settings—which feels like the logical fix for stringing—frequently causes under-extrusion and visible gaps. Start conservatively with every setting, make small incremental changes, and let the calibration process guide you rather than guessing at large adjustments.
Safety Tips for Printing With PETG
PETG is considered a relatively safe filament compared to materials like ABS, but some basic precautions still apply, particularly during longer print sessions.
Print in a well-ventilated space, or use an enclosure with a filtration system to manage any fumes or fine particulates. The hotend and heated bed both reach temperatures that cause serious burns on contact, so avoid touching them during or immediately after a print. When removing a finished part from the bed, use a flat, flexible spatula rather than sharp tools, and wait until the bed has fully cooled to room temperature. Prints that have bonded firmly to a warm surface can take unexpected force to detach, which increases the risk of injury.
Frequently Asked Questions
What Is the Best Temperature for Printing PETG Filament?
Most PETG filaments print well at nozzle temperatures between 230°C and 250°C, with a heated bed set to 70°C–85°C. The exact temperature depends on your specific filament brand and printer. Always refer to the manufacturer’s recommendations and run a temperature tower test to find the optimal setting for your setup.
Why Is My PETG Print Stringy, and How Do I Fix It?
Stringing in PETG is usually caused by insufficient retraction, a nozzle temperature that’s running too high, or slow travel speeds. Start by adjusting retraction distance (1–2mm for direct drive, 4–6mm for Bowden setups), reduce the nozzle temperature by 5°C, and increase travel speed. Enabling combing in your slicer also helps by keeping travel moves within the print boundary, which significantly reduces visible stringing.
Does PETG Need a Heated Bed to Print Successfully?
A heated bed is strongly recommended for PETG. A bed temperature of 70°C–85°C improves first-layer adhesion and reduces the likelihood of warping. Some users have printed PETG without a heated bed, but the results tend to be inconsistent. Using a PEI sheet or applying a thin layer of glue stick to glass improves adhesion further and makes print removal considerably easier.
How Should I Store PETG Filament When It’s Not in Use?
Keep PETG in an airtight container with silica gel desiccant packets. The material absorbs moisture from the air relatively quickly, and even a few hours of unprotected exposure in a humid environment can affect print quality. If your filament has been sitting out for an extended period, dry it at 65°C for four to six hours before use.
Can PETG Be Used for Functional or Structural Parts?
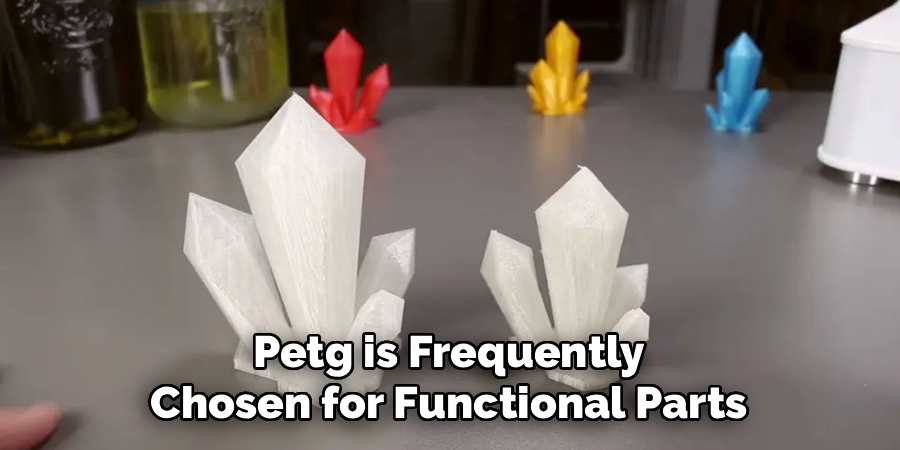
Yes. PETG is frequently chosen for functional parts precisely because it offers a useful balance of rigidity and impact resistance. It handles moderate loads and temperature exposure better than PLA, making it suitable for brackets, enclosures, mechanical components, and parts that need to hold up to regular use. For applications involving extreme heat or very high mechanical stress, materials like ABS, ASA, or nylon may be more appropriate.
Start Printing With Confidence
PETG is a genuinely rewarding material once you understand what it needs. The combination of strength, flexibility, and relative accessibility makes it an excellent choice for functional parts, enclosures, mechanical components, and general-use prints alike.
The approach that works best is methodical. Dry your filament. Dial in your temperatures. Slow down your print speed. Run calibration tests before starting anything large or time-consuming. Small, deliberate adjustments make a measurable difference with PETG, and a bit of patience in the setup phase tends to pay off significantly later.
Follow the steps on how to print with PETG outlined here, watch out for the common pitfalls, and consistent, clean PETG prints become far less of a moving target.

About
Zevric Halden is a dedicated expert in the world of 3D printing, printer repair, and additive manufacturing, with years of hands-on experience troubleshooting, maintaining, and optimizing desktop 3D printers. His professional focus lies in combining practical mechanical knowledge with modern 3D printing technologies to help users solve printer problems, improve print quality, and keep their machines running reliably. As the author of 3DMend, Zevric explores the technical side of 3D printing, making complex printer issues easier to understand for makers, hobbyists, and professionals alike.
Education
Rochester Institute of Technology
(Rochester, New York, USA)
Associate Degree in Mechanical & Manufacturing Technology
- Focused on mechanical systems, manufacturing processes, machine maintenance, and precision tools.
- Developed practical experience with mechanical troubleshooting, electronic components, and computer-controlled equipment.
- Gained hands-on knowledge of CAD systems, rapid prototyping, and additive manufacturing technologies.
Worcester Polytechnic Institute
(Worcester, Massachusetts, USA)
Bachelor’s in Mechanical Engineering & Additive Manufacturing
- Specialized in digital fabrication, 3D printing systems, mechanical design, and manufacturing technologies.
- Studied printer calibration, motion systems, extrusion mechanisms, material behavior, and print optimization.
- Participated in practical engineering projects involving rapid prototyping, machine diagnostics, and 3D-printed components.
Publications and Impact
Through 3DMend, Zevric shares his expertise on 3D printer troubleshooting, maintenance, calibration, hardware repair, print-quality issues, and additive manufacturing. His writing focuses on turning frustrating printer problems into clear, practical solutions that readers can understand and apply.
From nozzle clogs and extrusion problems to bed-leveling issues, calibration errors, overheating, unusual noises, failed prints, and mechanical wear, Zevric’s guides are designed to help users identify the underlying cause rather than simply treating the symptoms.
His work bridges the gap between technical engineering knowledge and everyday 3D printing, making reliable repair and maintenance information accessible to everyone—from first-time 3D printer owners and hobbyists to experienced makers and professionals.