

You print a bracket, clip it onto a shelf, and pause. Will it actually hold, or snap the second real weight lands on it?
That flicker of doubt is familiar to anyone who prints functional parts. How strong is 3D printer plastic when it has to do a real job, not just sit pretty on a desk?
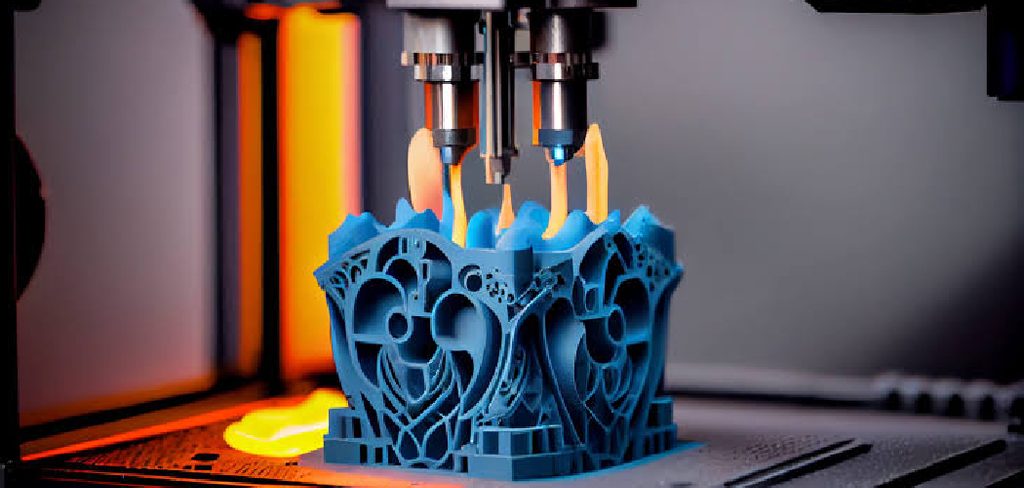
The honest answer is more encouraging than most people expect. 3D printed plastic can be genuinely tough, and strength comes down to smart choices rather than luck.
In this guide, I’ll walk you through how strength is actually measured, which filaments hold up best, and the exact settings that make prints far more durable. By the end, you may trust your parts a good deal more.
Why Strength Matters in 3D Printing
It’s tempting to treat strength as an afterthought. The print looks right, so surely it’s fine?
Not always. A part that fails under load wastes your time, your filament, and sometimes something you actually needed. So it pays to think about strength before you hit print.
Structural Applications That Bear Weight
Some prints exist to hold things up. Brackets, mounts, and frames all face constant load, and they have to resist bending and cracking under it.
For these, strength decides everything. A weak structural part doesn’t just perform poorly. It fails, sometimes suddenly, and takes whatever it was holding down with it.
Functional Parts Under Daily Stress
Then there are the working pieces. Gears, hinges, clips, tool holders, all facing repeated force and friction day after day.
Durability keeps them functioning rather than wearing out fast. A clip that cracks after a week isn’t much use, so these parts reward materials and settings built to endure.
Choosing the Right Material for the Job
Here’s the balance worth striking. Matching filament strength to the task prevents weak failures on one side and wasteful overkill on the other.
You don’t need engineering-grade plastic for a decorative figurine. But you shouldn’t print a load-bearing hook in basic PLA either. Printing smart means fitting the material to the demand.
How 3D Print Strength Is Measured
Before you compare materials, it helps to know what “strong” actually means. Strength isn’t one number. It’s a few different qualities, and they don’t always move together.
Understanding them lets you read filament specs with a clearer eye.
Tensile Strength and Pulling Force
Tensile strength is the figure most filament makers advertise. It measures how much pulling force a part can take before it snaps.
Higher tensile strength suggests a material resists being stretched apart. It’s a useful headline number, though it appears to indicate only part of the whole picture.
Layer Adhesion and the Z-Axis Weak Spot
Here’s where printed parts differ from solid plastic. A print is built in layers, and the bond between those layers is often its weakest point.
Pull along the Z-axis, across the layer lines, and parts tend to split there first. So strong layer adhesion may matter just as much as the raw material rating. A tough filament with poor bonding still fails at the seams.
Infill vs. Wall Thickness
Two things carry a print’s internal strength, and people often credit the wrong one. Infill fills the interior, while the walls, or perimeters, form the outer shell.
Both contribute, but walls tend to add more toughness per gram than infill alone. A part with thicker walls and modest infill frequently outperforms one that’s mostly hollow with a dense core.
Strength Comparison by Filament Type
Not all filaments are built the same. The material in your printer sets a ceiling on how strong the finished part can ever be.
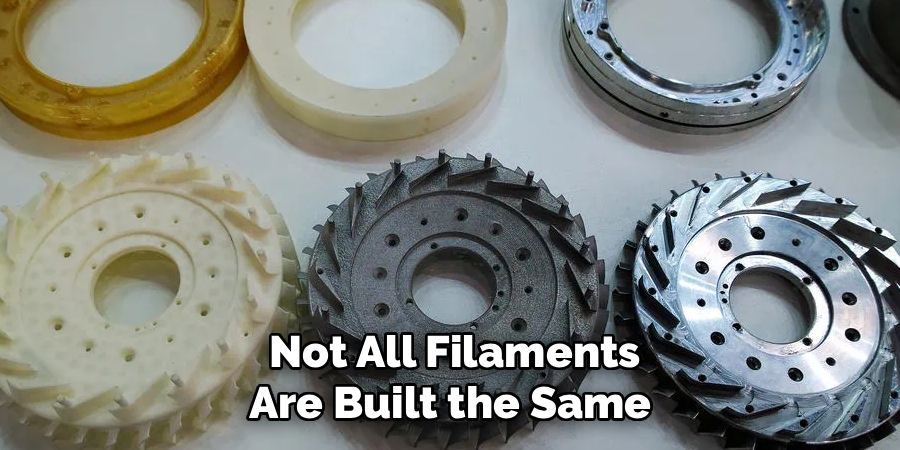
Here’s how the popular options stack up, roughly speaking.
PLA: Stiff but Brittle
PLA prints strong and rigid, which fools people into thinking it’s tough all around. For light-duty parts, it genuinely shines.
The trouble shows up under sudden impact, where PLA cracks rather than flexes. It also softens in heat, so a hot car or direct sun can warp it. Great for many things, wrong for others.
PETG: Tough and Flexible
PETG sits in a comfortable middle ground. It blends decent strength with a bit of flexibility and solid impact resistance.
That combination makes it a reliable all-rounder for functional prints. It bends a little before it breaks, which is often exactly what you want in a working part.
ABS and ASA: Durable and Heat-Resistant
ABS and ASA trade some printing ease for real-world toughness. They handle stress and heat well, and ASA especially shrugs off outdoor exposure.
You pay for that in fussier printing, since both want warmth and ventilation. But for parts that face heat or weather, they hold up where PLA would quietly give in.
Engineering Filaments Like Nylon and PC
At the top end sit the serious materials. Nylon and polycarbonate deliver exceptional strength, flexibility, and heat resistance when printed correctly.
The catch is “correctly.” These filaments demand higher temperatures and careful drying, and they punish sloppy setups. Get them right, though, and they handle genuinely demanding mechanical jobs.
Factors That Affect 3D Print Strength
The material sets the ceiling, but your settings decide how close you get to it. Several variables sit entirely in your hands.
Adjust these well, and even a modest filament can produce a surprisingly durable part.
Print Orientation and Load Direction
This one may be the most overlooked, and the most powerful. A part is strongest along its layers and weakest across them.
So orienting a print with the expected force in mind can dramatically boost durability. Line up the load along the layers rather than against them, and you often gain strength without changing anything else.
Infill Pattern and Percentage
Infill does more than fill space. Denser infill and stronger patterns, like gyroid or cubic, add real toughness to a part.
Skimp on it, and you’re left with a hollow, fragile shell that cracks under loads it should handle. Balance is the goal, since more infill also means more weight and filament.
Layer Height and Temperature
These two shape how well your layers bond together. Thicker layers and the right nozzle temperature improve adhesion from the inside out.
Printing a touch hotter, within the filament’s safe range, strengthens the bond between layers. That directly attacks the Z-axis weakness that splits so many prints.
How Strong Is 3D Printer Plastic: Step-by-Step Guide
Here’s the heart of it. Knowing how strong is 3D printer plastic is one thing, but pushing a print toward its full potential is another. Work through these seven steps in order.
Change one thing at a time where you can. That habit makes it far easier to see what actually helped.
Step 1: Choose the Right Filament for the Job
Start by matching your material to the demands of the part. PETG or Nylon for tough functional pieces, PLA only for light-duty work.
This first choice sets the ceiling for everything after it. No amount of tuning turns a decorative filament into a load-bearing one, so pick with the job in mind.
Step 2: Set the Right Infill Percentage
Next, raise the infill for anything that carries a load, often to 40 percent or higher. Keep it lower for purely cosmetic prints.
More infill adds strength and weight together, so balance the two. A load-bearing part earns the extra filament; a display piece rarely does.
Step 3: Select a Strong Infill Pattern
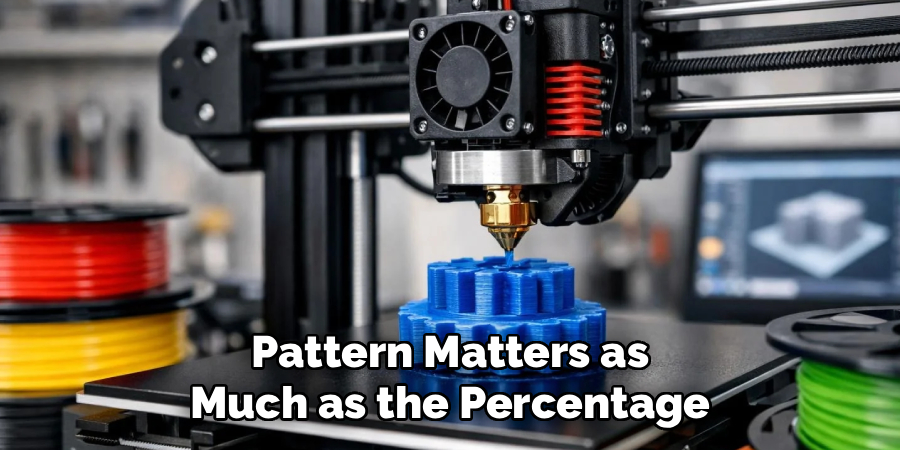
The pattern matters as much as the percentage. Choose sturdy options like gyroid, cubic, or honeycomb over weaker line patterns.
These designs spread force evenly through the part rather than concentrating it. That even distribution resists bending and cracking far better than simpler infill.
Step 4: Optimize Your Wall Count
Now turn to the shell. Increase your number of perimeters, often to three or four walls, since the outer shell carries much of a print’s strength.
This is where a lot of durability quietly lives. Thicker walls frequently add more toughness per gram than cranking up infill, so don’t neglect them.
Step 5: Tune Your Print Temperature
Print slightly hotter within the filament’s safe range to improve how layers bond. Stronger bonds mean fewer weak seams.
That directly reduces the Z-axis weakness responsible for so many split prints. Just stay within safe limits, since too much heat introduces its own problems.
Step 6: Adjust Print Orientation for Load
Position the model so stress runs along the layers rather than across them. This single move can transform a part’s durability.
Smart orientation turns a print’s biggest weak point into a strength, often without touching another setting. Think about where force will land, then lay the layers to meet it.
Step 7: Run a Strength Test
Finally, put your work to the test. Print a small part and apply gentle, controlled force to see how it holds up.
Note where it fails, adjust one setting, and try again. Each round teaches you something, and there’s a real satisfaction in watching a part survive what an earlier version couldn’t.
Best Practices for Stronger Prints
A few habits push good prints toward genuinely durable ones. None take much effort, and they compound nicely over time.
Think of these as the refinements that separate a working part from a lasting one.
Annealing PLA for Added Toughness
Gently heating PLA after printing can increase its heat resistance and rigidity. It’s a neat trick for squeezing more from an accessible filament.
There’s a catch, though. Annealing tends to cause slight shrinkage, so expect some dimensional change and test carefully before trusting a critical part.
Post-Processing for Extra Strength
Sometimes the print itself is only the start. Techniques like plastic welding, epoxy coating, or internal reinforcement can strengthen joints and high-stress areas after printing.
These may sound advanced, but they’re within reach. A little epoxy in the right spot could turn a weak seam into the sturdiest part of the piece.
Storing Filament Properly
This one gets overlooked constantly. Keep your spools sealed with desiccant, since dry filament bonds better and prints more consistently.
Damp filament produces weak, brittle layers no matter how good your settings are. Good storage is a quiet insurance policy for strength.
Real-World Strength Applications
It’s easier to trust these ideas when you see what strong prints actually do. Plenty of makers rely on printed parts for genuinely demanding jobs.
Here are a few places where durability really shows.
Functional Mechanical Parts
Makers routinely print gears, brackets, and enclosures that hold up under real mechanical stress. With the right material and settings, they perform reliably.
These aren’t fragile props. They’re working components, spinning, bearing load, and taking daily use in stride when built thoughtfully.
Outdoor and Load-Bearing Uses
Tough filaments like ASA and PETG create parts that survive sun, weather, and steady weight. Think garden fixtures, mounts, and shelf supports.
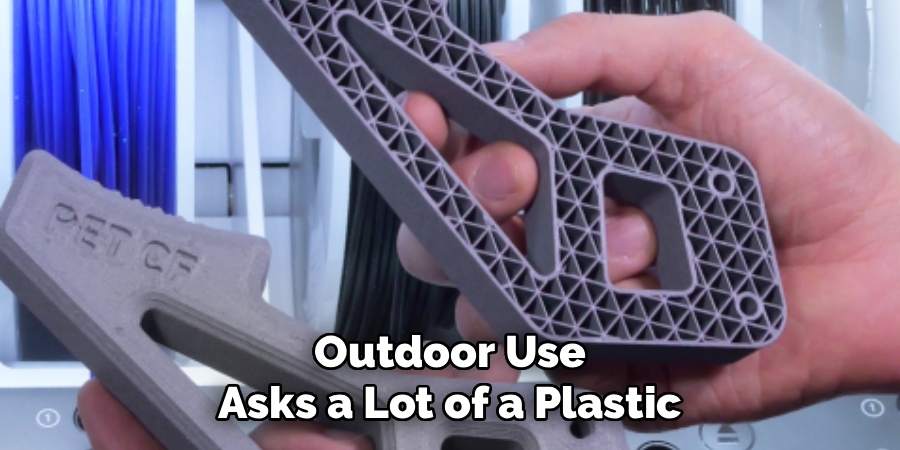
Outdoor use asks a lot of a plastic. But a well-chosen filament handles the exposure and the load together, lasting far longer than a casual print would.
Hobby and Cosplay Applications
Strength matters here more than people assume. Durable prints let hobbyists build props, wearable armor, and models that survive handling, travel, and repeated wear.
A cosplay piece takes a beating over a long convention day. Printing it tough means it comes home intact rather than in pieces.
Common Mistakes That Weaken Prints
A few errors quietly undermine durability, often without you noticing until something snaps. Knowing them in advance saves you the disappointment.
No judgment here. Most of us have made every one of these.
Setting Infill Too Low
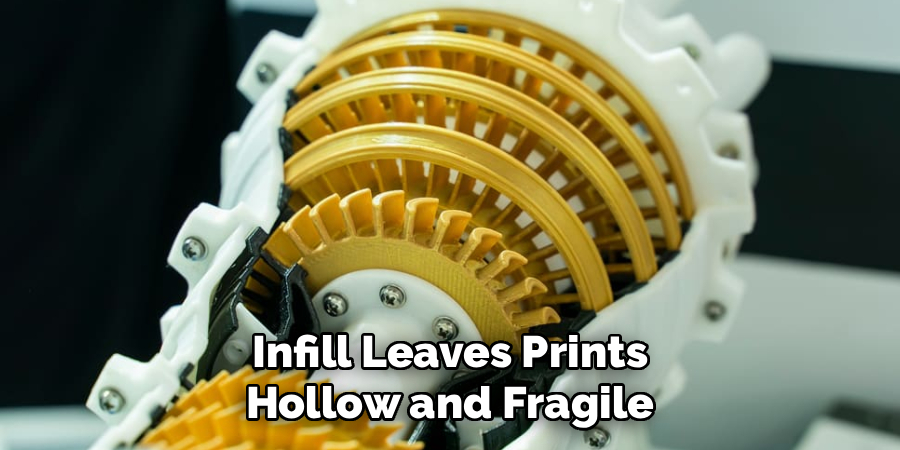
Skimping on infill leaves prints hollow and fragile. They crack under loads they really should have handled.
It’s tempting to save filament and time, but for functional parts it backfires. A little more infill often prevents a frustrating failure.
Printing in the Wrong Orientation
Ignoring layer direction places stress across the weakest axis. The part then splits neatly along its layer lines under load.
This one hurts because it’s so avoidable. A moment’s thought about orientation could have made all the difference.
Using Moisture-Damaged Filament
Wet filament prints with weak, brittle layers, which is a common source of mysterious strength problems. The part looks fine but breaks too easily.
Before you blame your settings, ask whether the spool is dry. Drying the filament is often the simplest fix of all.
Frequently Asked Questions
A few questions come up again and again once people start caring about strength. Here are honest answers.
Is 3D Printed Plastic as Strong as Injection-Molded?
Usually not quite. Injection-molded parts benefit from uniform density and no layer lines, which tends to make them stronger.
That said, a well-tuned print can come impressively close. With the right filament, high infill, and smart orientation, the gap narrows more than you might expect.
What Is the Strongest Common Filament?
Among widely used materials, polycarbonate and Nylon top the list for raw strength. They handle demanding mechanical jobs when printed well.
For everyday makers, though, PETG often offers the best balance. It’s strong, forgiving, and far easier to print than the engineering options.
Can You Increase Strength After Printing?
Yes, and it’s worth knowing. Techniques like annealing, epoxy coating, and plastic welding can all boost strength once a print is finished.
These won’t rescue a fundamentally weak design. But applied to a solid print, they may add meaningful durability where it counts.
Conclusion
So, how strong is 3D printer plastic? Strong enough for real work, provided you make the right choices along the way.
It really comes down to what you control. The filament you pick, the infill you set, the walls you build, the orientation you choose, and the temperature you dial in.
Get those right, and prints handle mechanical stress, outdoor exposure, and daily wear with confidence. Keep filament dry, print along the load, and lean on a few smart habits to squeeze out every bit of durability.
So choose one tough filament, run a quick strength test, and see for yourself just how much your prints can take. There’s a genuine satisfaction in trusting a part you made entirely on your own.

About
Zevric Halden is a dedicated expert in the world of 3D printing, printer repair, and additive manufacturing, with years of hands-on experience troubleshooting, maintaining, and optimizing desktop 3D printers. His professional focus lies in combining practical mechanical knowledge with modern 3D printing technologies to help users solve printer problems, improve print quality, and keep their machines running reliably. As the author of 3DMend, Zevric explores the technical side of 3D printing, making complex printer issues easier to understand for makers, hobbyists, and professionals alike.
Education
Rochester Institute of Technology
(Rochester, New York, USA)
Associate Degree in Mechanical & Manufacturing Technology
- Focused on mechanical systems, manufacturing processes, machine maintenance, and precision tools.
- Developed practical experience with mechanical troubleshooting, electronic components, and computer-controlled equipment.
- Gained hands-on knowledge of CAD systems, rapid prototyping, and additive manufacturing technologies.
Worcester Polytechnic Institute
(Worcester, Massachusetts, USA)
Bachelor’s in Mechanical Engineering & Additive Manufacturing
- Specialized in digital fabrication, 3D printing systems, mechanical design, and manufacturing technologies.
- Studied printer calibration, motion systems, extrusion mechanisms, material behavior, and print optimization.
- Participated in practical engineering projects involving rapid prototyping, machine diagnostics, and 3D-printed components.
Publications and Impact
Through 3DMend, Zevric shares his expertise on 3D printer troubleshooting, maintenance, calibration, hardware repair, print-quality issues, and additive manufacturing. His writing focuses on turning frustrating printer problems into clear, practical solutions that readers can understand and apply.
From nozzle clogs and extrusion problems to bed-leveling issues, calibration errors, overheating, unusual noises, failed prints, and mechanical wear, Zevric’s guides are designed to help users identify the underlying cause rather than simply treating the symptoms.
His work bridges the gap between technical engineering knowledge and everyday 3D printing, making reliable repair and maintenance information accessible to everyone—from first-time 3D printer owners and hobbyists to experienced makers and professionals.