

There’s a certain feeling that hits when you stare at a beloved Logitech G13 and think, ” This could fit my hands better. Maybe the thumbstick sits at an awkward angle. Maybe you just want a layout built around the way you actually play.
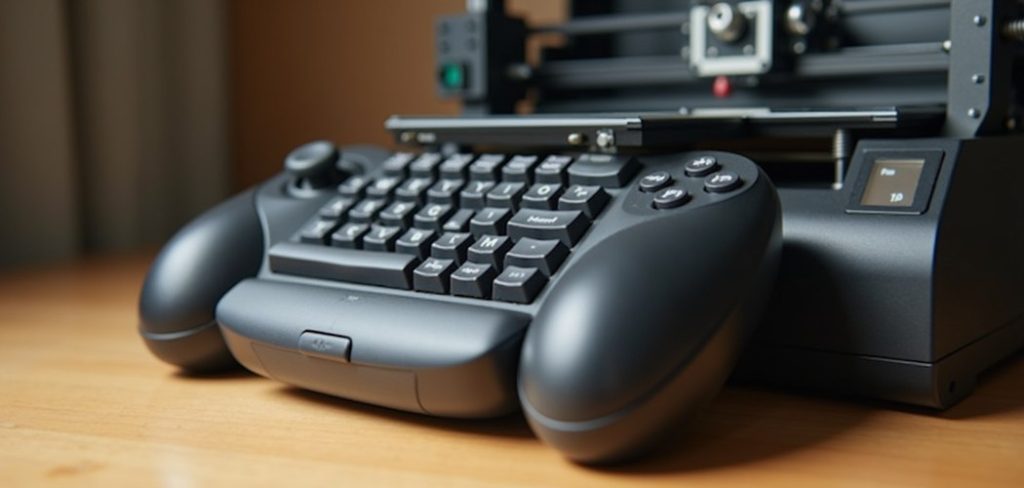
Learning how to 3D print a custom Logitech G13 scratches that itch satisfyingly. It turns a stock gamepad into something shaped entirely around you.
The project blends a few different skills. You’ll print, you’ll wire, and you’ll tinker a bit along the way.
None of it is out of reach for a determined hobbyist. In this guide, I’ll walk you through why people build these, what the G13 actually is under the hood, and the step-by-step path from raw files to a working controller you designed yourself.
Why Build a Custom Logitech G13
The obvious question first. Why bother, when you could just buy a used one?
The honest answer is that a stock unit is a compromise. It was designed for an average hand and an average setup, which may not be yours at all.
Perfect Ergonomics for Your Hands
Everyone’s grip is a little different. Finger length, palm width, the natural resting angle of your thumb. A factory shell can’t account for all of that.
A custom shell can. You shape the contours, the key spacing, and the hand rest to match how your hand actually sits. The result tends to feel less like a device and more like an extension of you.
A Layout Tailored to Your Games
The stock G13 works fine for general use. But it wasn’t built for your specific keybinds.
If you play MMOs, you might want the thumbstick repositioned and a cluster of keys within easy reach. Flight sim fans have different needs entirely. And creative software users often want something else again.
Building your own means you decide where everything goes. That freedom is a big part of the appeal.
Repair, Revive, or Upgrade an Old Unit
There’s also a practical angle. The G13 has been discontinued, so a broken one used to mean a dead device.
A custom build changes that. You can salvage the working parts, replace what failed, and add features the original never had. It breathes new life into hardware that would otherwise gather dust.
Understanding the G13 Before You Start
Before you print a single part, it helps to know what you’re recreating. The G13 is more than a plastic shell with buttons.
Getting a feel for its guts makes the whole project less intimidating. You’ll know what can be printed and what genuinely needs to be bought or reused.
How the Original G13 Is Constructed
At its core, the G13 is a fairly simple device. There’s the shell, a key matrix, a thumbstick, and a small control board that ties everything together.
The shell is what gives it shape and comfort. The matrix reads which keys you press. The board translates all of that into signals your computer understands.
Knowing these pieces helps you decide what to reuse and what to build fresh. It also demystifies the wiring later on.
What You Can and Cannot 3D Print
Here’s an important distinction. You can print the shell, the keycaps, and the mounts that hold everything in place.
What you can’t print is the electronics. The switches, the wiring, and the controller board are physical components you’ll need to source separately.
So think of the printer as handling the body, not the brain. The two work together, but they come from different places.
Choosing Between a Full Build and a Mod
You don’t have to go all in from the start. There are really two paths here.
One is a complete custom build, where you print an entirely new enclosure and wire it from scratch. The other is a lighter mod, where you customize parts of an existing G13.
For a first project, a partial mod may feel more approachable. A full build offers more freedom, but it asks more of you too.
Tools, Materials, and Files You Will Need
Gathering everything first saves a lot of mid-project scrambling. The list spans three areas: printing gear, electronics, and design files.
None of it is exotic, though the electronics may be new territory if you’ve only printed before. Here’s what to have on hand.
3D Printer and Filament Choices
Almost any reliable FDM printer will handle this project. The parts aren’t huge, so build volume rarely becomes an issue.
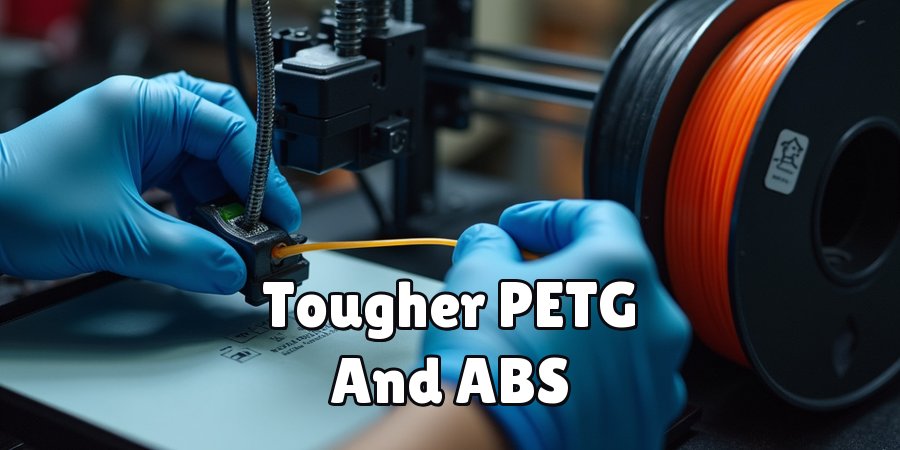
Filament choice matters more. A gamepad takes constant pressure and handling, so a durable material like PETG or ABS holds up better than plain PLA. You want something that resists cracking under daily use.
Electronic Components
This is the part that turns a shell into a controller. You’ll need key switches, a microcontroller, wiring, and a thumbstick module.
An Arduino Pro Micro is a popular choice for the brain, since it’s small and well-supported by hobbyist firmware. The switches can be mechanical keyboard switches, which give a satisfying click. A thumbstick salvaged from an old controller often works nicely.
Design Files and Software
You have two routes for the model itself. You can find existing G13-style designs shared by other makers, or you can design your own.
For custom work, CAD tools like Fusion 360 or Blender let you shape the shell exactly how you want it. Starting from someone else’s file and tweaking it is a reasonable middle ground, especially if modeling feels daunting.
How to 3D Print a Custom Logitech G13: Step-by-Step Guide
Here’s the heart of the project. Work through these seven steps in order, since each one leans on the one before it. Knowing how to 3D print a custom Logitech G13 is really about pacing yourself and not rushing the wiring.
Take it slow. This is a weekend project, not an afternoon one, and that’s part of the fun.
Step 1: Plan Your Custom Layout
Before any software, grab a pen. Sketch out where you want your keys, your thumbstick, and your hand rest to sit.
This planning stage saves hours later. A clear layout keeps the whole build focused on comfort rather than guesswork.
Think about how your fingers naturally fall. Reprinting a shell because the keys ended up in the wrong spot is a frustration worth avoiding.
Step 2: Find or Design the 3D Model
Now bring your sketch into the digital world. Either source an existing G13-style model or build your own shell in CAD.
Size the enclosure carefully around your switches and board. Everything needs to fit snugly once printed, so measure your components first.
If you’re new to CAD, starting with an existing file and adjusting it may be less overwhelming. There’s no shame in standing on someone else’s work.
Step 3: Prepare the Files in Your Slicer
Import your model and choose settings built for strength. This isn’t a decorative print, so durability comes first.
Higher infill and solid walls give the gamepad the rigidity it needs. A flexy shell feels cheap and may crack under pressure.
Add supports where overhangs appear, and preview the slice before you commit. A quick check now catches problems before they waste filament.
Step 4: Print the Shell and Components
Start printing the main body, the keycaps, and any mounts. Keep an eye on that first layer, since good adhesion sets the tone for the whole print.
Printing parts separately tends to make life easier. Assembly goes smoother, and future repairs become far less painful.
It’s tempting to walk away, but a glance now and then helps. Catching a failure early beats discovering a tangled mess hours later.
Step 5: Wire the Switches and Controller
Here’s where patience really pays off. Solder your key switches into a matrix, then connect that matrix to the microcontroller.
Tidy wiring matters more than it seems. Neat, labeled connections make troubleshooting far less miserable down the line.
Test each connection as you go, if you can. Finding one dead key now is easy; finding it after full assembly is not.
Step 6: Assemble the Custom G13
With the electronics ready, start fitting everything into the shell. Seat the switches, mount the board, and add the thumbstick.
Secure it all with screws or clips so the unit feels solid in hand. A gamepad that rattles or flexes undermines all your careful work.
Take your time here. A snug, well-assembled build feels genuinely premium, which is a nice reward for the effort.
Step 7: Program and Test Your Gamepad
The final step brings it to life. Flash the controller firmware, then map your keys to whatever you want them to do.
Test every input in an actual game. That first responsive press is a genuinely satisfying moment.
Expect to fine-tune the layout a bit. Small tweaks now make the difference between good and perfect, so don’t settle too early.
Best Practices for a Reliable Build
A few habits separate a build that lasts from one that fails after a month. None of them add much effort, and they pay off over time.
Mostly, they come down to thinking ahead rather than powering through.
Choose Durable Materials
Gaming means constant, repeated pressure. A shell printed in brittle filament may crack right where your fingers press hardest.
Tougher materials like PETG or ABS handle that stress far better. It’s a small choice at the start that shapes how long the whole thing survives.
Test Fit Before Final Assembly
Dry-fitting parts before you glue or screw anything catches sizing problems early. A switch that won’t seat, a board that doesn’t clear the wall.
Finding those issues before assembly saves real frustration. Once everything’s fixed in place, fixing a fit problem becomes a much bigger job.
Label and Organize Your Wiring
This one sounds tedious, and it is. But when a key stops working three months from now, you’ll be grateful.
Neat, labeled connections turn troubleshooting into a quick fix rather than a puzzle. A tangle of identical wires is a future headache waiting to happen.
Customizing the Look and Feel
Function is only half the joy. The other half is making the thing yours, visually and physically.
This is where a custom build really outshines anything off the shelf. You’re not stuck with someone else’s design choices.
Ergonomic Grips and Hand Rests
Comfort during long sessions comes down to how the device meets your hand. Sculpted rests and textured grips make a surprising difference.
A well-shaped hand rest reduces fatigue over hours of play. It’s easy to overlook until you feel the contrast against a flat, generic surface.
Custom Keycaps and Colors
Printing your own keycaps opens up real personality. Different shapes, different profiles, colors that match your setup.
A distinct color scheme turns a plain gray gamepad into something that feels crafted. Small touches like this make the build feel finished rather than functional-only.
Backlighting and Extra Buttons
If you want to push further, LEDs add both style and a bit of practical glow for dim rooms. Extra buttons expand what the device can do.
These additions complicate the wiring, so they’re better suited to a second build. But they’re worth considering once you’ve got the basics down.
Common Mistakes to Avoid
Everyone hits a few snags on a project like this. Knowing them in advance smooths the road considerably.
No judgment here. Most of these are simply part of learning as you go.
Underestimating Wiring Complexity
The printing feels like the hard part, but the wiring often surprises people. Rushing the key matrix leads to dead keys and frustrating rework.
Give the electronics the respect they deserve. Slow, careful soldering beats fast, sloppy connections every time.
Printing Parts Too Weak
A gamepad takes abuse. Low infill or thin walls create a shell that flexes and eventually cracks under normal use.
Print for strength, not speed. The extra filament and time are a small price for a device that survives real gaming.
Skipping the Test Phase
It’s tempting to assemble everything and hope it works. That optimism tends to backfire.
Testing inputs early catches problems while they’re still easy to fix. Once the shell is sealed up, every fix becomes a teardown.

Frequently Asked Questions
A few questions come up again and again once people start planning a build. Here are honest answers.
Do I Need Coding Skills to Build One?
Not really, though a little willingness to learn helps. Beginner-friendly firmware and plenty of online guides make the programming approachable.
You’ll mostly be flashing existing firmware and mapping keys, not writing code from scratch. If you can follow a tutorial, you can handle this part.
Can I Reuse Parts From an Old G13?
Absolutely, and it’s often the smart move. Salvaging the switches or the thumbstick from a broken unit can save money and simplify the build.
Just check that the parts still work before you commit to them. Reusing a faulty component only creates confusion later.
How Long Does the Whole Project Take?
That depends on your experience and how custom you go. The printing alone spans several hours, sometimes more for a full shell.
Add the wiring and assembly, and a focused weekend is a realistic estimate. Your first build may run longer as you learn, which is perfectly normal.
Conclusion
Working out how to 3D print a custom Logitech G13 gives you something no store shelf can offer. A gamepad shaped around your hands, your games, and your taste, built by you.
The path is clearer than it first appears. Plan your layout, print the shell, wire the switches, then program and test until it feels right.
A handful of habits keep you on track. Choose durable materials, test-fit your parts, and check your inputs early rather than late.
So start with a simple layout and build your confidence before reaching for LEDs and extra buttons. There’s a real thrill in gaming with a controller you designed and assembled yourself. Give it a go, and enjoy the quiet pride of using something genuinely one of a kind.

About
Zevric Halden is a dedicated expert in the world of 3D printing, printer repair, and additive manufacturing, with years of hands-on experience troubleshooting, maintaining, and optimizing desktop 3D printers. His professional focus lies in combining practical mechanical knowledge with modern 3D printing technologies to help users solve printer problems, improve print quality, and keep their machines running reliably. As the author of 3DMend, Zevric explores the technical side of 3D printing, making complex printer issues easier to understand for makers, hobbyists, and professionals alike.
Education
Rochester Institute of Technology
(Rochester, New York, USA)
Associate Degree in Mechanical & Manufacturing Technology
- Focused on mechanical systems, manufacturing processes, machine maintenance, and precision tools.
- Developed practical experience with mechanical troubleshooting, electronic components, and computer-controlled equipment.
- Gained hands-on knowledge of CAD systems, rapid prototyping, and additive manufacturing technologies.
Worcester Polytechnic Institute
(Worcester, Massachusetts, USA)
Bachelor’s in Mechanical Engineering & Additive Manufacturing
- Specialized in digital fabrication, 3D printing systems, mechanical design, and manufacturing technologies.
- Studied printer calibration, motion systems, extrusion mechanisms, material behavior, and print optimization.
- Participated in practical engineering projects involving rapid prototyping, machine diagnostics, and 3D-printed components.
Publications and Impact
Through 3DMend, Zevric shares his expertise on 3D printer troubleshooting, maintenance, calibration, hardware repair, print-quality issues, and additive manufacturing. His writing focuses on turning frustrating printer problems into clear, practical solutions that readers can understand and apply.
From nozzle clogs and extrusion problems to bed-leveling issues, calibration errors, overheating, unusual noises, failed prints, and mechanical wear, Zevric’s guides are designed to help users identify the underlying cause rather than simply treating the symptoms.
His work bridges the gap between technical engineering knowledge and everyday 3D printing, making reliable repair and maintenance information accessible to everyone—from first-time 3D printer owners and hobbyists to experienced makers and professionals.