

You pull a print off the bed, and it’s clean, sharp, exactly what you designed. But it still looks like plastic. That flat, slightly synthetic sheen gives it away every time.
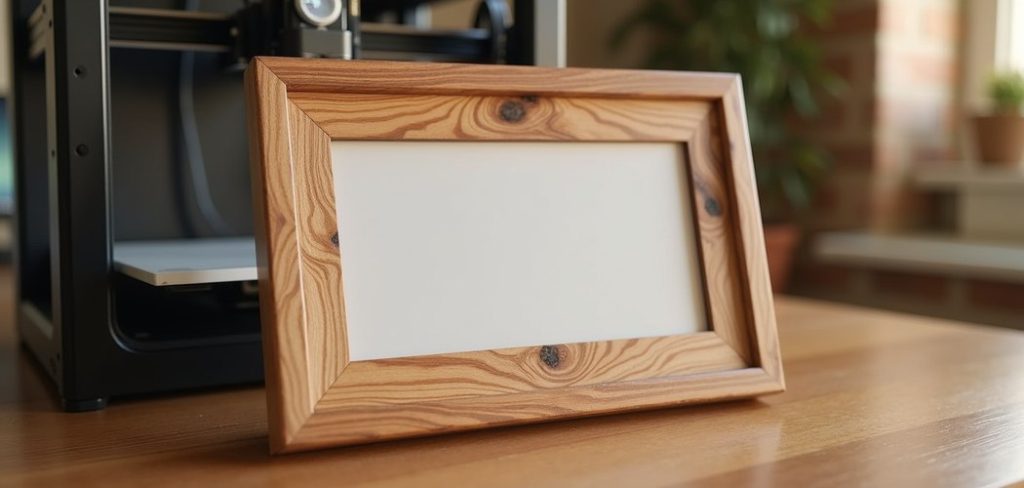
Now imagine that same piece with warm grain running across it, the color of aged oak or soft pine. That’s the goal here, and learning how to make 3D prints look like wood is far more achievable than it sounds.
The beauty of this project is flexibility. You can print with special wood-filled filament, finish a plain print by hand, or blend the two for something genuinely convincing. There’s a path for almost any budget and skill level.
In this guide, I’ll walk you through why the wood look is worth chasing, the main approaches you can take, and a step-by-step process to get there. We’ll also cover common mistakes and how to tailor the finish to different types of timber.
Why Give Your 3D Prints a Wood Look
Plastic has its place. But it rarely feels warm, and it rarely feels handmade.
A wood finish changes that entirely. It’s the difference between something that looks printed and something that looks crafted.
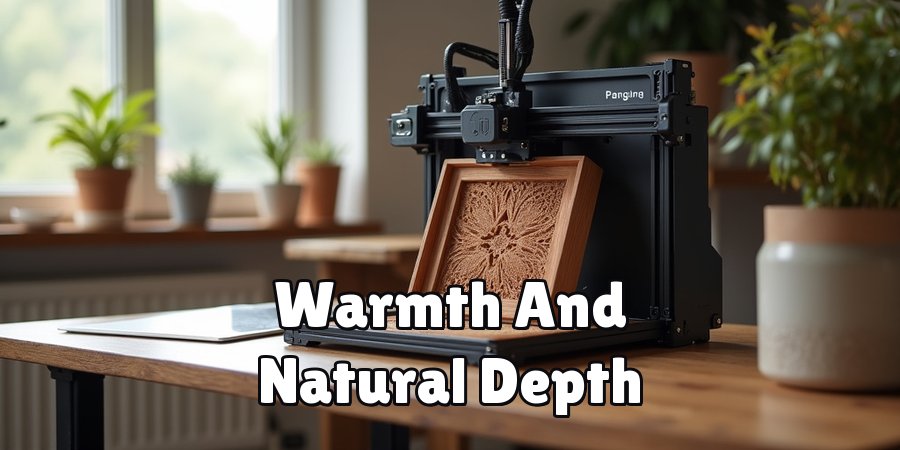
Warmth and Natural Beauty
There’s a quality real wood has that’s hard to name. Depth, maybe, or the way light catches the grain differently as you turn it.
A wood finish borrows that character. Suddenly a print has richness and personality that flat plastic simply can’t match. It stops looking mass-produced and starts looking like an object someone cared about.
Perfect for Props, Décor, and Gifts
Some projects practically beg for a wood finish. Picture frames feel more at home in it. Figurines gain a hand-carved charm.
Cosplay props especially benefit, since a convincing wood grain sells the illusion far better than paint alone. And when it comes to gifts, a piece that looks like real timber tends to feel more thoughtful than something obviously printed.
A Budget-Friendly Alternative to Real Wood
Here’s the practical angle. Actual woodworking needs lumber, saws, sanders, and a fair bit of space.
Printing a wood-effect part skips most of that. You avoid expensive hardwoods and the learning curve of joinery, yet you still end up with something that reads as wood. For anyone without a workshop, that’s a real advantage.
Two Main Approaches to a Wood Finish
Before you dive in, it helps to know your options. There are two main routes to a wood look, and they suit different goals.
Neither is objectively better. It really comes down to what gear you have and how much hands-on work you enjoy.
Printing With Wood-Filled Filament
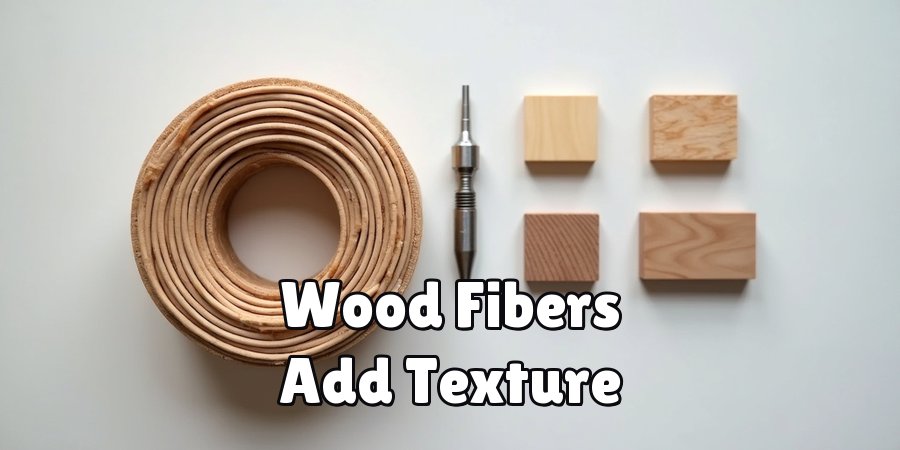
The first approach bakes the look right into the material. Wood-filled filament mixes PLA with real wood particles, often from cork, pine, or bamboo.
Print with it, and the part comes out with a natural tone and a slightly textured surface from the start. You can even vary the print temperature between layers to create darker and lighter bands, which mimics grain surprisingly well. It’s the closest thing to a shortcut here.
Finishing a Standard Print by Hand
The second route relies on your hands rather than the spool. Start with ordinary PLA or PETG, then transform it with sanding, paint, and stain.
This takes more effort, no question. But it also gives you total control over the final color and grain pattern. A skilled hand can make plain filament look like weathered barn wood or polished walnut, which is impressive when you see it up close.
Combining Both for the Best Result
Honestly, the most convincing results usually come from mixing the two. You print with wood filament for that built-in texture and base tone, then layer finishing techniques on top.
The filament gives you a head start. The hand-finishing adds the depth and detail that filament alone can’t quite reach. It’s more work, but the payoff tends to be worth it for a piece you really want to shine.
What You Will Need Before You Start
Gathering your supplies first makes everything smoother. The exact list depends on which approach you’re taking, but there’s a good deal of overlap.
Nothing here is hard to find, which is part of the appeal.
Wood-Filled Filament or Standard Filament
If you’re going the filament route, pick up a wood PLA blend. There are plenty out there, ranging from light birch tones to deep, dark options.
If you’d rather finish by hand, ordinary PLA or PETG works perfectly well as your starting point. You’ll build the wood look on top of it later, so the base color barely matters.
Sanding and Finishing Supplies
This is where most of the transformation happens. You’ll want sandpaper in a few grits, a soft brush, and either wood stain or acrylic paints for the color.
A clear sealer finishes the job and protects your work. Keep these within reach before you start, since stopping halfway to hunt for supplies tends to break your rhythm.
Basic Safety Gear
One thing people skip and later regret. Sanding creates fine dust, so a dust mask and decent ventilation make the work far more comfortable.
It’s a small step. But breathing plastic and wood particles all afternoon isn’t pleasant, and it’s easily avoided.
How to Make 3D Prints Look Like Wood: Step-by-Step Guide
Here’s the heart of it. Work through these seven steps in order, and take your time, especially with the sanding and staining. Patience is what separates a plastic-looking part from one that fools people.
Each step builds on the last, so try not to skip ahead.
Step 1: Choose Your Filament and Model
Start with your material and your model. Wood-filled filament gives you built-in grain, while standard filament works fine if you plan to paint.
Model choice matters more than you’d think. Flat, simple surfaces show off wood grain beautifully, whereas tiny intricate details can get lost. For your first attempt, pick something with broad, open faces.
Step 2: Dial In Your Print Settings
Wood filament behaves a little differently from plain PLA. It often prints better at slightly higher temperatures and slower speeds.
There’s a catch, though. The wood particles can clog a standard nozzle, so a wider nozzle, around 0.5mm, helps a lot. It’s worth a quick test print before committing to a long job, just to make sure the flow is clean.
Step 3: Print With Varied Layer Heights
Here’s a clever trick that really sells the effect. If you’re using wood filament, try changing the print temperature between layers.
Higher temperatures tend to darken the wood particles, while lower ones keep them lighter. Alternating these creates natural-looking bands that resemble real grain. It takes some experimentation to find the right range, but the result can be striking.
Step 4: Sand the Surface Smooth
Once printed, grab your sandpaper. Start with a coarser grit to knock down the layer lines, then work through progressively finer grits.
This step does double duty. It smooths the surface and, on wood filament, actually reveals more of the wood fibers underneath. The texture that emerges is what starts making the part feel genuinely wooden rather than just wood-colored.
Step 5: Apply Wood Stain or Paint
Now for the color. Brush on wood stain or layered acrylics, always working in the direction the grain would naturally run.
Here’s a detail that matters. If you’re using stain, wipe away the excess after a minute or two. That wiping deepens the color in the recesses and highlights the raised texture, which is exactly how real wood catches stain.
Step 6: Add Grain Detail by Hand
For an extra layer of realism, paint in some grain yourself. A fine brush or a graining tool lets you add subtle knots, rings, and streaks.
This is optional, and it’s easy to overdo. Keep it restrained. A few well-placed knots read as authentic, while too many start to look busy and fake.
Step 7: Seal and Protect the Finish
Finally, lock everything in. Apply a clear matte or satin sealer to protect the surface and settle the whole look together.
Matte tends to read as natural, unfinished wood, while satin suggests something oiled or lightly polished. Let it cure fully, then step back and take it in. If a spot looks thin, a second coat usually sorts it out.
Best Practices for a Realistic Wood Effect
A few habits push a decent finish toward a convincing one. None of them take much extra time, and they add up.
Mostly, they come down to paying attention to how real wood actually behaves.
Study Real Wood First
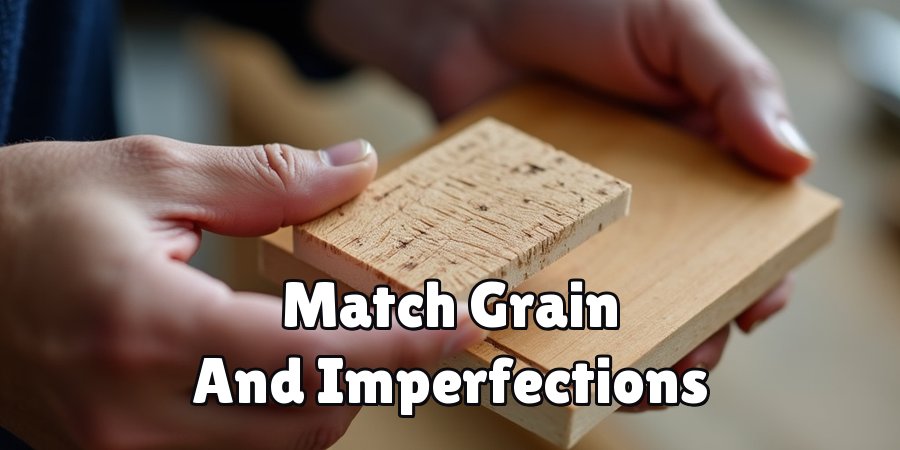
This sounds obvious, yet people skip it constantly. Before you start painting grain, look closely at a real piece of timber.
Notice the color, the spacing of the grain lines, the small imperfections. Matching those details is what makes your finish believable. A photo reference on your phone works well if you don’t have wood on hand.
Build Color in Thin Layers
Resist the urge to slap on one heavy coat of stain or paint. It rarely looks right.
Thin, layered coats create depth that a single application can’t. Each layer adds a little more richness, and you keep control over how dark things get. It’s slower, but the result has a warmth that flat, heavy color lacks.
Embrace Small Imperfections
Real wood is never perfectly uniform. It has knots, uneven tones, and the occasional odd streak.
So don’t chase perfection. Leaving in some variation actually makes the piece more convincing, not less. A flawlessly even surface tends to read as fake, which defeats the whole point.
Common Mistakes to Avoid
Everyone makes a few of these early on. Knowing them in advance saves you some frustration and a few ruined prints.
No shame in any of them. They’re part of learning the process.
Skipping the Sanding Step
It’s tempting to jump straight to staining, especially when you’re eager to see color. Don’t.
Visible layer lines instantly break the wood illusion. Nothing gives away a print faster than those telltale horizontal ridges peeking through the finish. Sanding is tedious, but it’s not optional if you want a convincing result.
Using Too Much Stain at Once
Heavy stain application is a common trap. More seems like it should mean better coverage, but it muddies things.
A thick coat hides the grain and texture you worked to create underneath. It also tends to pool and dry unevenly. Go light, wipe the excess, and build up if you need to.
Forgetting to Seal the Finish
The final sealer feels like an afterthought, so people leave it off. That’s a mistake that shows up later.
An unsealed surface can smudge, fade, or wear away with handling. All that careful work slowly degrades. A quick clear coat protects it and, as a bonus, evens out the sheen across the whole piece.
Tips for Different Wood Styles
Once you’ve got the basics down, you can aim for specific types of wood. The technique stays similar; the color and finish choices change.
Here’s how to steer toward a few popular looks.
Light Woods Like Pine and Birch
For a soft, airy appearance, reach for pale stains and go easy on the grain. Light woods have subtle, understated grain rather than bold streaks.
Keep the color gentle and the contrast low. The goal is a clean, bright finish that feels fresh and modern rather than heavy or aged.
Rich Woods Like Walnut and Mahogany
If you want something more luxurious, deeper stains are the way. Warm, dark tones bring out that sense of aged, quality timber.
Build the color in layers to get real depth. A little reddish or brown undertone helps sell mahogany in particular, while walnut leans cooler and darker. These finishes feel substantial, which suits display pieces well.
Weathered or Rustic Finishes
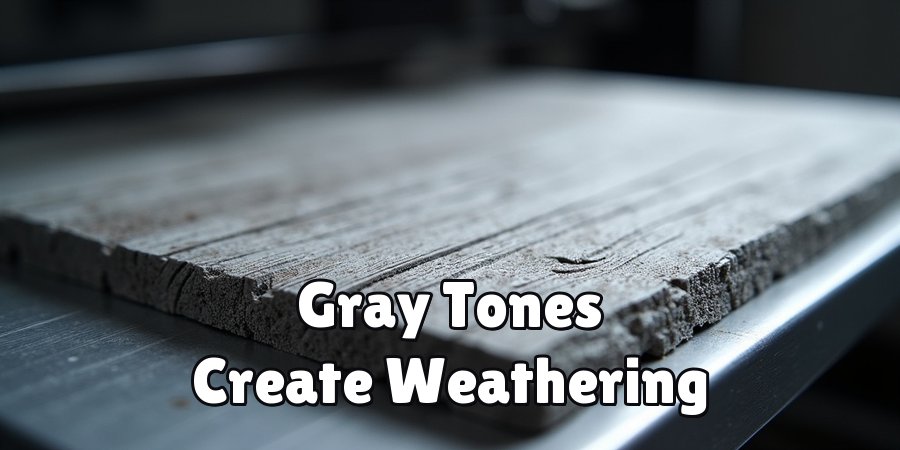
For a reclaimed, barn-wood vibe, the approach shifts a bit. Dry-brushing gray tones over a base color creates that faded, sun-bleached look.
Add some distress marks too, like scratches or worn edges, since weathered wood is full of them. This style forgives imperfection, which honestly makes it a great one to practice on early.
Frequently Asked Questions
A few questions come up again and again once people start chasing the wood look. Here are honest answers.
Do I Need Special Filament for a Wood Look?
Not necessarily. Wood-filled filament helps, since it provides real texture and a natural base tone, but it isn’t required.
Paint and stain can achieve a convincing wood effect on any standard print. The hand-finishing route takes more effort, yet it gives you more control over the final look. Either path can work well.
Will Wood Filament Damage My Printer?
It might, if you’re not careful. The wood particles are more abrasive than plain PLA and can clog a standard nozzle over time.
A slightly larger nozzle, around 0.5mm, prevents most of the trouble. Some people also switch to a hardened steel nozzle for regular use. With those precautions, printing stays smooth.
How Do I Make the Grain Look Realistic?
Realism comes from combining a few techniques rather than relying on one. Varied layer temperatures create natural banding, sanding reveals texture, and hand-painted detail adds knots and streaks.
Studying real wood first makes the biggest difference, though. When you know what actual grain looks like, matching it becomes far easier.
Conclusion
Figuring out how to make 3D prints look like wood turns plain plastic into something with real warmth and character. And it doesn’t take a workshop or years of woodworking to pull off.
The process comes down to a clear sequence. Choose your filament, dial in your settings, then sand, stain, and seal until the piece reads as genuine timber.
A few habits carry you the rest of the way. Study real wood before you start, build your color in thin layers, and let small imperfections stay. Those touches are what make the finish believable.
So pick a small, flat model and give it a try. Start simple, since the first attempt is really about learning the rhythm of it. There’s a quiet satisfaction in holding a print that looks and feels like the real thing, knowing you made it yourself.

About
Zevric Halden is a dedicated expert in the world of 3D printing, printer repair, and additive manufacturing, with years of hands-on experience troubleshooting, maintaining, and optimizing desktop 3D printers. His professional focus lies in combining practical mechanical knowledge with modern 3D printing technologies to help users solve printer problems, improve print quality, and keep their machines running reliably. As the author of 3DMend, Zevric explores the technical side of 3D printing, making complex printer issues easier to understand for makers, hobbyists, and professionals alike.
Education
Rochester Institute of Technology
(Rochester, New York, USA)
Associate Degree in Mechanical & Manufacturing Technology
- Focused on mechanical systems, manufacturing processes, machine maintenance, and precision tools.
- Developed practical experience with mechanical troubleshooting, electronic components, and computer-controlled equipment.
- Gained hands-on knowledge of CAD systems, rapid prototyping, and additive manufacturing technologies.
Worcester Polytechnic Institute
(Worcester, Massachusetts, USA)
Bachelor’s in Mechanical Engineering & Additive Manufacturing
- Specialized in digital fabrication, 3D printing systems, mechanical design, and manufacturing technologies.
- Studied printer calibration, motion systems, extrusion mechanisms, material behavior, and print optimization.
- Participated in practical engineering projects involving rapid prototyping, machine diagnostics, and 3D-printed components.
Publications and Impact
Through 3DMend, Zevric shares his expertise on 3D printer troubleshooting, maintenance, calibration, hardware repair, print-quality issues, and additive manufacturing. His writing focuses on turning frustrating printer problems into clear, practical solutions that readers can understand and apply.
From nozzle clogs and extrusion problems to bed-leveling issues, calibration errors, overheating, unusual noises, failed prints, and mechanical wear, Zevric’s guides are designed to help users identify the underlying cause rather than simply treating the symptoms.
His work bridges the gap between technical engineering knowledge and everyday 3D printing, making reliable repair and maintenance information accessible to everyone—from first-time 3D printer owners and hobbyists to experienced makers and professionals.