

A favorite print snaps clean in half. Or two halves of a big model sit side by side, refusing to feel like one solid piece no matter how much glue you throw at them.
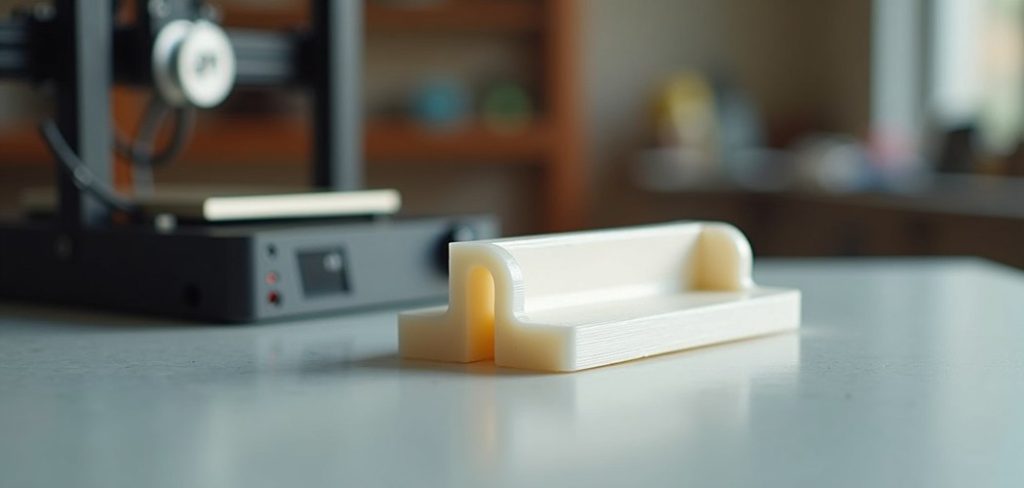
I’ve been there, and it’s a special kind of frustrating. But learning how to plastic weld 3D prints changed that for me completely.
Welding fuses the plastic itself. That means bonds far stronger than any glue, and seams that can practically disappear once you finish them.
The tools are simple, too. A soldering iron and a little practice will get you surprisingly far.
In this guide, I’ll walk you through why welding beats glue, how it actually works, and a step-by-step process from prep to finished seam.
We’ll also cover the different methods, the common mistakes, and how to make your welds truly last.
Why Plastic Welding Beats Glue for 3D Prints
Glue has its place. For quick, low-stress fixes, it’s fine.
But when a part needs to hold up under real force, glue tends to let you down. Welding is a different story entirely.
Stronger, More Permanent Bonds
Here’s the core difference. Glue sits on the surface and grips from the outside.
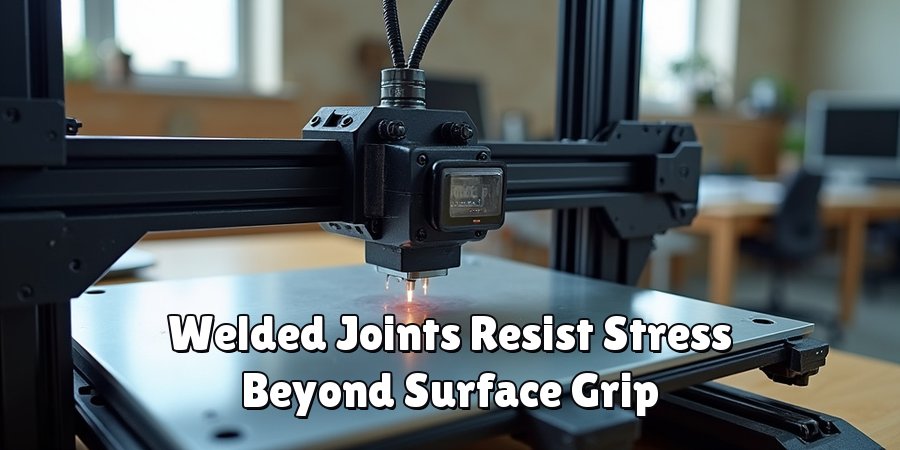
Welding melts the plastic on both sides so it flows together and becomes one piece. That fusion happens at a deeper level, which is why welded joints resist stress that would pop a glued seam apart. For anything load-bearing, this matters a lot.
Seamless Repairs and Invisible Joints
There’s a cosmetic upside as well. A good weld can blend the joint right into the surrounding plastic.
Sand it smooth afterward, and the seam nearly vanishes. Glue often leaves a visible line or, worse, a squeeze-out mess along the edge. Welding gives you a cleaner canvas to finish from.
Cost-Effective and Reusable
Then there’s the practical angle. A soldering iron or welding pen works on countless projects.
Buy it once, use it for years. Glue, by contrast, runs out and sometimes dries up in the tube before you finish it. Over enough repairs, welding quietly saves you money.
Understanding How Plastic Welding Works
Before you fire up a hot tool, it helps to grasp what’s actually happening. The concept is simpler than it sounds.
Once it clicks, you’ll weld with far more confidence and a lot less guesswork.
The Science of Melting and Fusing
At its heart, plastic welding is just controlled melting. Heat softens the plastic surfaces until they turn semi-liquid.
Press them together, or feed melted filler between them, and the material flows into one continuous mass. As it cools, it hardens back into a single solid piece rather than two parts stuck together. That’s the whole trick.
Which Filaments Weld Best
Not every material behaves the same under heat. PLA softens quickly and welds nicely, though it can scorch if you’re careless.
PETG and ABS both weld well too, each with its own quirks. The one rule that holds across all of them is this: match your filler to the print. Same material, same behavior, stronger bond.
Setting Realistic Expectations
I’ll be honest with you here. Your first few welds may look rough.
Clean, strong joints come with a bit of practice, so early attempts are part of the process. Don’t get discouraged if the seam looks lumpy at first. A little sanding hides a lot, and your technique sharpens fast.
Tools and Materials You Will Need
Gathering everything first keeps the whole job smooth. The list is short, and you may already own most of it.
What you need shifts a little depending on your chosen method, but the basics stay the same.
Heat Sources for Welding
Your heat tool is the star of the show. A basic soldering iron is the cheapest, most accessible option and handles small repairs beautifully.
A dedicated plastic welding pen offers more control, especially for cleaner seams. And a hot air gun suits larger parts, though it takes a steadier hand. Any of the three can work; it just depends on the job.
Filler Material and Extra Filament
Filler is what reinforces and fills the joint. The easiest source? Scraps of the same filament your print is made from.
Snip off a length and you’ve got a filler rod ready to go. Using matching material means the weld cures with the same strength and color as the original, which keeps things blending nicely.
Safety and Finishing Supplies
This part isn’t optional. Melting plastic releases fumes, so a well-ventilated space and a respirator or mask are genuine necessities.
Heat-resistant gloves protect your hands from the tool and hot material. And sandpaper handles the cleanup afterward, smoothing the weld flush with the surface.
How to Plastic Weld 3D Prints: Step-by-Step Guide
Here’s the heart of it. Work through these seven steps in order, since each one leans on the one before it. Learning how to plastic weld 3D prints really comes down to patience, not speed.
Take it slow. A rushed weld is a weak weld, and that defeats the whole point.
Step 1: Prepare and Align the Parts
Start by cleaning both surfaces. Wipe away dust, oils, and any stray strings left over from printing.
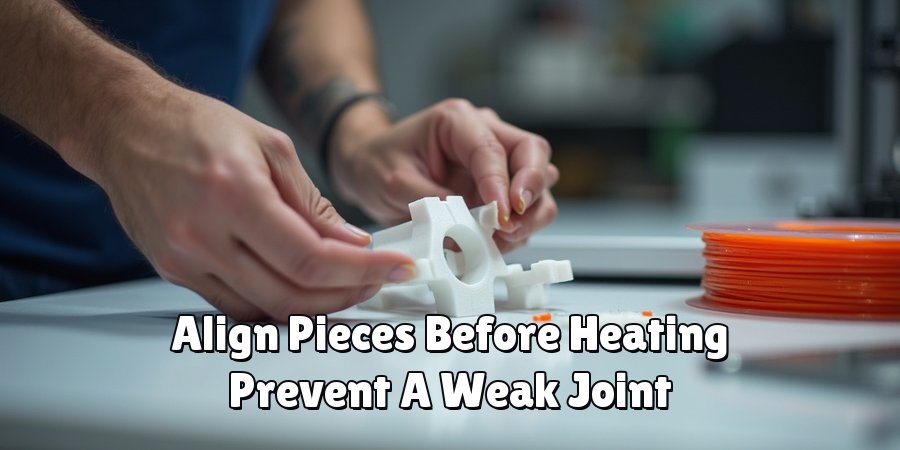
Then dry-fit the pieces so they line up exactly how you want them. Good alignment now prevents a crooked, weak joint later. It’s tempting to skip straight to the hot tool, but this quiet step sets up everything after it.
Step 2: Choose and Prepare Your Filler Material
Snip a length of matching filament to use as your filler rod. Keep it handy, near your work surface.
The matching part genuinely matters. Filler that shares the print’s material bonds cleanly and cures with the same strength. Mismatched plastic can create a weak spot right where you needed reinforcement.
Step 3: Heat Your Tool to the Right Temperature
Warm up your soldering iron or welding pen, then test it on a scrap piece first. Always test first.
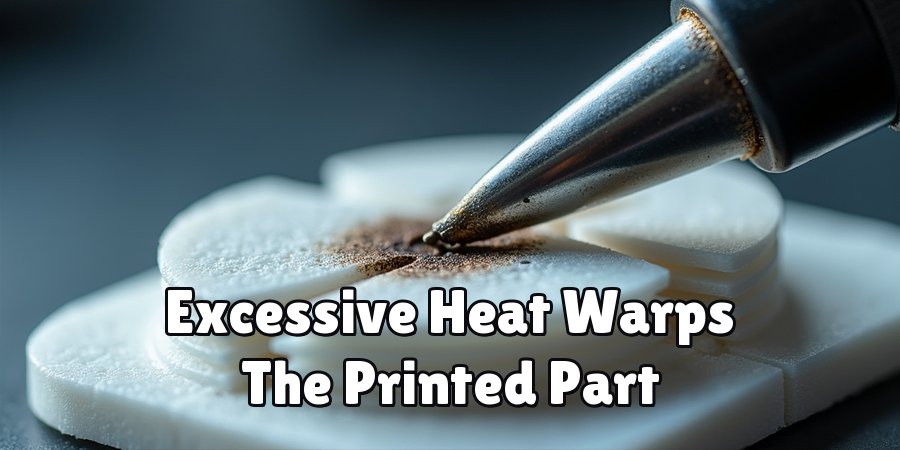
Too much heat scorches and warps the plastic, while too little leaves a cold, incomplete bond. The scrap test tells you where the sweet spot sits for your particular filament. A minute here saves a ruined part.
Step 4: Tack the Pieces Together
Before committing to a full weld, make a few small spot welds along the seam. These tacks hold everything in place.
Think of them like pinning fabric before you sew. They keep the parts aligned so nothing shifts once you start the real welding. Skip this, and pieces have a habit of drifting mid-weld.
Step 5: Weld Along the Seam
Now run the hot tip slowly along the joint. Let it melt both surfaces so they flow together into one.
Keep a steady, patient pace. Move too fast, and you’ll leave cold spots that turn into weak points. The plastic should fuse evenly, with no gaps peeking through the seam.
Step 6: Add Filler to Reinforce the Joint
Feed your filler filament into the molten seam as you go. This builds up material and adds real strength.
Filler does two jobs. It fills any gaps, and it creates a thicker, tougher bond. On load-bearing parts especially, a generous bead of filler makes the difference between a fix that holds and one that fails again.
Step 7: Cool, Sand, and Finish
Let the weld cool fully before you touch it. Rushing this stage can stress the joint while it’s still soft.
Once it’s cool, sand the seam smooth and flush with the surface. Give the bond a gentle test to be sure it holds. If a spot feels weak, there’s no shame in going back for another pass.
Different Plastic Welding Methods Explained
There’s no single “right” way to weld. The best method depends on the part, your budget, and how much control you want.
Here’s a quick look at the three main approaches, and where each one shines.
Soldering Iron Welding
This is where most people start, and for good reason. A common soldering iron is affordable and forgiving.
It handles small repairs and modest seams without any specialized gear. If you’ve got one in a drawer already, you’ve got everything you need to try welding today. The trade-off is a little less finesse than dedicated tools offer.
Plastic Welding Pens
A step up in control comes from a dedicated welding pen. Many feed filler automatically, which frees up a hand and steadies the whole process.
The result tends to look cleaner and more professional. For anyone welding regularly, or chasing invisible seams, a pen is a worthwhile upgrade. It simply makes the fiddly parts easier.
Friction and Hot Air Welding
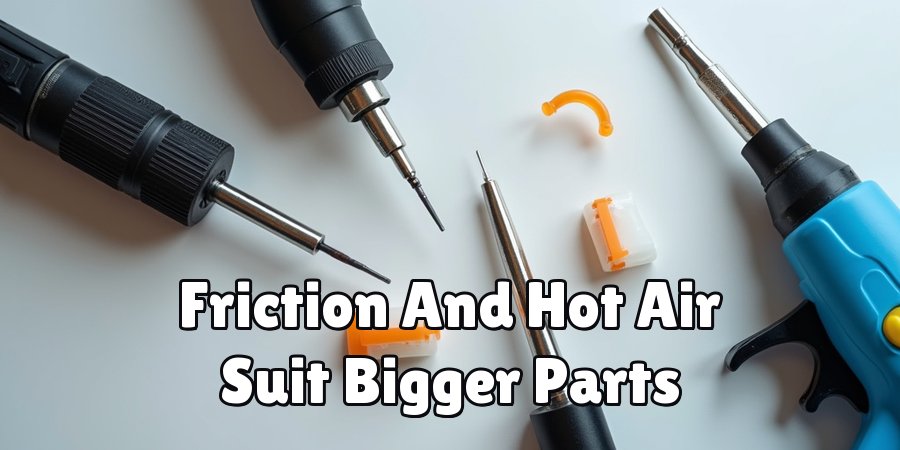
The advanced end covers friction and hot air methods. Friction welding spins filament against the plastic until the heat from motion fuses them.
Hot air, meanwhile, directs a stream of heat to melt larger areas. Both suit bigger parts and specific materials, though they demand more practice. I’d file these under “grow into later” rather than “start here.”
Best Practices for Strong, Clean Welds
A few habits separate a decent weld from a great one. None of them take much effort, and they compound over time.
Mostly, they come down to matching materials and slowing down.
Match Your Filler to the Print
I keep circling back to this because it’s that important. Filler made from the same filament as your print shares its strength and finish.
The weld ends up consistent, both in how it holds and how it looks. Mismatched filler creates a visible seam and a possible weak point, which undoes half the reason you welded in the first place.
Work in Small, Controlled Passes
Slow, deliberate movements give you even melting. Fast, jerky ones leave scorched spots and cold gaps.
There’s a rhythm to it once you find it. Small passes let you watch the plastic flow and react before anything goes wrong. Patience genuinely pays off with a cleaner, stronger result.
Reinforce High-Stress Areas
Not every part of a joint takes the same load. So treat the busy spots accordingly.
On joints that carry weight or flex repeatedly, add extra filler and widen the weld. That reinforcement is cheap insurance against the same break happening twice. A little more material where it counts goes a long way.
Common Mistakes to Avoid
Everyone stumbles a bit when they start welding. These are the missteps I see most, and each is easy to sidestep once you know it’s coming.
No judgment here. I’ve made all of them at least once.
Rushing the Weld
The urge to finish fast is understandable. It also tends to ruin the joint.
Moving the tip too quickly leaves cold spots and hollow, weak seams that fail under pressure. Slow down. A weld that takes an extra minute is worth far more than one that snaps a week later.
Overheating the Plastic
On the flip side, too much heat is its own problem. Excessive temperature scorches and warps the part.
You lose both strength and appearance in one go. This is exactly why the scrap test earlier matters so much. Find the right heat, then stick with it.
Skipping Ventilation and Safety
This one isn’t about weld quality. It’s about you.
Melting plastic releases fumes you shouldn’t be breathing casually. A mask and fresh air aren’t suggestions; they’re the baseline. It’s a small habit that protects your health every single time you weld.
Finishing and Strengthening Your Welds
The weld itself is only part of the job. How you finish it decides whether the repair looks intentional or obvious.
A little extra work here elevates the whole result.
Sanding for a Seamless Look
Once the weld has cooled, progress through sandpaper grits from coarse to fine. This blends the raised weld bead into the surrounding surface.
Take your time with it. Careful sanding is what turns a lumpy seam into a joint you can barely find. It’s tedious, admittedly, but it’s where the magic really happens.
Adding Epoxy or Reinforcement
For critical parts, consider backing up the weld. A thin layer of epoxy over the seam adds durability.
An internal support, like a printed rib or a piece of rod on the hidden side, works too. These extras aren’t always necessary, but on high-stress joints they buy real peace of mind.
Painting and Sealing the Repair
The final touch hides the weld completely. Prime the area, then paint to match the rest of the part.
Done well, nobody will ever spot where the break was. This step matters most on display pieces or anything where appearance counts. Function and looks, together at last.
Frequently Asked Questions
A few questions come up again and again once people start welding their prints. Here are honest answers.
Can You Plastic Weld PLA Prints?
Yes, and it welds quite well. PLA softens readily, which makes fusing it fairly easy.
The catch is heat control. PLA melts at a lower temperature and scorches quickly if you linger. Keep your tool a touch cooler and your passes steady, and you’ll get clean results.
Is Plastic Welding Stronger Than Glue?
In most cases, comfortably so. A proper weld fuses the material itself into one continuous piece.
Glue only bonds the surfaces from the outside. That surface grip may hold for light use, but under real stress, a welded joint tends to outperform it by a wide margin.
What Temperature Should I Use?
There’s no single answer, since it depends on your filament. PLA needs less heat than ABS, for instance.
That’s why testing on scrap first is the safest approach. Dial in a temperature that melts the plastic cleanly without scorching, then keep it consistent for the whole weld.
Conclusion
Learning how to plastic weld 3D prints turns broken parts and stubborn seams into joints you can genuinely trust. And it does it with tools that cost little and last for years.
The process follows a clear path. Prep and align the pieces, weld the seam slowly, feed in matching filler, then cool, sand, and finish the surface.
A handful of habits carry you the rest of the way. Match your filler to the print, work in small controlled passes, and always weld with proper ventilation.
So grab a scrap print and practice first, before you tackle something you care about. Build a little confidence, learn how your filament behaves under heat, and go from there. There’s real satisfaction in holding a part you fused back together with your own hands, knowing it’s stronger than it ever was with glue.

About
Zevric Halden is a dedicated expert in the world of 3D printing, printer repair, and additive manufacturing, with years of hands-on experience troubleshooting, maintaining, and optimizing desktop 3D printers. His professional focus lies in combining practical mechanical knowledge with modern 3D printing technologies to help users solve printer problems, improve print quality, and keep their machines running reliably. As the author of 3DMend, Zevric explores the technical side of 3D printing, making complex printer issues easier to understand for makers, hobbyists, and professionals alike.
Education
Rochester Institute of Technology
(Rochester, New York, USA)
Associate Degree in Mechanical & Manufacturing Technology
- Focused on mechanical systems, manufacturing processes, machine maintenance, and precision tools.
- Developed practical experience with mechanical troubleshooting, electronic components, and computer-controlled equipment.
- Gained hands-on knowledge of CAD systems, rapid prototyping, and additive manufacturing technologies.
Worcester Polytechnic Institute
(Worcester, Massachusetts, USA)
Bachelor’s in Mechanical Engineering & Additive Manufacturing
- Specialized in digital fabrication, 3D printing systems, mechanical design, and manufacturing technologies.
- Studied printer calibration, motion systems, extrusion mechanisms, material behavior, and print optimization.
- Participated in practical engineering projects involving rapid prototyping, machine diagnostics, and 3D-printed components.
Publications and Impact
Through 3DMend, Zevric shares his expertise on 3D printer troubleshooting, maintenance, calibration, hardware repair, print-quality issues, and additive manufacturing. His writing focuses on turning frustrating printer problems into clear, practical solutions that readers can understand and apply.
From nozzle clogs and extrusion problems to bed-leveling issues, calibration errors, overheating, unusual noises, failed prints, and mechanical wear, Zevric’s guides are designed to help users identify the underlying cause rather than simply treating the symptoms.
His work bridges the gap between technical engineering knowledge and everyday 3D printing, making reliable repair and maintenance information accessible to everyone—from first-time 3D printer owners and hobbyists to experienced makers and professionals.