

Getting a perfect 3D print starts long before you hit “print.” One of the most common reasons prints fail—warping, poor adhesion, messy first layers—is an uneven printer bed. The good news? Leveling your 3D printer bed is a skill anyone can learn, and once you get it right, your prints will look dramatically better.
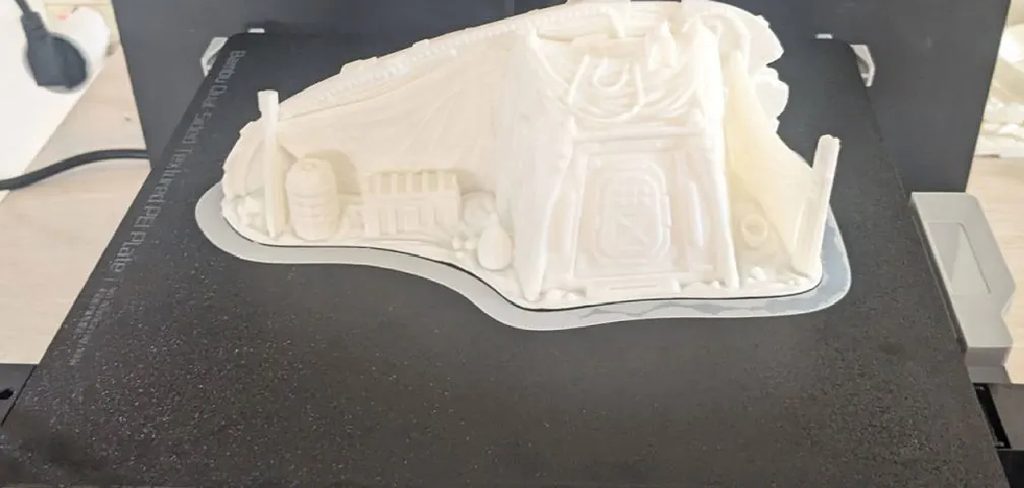
This guide on how to level 3d printer bed walks you through everything you need to know: the tools required, a clear step-by-step process, and the most common mistakes to watch out for. Whether you’re setting up a brand-new machine or troubleshooting a recent print failure, you’ll find exactly what you need here.
Understanding 3D Printer Bed Leveling
Bed leveling refers to the process of ensuring your printer’s build plate is perfectly parallel to the print head’s movement plane. When the bed is level, the nozzle maintains a consistent distance from the surface at every point—critical for the first layer to bond properly and for the rest of the print to build correctly on top of it.
There are two main types of bed leveling: manual and automatic (also called “ABL” or Auto Bed Leveling). Manual leveling uses physical adjustment knobs beneath the bed, while automatic leveling relies on sensors—like the BLTouch—to map the bed surface and compensate for inconsistencies. Both methods have their place. Understanding how each works may help you choose the right approach for your machine and experience level.
Materials Needed
Before you start, gather the following tools and materials. Having everything on hand will make the process faster and more accurate.
A Sheet of Plain Paper or Feeler Gauge
A standard sheet of A4 or letter-size paper (approximately 0.1mm thick) is the most commonly used tool for gauging nozzle height. A feeler gauge offers a more precise alternative for those who want tighter tolerances.
Isopropyl Alcohol and a Clean Cloth
Cleaning the bed surface before leveling removes dust, grease, and residue that could interfere with adhesion—or give you a false reading during calibration.
A Screwdriver or Hex Key Set
Depending on your printer model, you may need these to access or adjust the bed mounting points and tensioning springs beneath the build plate.
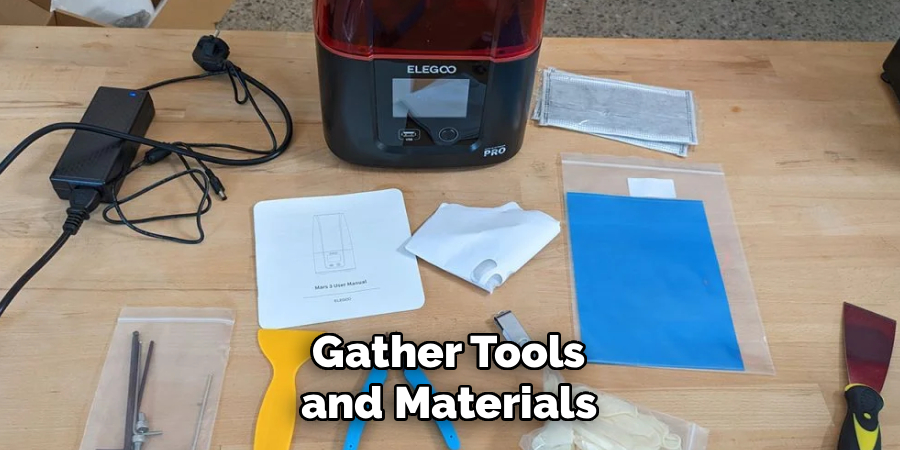
Your 3D Printer’s Manual
Every printer is slightly different. Keeping your manual nearby ensures you can reference model-specific settings, especially when adjusting steps-per-mm or Z-offset values.
A Leveling App or Built-In Bed Leveling Wizard (Optional)
Many modern printers include a guided leveling wizard in the menu. Third-party apps and slicers like PrusaSlicer or Cura also offer tools to help visualize and fine-tune bed calibration.
8 Simple Steps on How to Level 3d Printer Bed
Step 1: Heat Up the Printer Bed and Nozzle
Always calibrate your bed at printing temperature. Materials expand when heated, so a bed that appears level when cold may no longer be once it reaches 60°C or higher. Set your bed and nozzle to the temperatures you normally use for your filament before making any adjustments.
Step 2: Clean the Bed Surface Thoroughly
Wipe the entire bed surface with isopropyl alcohol and a lint-free cloth. Oil from your hands, dust, and leftover filament can all affect how the nozzle interacts with the surface during calibration—and later, how well your print adheres.
Step 3: Home All Axes
Using your printer’s control menu, select “Home All” or “Auto Home.” This moves the print head and bed to their default starting positions, ensuring you’re working from a known reference point before making any adjustments.
Step 4: Disable the Stepper Motors
After homing, disable the stepper motors so you can move the print head manually across the bed. This is usually done through the printer’s “Prepare” or “Motion” menu. Being able to glide the head freely makes it much easier to check multiple points on the bed.
Step 5: Adjust the Four Corners
Place your sheet of paper beneath the nozzle and slide it under while adjusting the corner knobs. You’re aiming for light resistance—the paper should move with a slight drag, not slide freely or get stuck. Work through each corner systematically: front-left, front-right, back-left, back-right. Repeat the process two to three times, as adjusting one corner can slightly affect the others.
Step 6: Check and Adjust the Center of the Bed
Once the corners feel consistent, move the nozzle to the center of the bed and check the paper drag again. The center should feel the same as the corners. If it doesn’t, your bed may have a slight bow—a common issue with glass or flexible steel sheets. A mesh bed leveling feature, if your printer supports it, can help compensate for this.
Step 7: Fine-Tune the Z-Offset
The Z-offset determines the precise distance between the nozzle and the bed at the home position. A value that’s too high results in poor adhesion; too low and the nozzle will scrape or drag. Most printers allow you to adjust this live during a test print. Start a small test print and fine-tune the Z-offset in real time until the first layer looks smooth and slightly squished against the surface.
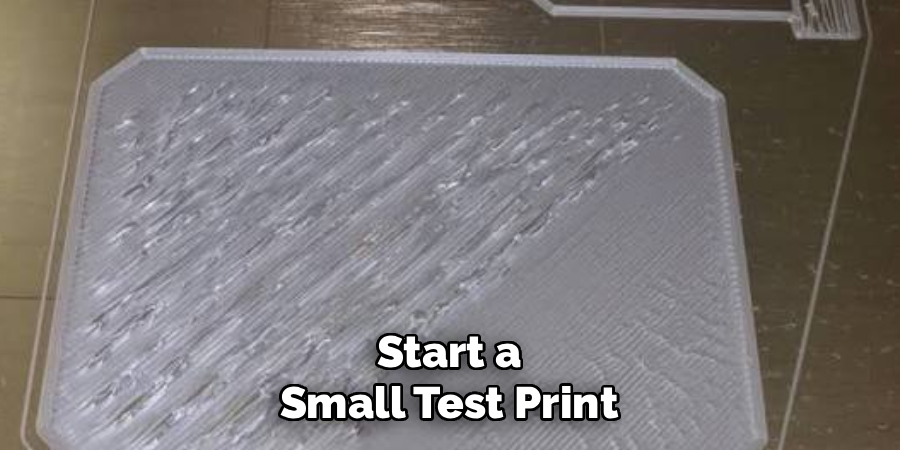
Step 8: Run a Test Print to Confirm Calibration
Print a bed leveling test file—many are freely available on platforms like Thingiverse. A simple square outline or series of lines across the full bed surface will reveal any remaining inconsistencies. Look for even line width, consistent color, and good adhesion across every section. If one area looks different, revisit the corresponding corner and repeat steps 5 through 7.
Following these steps on how to level 3d printer bed, you should now have a properly leveled bed that will result in successful and accurate prints.
Common Mistakes to Avoid
Even experienced users run into problems when leveling their beds. The most frequent mistake is calibrating a cold bed, which leads to inaccurate readings since the surface shifts when it heats up. Another common error is only checking the corners without testing the center—leaving a bowed bed partially unresolved.
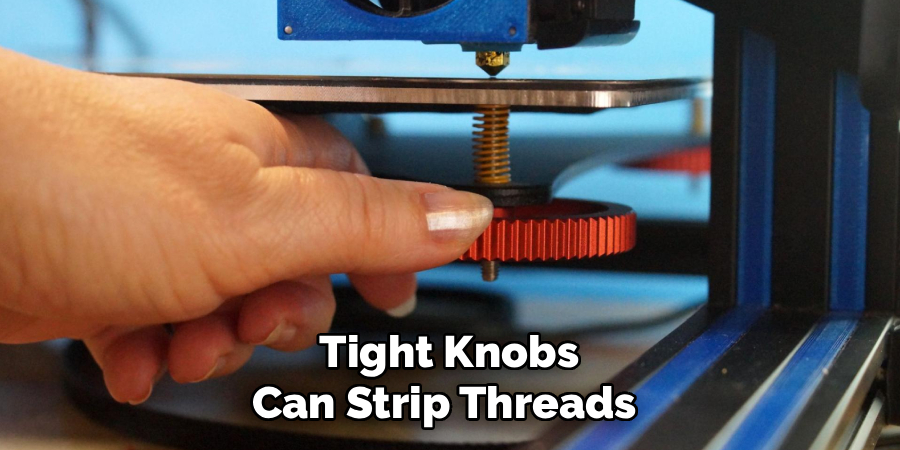
Skipping the test print is also a mistake that costs time in the long run. A quick test file takes only a few minutes but can reveal issues that aren’t obvious during manual calibration. Finally, over-tightening the adjustment knobs can strip threads or crack the bed surface over time—always aim for gentle, incremental adjustments rather than forcing the knobs in either direction.
Do You Need Professional Support?
For most users, bed leveling is a straightforward DIY task that becomes second nature after a few attempts. It doesn’t require specialized knowledge, and the tools needed are minimal. With the steps outlined above, beginners and experienced makers alike should be able to achieve reliable results at home.
That said, there are situations where professional support makes sense. If your bed is physically warped, cracked, or if the adjustment mechanism is damaged or stripped, repairs may go beyond a simple calibration fix. Similarly, if you’ve upgraded to an auto-leveling sensor like a BLTouch and are struggling with firmware configuration, reaching out to your printer’s support team—or a local maker space—can save significant time and frustration.
Frequently Asked Questions
Q1: How Often Should You Level a 3D Printer Bed?
It depends on how frequently you print and how your printer is used. As a general rule, check your bed level every 5–10 prints, or any time you notice adhesion problems, first-layer inconsistencies, or after moving your printer. Some users also re-level after changing filament types, since different materials often require different bed temperatures.
Q2: What Is the Ideal Distance Between the Nozzle and the Bed?
The standard target is approximately 0.1mm—roughly the thickness of a standard sheet of printer paper. At this distance, the paper should slide with light resistance. The exact ideal gap can vary slightly depending on your filament type and print surface, so always verify with a test print after initial calibration.
Q3: Can You Level a 3D Printer Bed Without a Physical Reference Like Paper?
Yes. Printers equipped with auto bed leveling (ABL) sensors—such as the BLTouch, CR Touch, or inductive probes—can map the bed surface automatically and compensate for height variations during printing. This removes much of the manual guesswork. That said, even with ABL, setting the correct Z-offset manually remains an important step for optimal first-layer quality.
Q4: How Do You Level a 3D Printer Bed With an ABL Sensor?
To level a 3D printer bed with an ABL sensor, you will first need to install the sensor onto your printer and configure it according to your specific machine. Once the sensor is properly set up, you can run the auto bed leveling function on your printer’s firmware or use a separate software tool to map the bed surface.
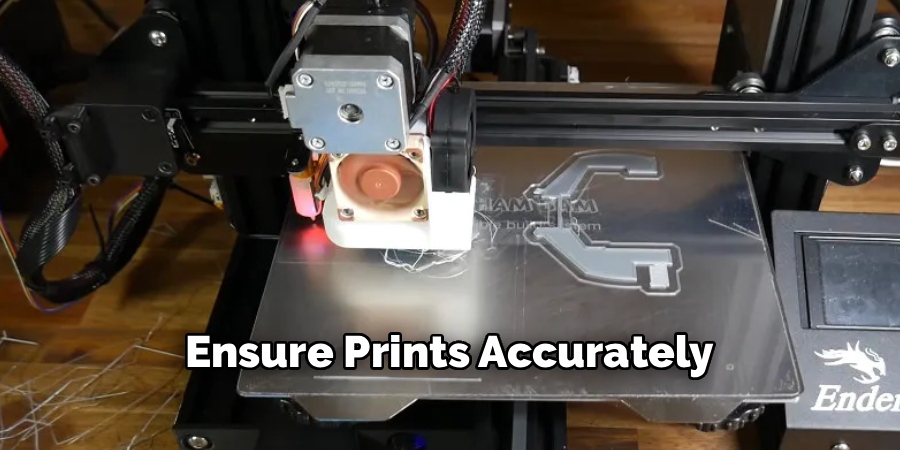
After this step is complete, you may need to adjust the Z-offset manually by using a piece of paper or other physical reference object while printing a test print. This fine-tuning process can help ensure that your first layer adheres properly and prints accurately. It may take some trial and error to achieve the perfect Z-offset, but it is worth taking the time to get it right for optimal print results.
A Well-Leveled Bed Changes Everything
A well-leveled bed is the foundation of every successful 3D print. The process may feel tedious at first, but it quickly becomes intuitive—and the improvement in print quality makes it well worth the effort. Follow the eight steps on how to level 3d printer bed above consistently, avoid the common pitfalls, and run a test print each time to confirm your calibration is on point.
Once you’ve got bed leveling dialed in, you’ll likely find that most of your printing problems disappear. From there, you can focus on the more exciting side of 3D printing: experimenting with new materials, designs, and techniques—with the confidence that your foundation is solid.

About
Zevric Halden is a dedicated expert in the world of 3D printing, printer repair, and additive manufacturing, with years of hands-on experience troubleshooting, maintaining, and optimizing desktop 3D printers. His professional focus lies in combining practical mechanical knowledge with modern 3D printing technologies to help users solve printer problems, improve print quality, and keep their machines running reliably. As the author of 3DMend, Zevric explores the technical side of 3D printing, making complex printer issues easier to understand for makers, hobbyists, and professionals alike.
Education
Rochester Institute of Technology
(Rochester, New York, USA)
Associate Degree in Mechanical & Manufacturing Technology
- Focused on mechanical systems, manufacturing processes, machine maintenance, and precision tools.
- Developed practical experience with mechanical troubleshooting, electronic components, and computer-controlled equipment.
- Gained hands-on knowledge of CAD systems, rapid prototyping, and additive manufacturing technologies.
Worcester Polytechnic Institute
(Worcester, Massachusetts, USA)
Bachelor’s in Mechanical Engineering & Additive Manufacturing
- Specialized in digital fabrication, 3D printing systems, mechanical design, and manufacturing technologies.
- Studied printer calibration, motion systems, extrusion mechanisms, material behavior, and print optimization.
- Participated in practical engineering projects involving rapid prototyping, machine diagnostics, and 3D-printed components.
Publications and Impact
Through 3DMend, Zevric shares his expertise on 3D printer troubleshooting, maintenance, calibration, hardware repair, print-quality issues, and additive manufacturing. His writing focuses on turning frustrating printer problems into clear, practical solutions that readers can understand and apply.
From nozzle clogs and extrusion problems to bed-leveling issues, calibration errors, overheating, unusual noises, failed prints, and mechanical wear, Zevric’s guides are designed to help users identify the underlying cause rather than simply treating the symptoms.
His work bridges the gap between technical engineering knowledge and everyday 3D printing, making reliable repair and maintenance information accessible to everyone—from first-time 3D printer owners and hobbyists to experienced makers and professionals.