

Polypropylene is one of the most widely used plastics in packaging, labeling, and industrial applications—but printing on it is notoriously tricky. Its smooth, non-porous surface resists standard inks, making adhesion a real challenge. Get it wrong, and you’ll end up with smearing, peeling, or faded prints that undermine your final product.
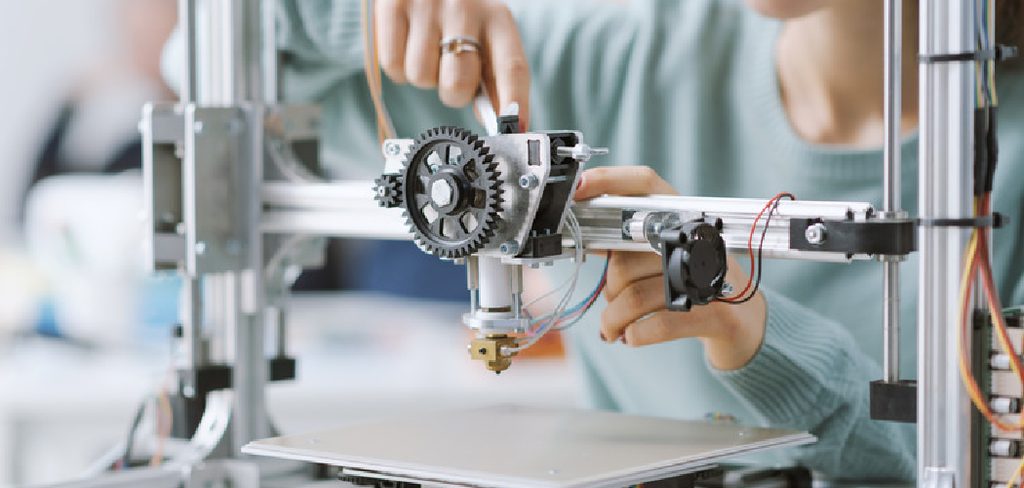
This guide on how to print polypropylene covers everything you need to know about printing on polypropylene successfully. From selecting the right printing method to troubleshooting common problems, you’ll walk away with a clear, actionable process that delivers clean, durable results every time.
Understanding Polypropylene and Why It’s Different
Polypropylene (PP) is a thermoplastic polymer prized for its durability, chemical resistance, and flexibility. Those same properties that make it so useful in manufacturing also make it one of the most difficult substrates to print on. Unlike paper or fabric, polypropylene carries an extremely low surface energy—which means standard inks simply won’t bond to it without proper preparation.
That’s the fundamental challenge. And understanding it is the first step toward a successful print job.
Polypropylene comes in several forms: biaxially oriented polypropylene (BOPP), cast polypropylene (CPP), and homopolymer PP, each with slightly different surface properties. Identifying which type you’re working with helps you select the most appropriate inks, coatings, and surface treatments for consistent, long-lasting results. Skipping this step isn’t just careless—it’s expensive.
Choosing the Right Printing Method for Polypropylene
Not every printing method works equally well on polypropylene. Your choice depends on print volume, desired finish, durability requirements, and budget.
Flexographic printing is the industry standard for high-volume polypropylene labels and packaging. It uses flexible relief plates and fast-drying inks, making it efficient and cost-effective at scale. Digital printing offers flexibility for shorter runs and variable data, though it requires specially formulated UV-curable or latex inks to adhere properly. Screen printing works well for bold, graphic applications on thicker PP sheets. Offset printing is typically reserved for BOPP films with a pre-coated surface.
For each method, surface preparation remains non-negotiable. Skip it, and adhesion will fail regardless of how sophisticated your equipment is.
7 Simple Steps on How to Print Polypropylene
Step 1: Select the Correct Polypropylene Grade
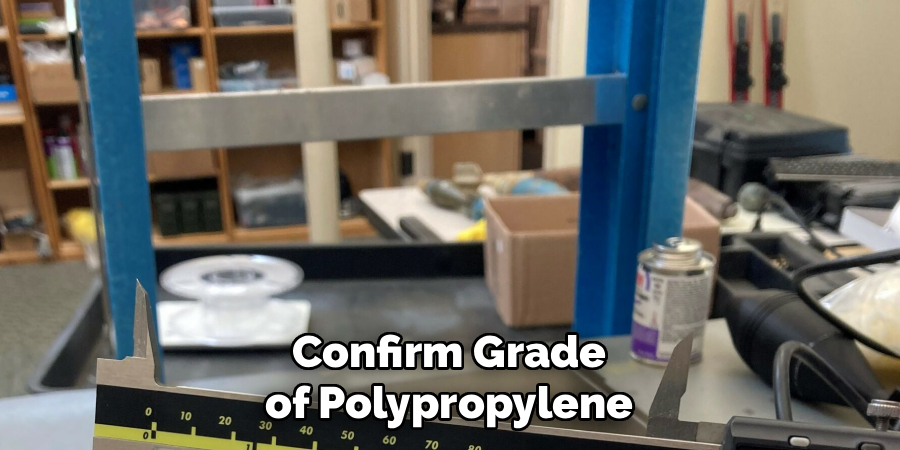
Start by confirming which grade of polypropylene you’re working with. BOPP films are commonly used for labels and flexible packaging, while rigid PP sheets suit industrial or signage applications. Each grade responds differently to surface treatments and inks.
Check the manufacturer’s data sheet for surface energy values. Ideally, you want a surface energy of at least 38 dynes/cm for adequate ink adhesion. If that number isn’t on the spec sheet, it’s worth requesting it—or testing it yourself before you commit to a full run.
Step 2: Clean the Surface Thoroughly
Polypropylene attracts dust, oils, and static electricity, all of which interfere with ink adhesion. Before printing, wipe the surface with isopropyl alcohol (IPA) using a lint-free cloth. For larger production runs, consider an automated cleaning system.
Any contamination left on the surface will cause ink to bead up or peel away after drying. This step is unglamorous, but it directly determines your print quality.
Step 3: Apply Surface Treatment
This may be the most consequential step in the entire process. Polypropylene’s low surface energy must be raised before ink can adhere properly. The three most common methods are:
- Corona treatment: Exposes the surface to a high-voltage electrical discharge, temporarily raising surface energy. Effective for films and sheet materials.
- Flame treatment: Uses a controlled flame to oxidize the surface layer, improving wettability. Common in industrial settings.
- Plasma treatment: Offers precise, uniform treatment with minimal heat—ideal for sensitive or complex substrates.
After treatment, test the surface immediately using a dyne pen to confirm it has reached the required surface energy level before proceeding. Don’t assume the treatment worked. Verify it.
Step 4: Choose the Right Ink
Standard solvent-based or water-based inks won’t bond reliably to polypropylene without a primer. Instead, opt for UV-curable inks, PP-specific solvent inks, or inks with built-in adhesion promoters. UV-curable inks are particularly popular because they cure instantly under UV light, reducing the risk of smearing.
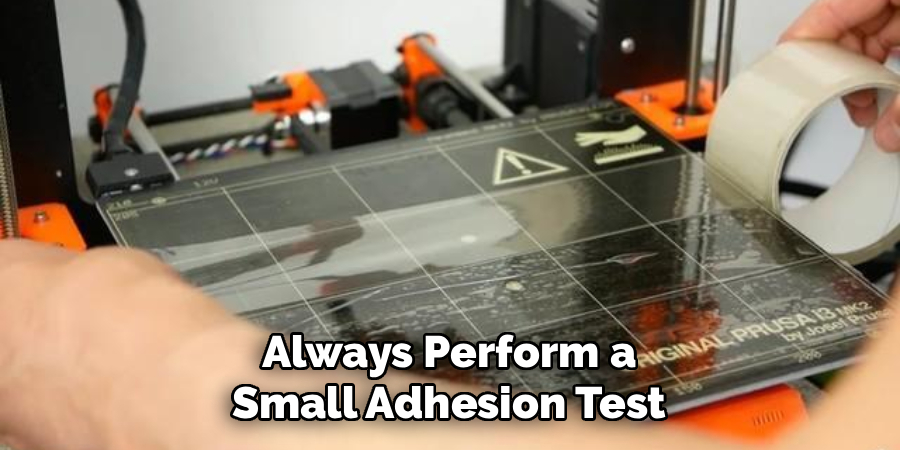
Before committing to a full production run, always perform a small adhesion test. Apply ink to a treated sample, let it cure fully, then use the tape test (ASTM D3359) to check bond strength. It takes ten minutes and can save hours of rework.
Step 5: Adjust Printer Settings
Once your substrate and ink are confirmed, fine-tune your printer settings for polypropylene. Reduce print speed slightly to give ink more contact time with the surface. Adjust impression pressure to avoid distorting flexible PP films.
For digital printing, calibrate color profiles to account for polypropylene’s slightly reflective surface, which can affect perceived color density. Running a few test prints before the full job isn’t optional—it’s how you protect your material budget.
Step 6: Cure or Dry the Ink Properly
Proper curing is what separates a durable print from one that fails in the field. UV-curable inks require passing under a UV lamp at the correct intensity and speed. Under-curing leads to tacky, easily scratched prints—sometimes not apparent until the product is already packaged.
Solvent-based inks need adequate drying time and ventilation. If you’re using heat to accelerate drying, keep temperatures well below polypropylene’s melting point—around 130°C (266°F) for homopolymer PP—to avoid warping or shrinkage. Follow the ink manufacturer’s curing specifications precisely. This isn’t an area where guesswork pays off.
Step 7: Apply a Protective Coating or Laminate
For applications where the print will face moisture, abrasion, or UV exposure, a protective topcoat or laminate significantly extends print life. Matte or gloss varnishes designed for plastic substrates provide scratch resistance and enhance color vibrancy. For outdoor applications, UV-resistant overcoats prevent fading over time.
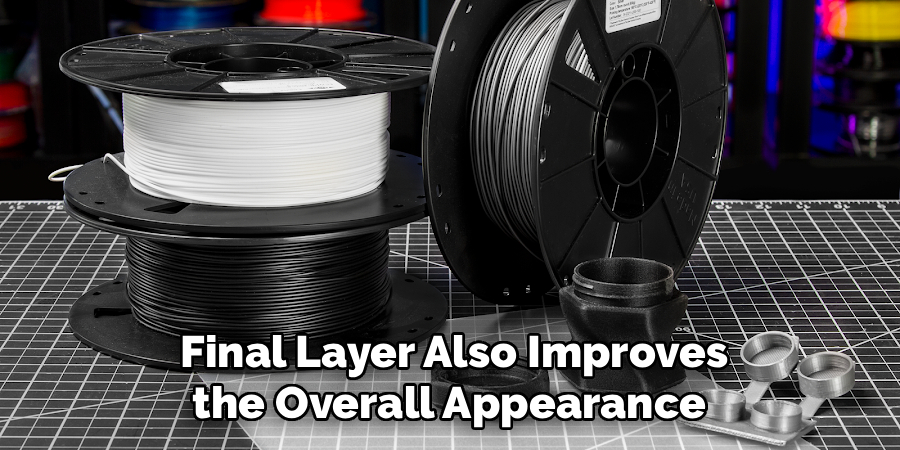
This final layer also improves the overall appearance of the finished product, giving it a polished look that holds up in demanding environments. It’s often the difference between a product that looks professional after six months and one that doesn’t.
Following these steps on how to print polypropylene will ensure a successful and durable end result.
Common Problems and How to Solve Them
Even with careful preparation, printing on polypropylene can present persistent challenges. The most frequent issue is ink adhesion failure—where ink peels, scratches off, or beads up on the surface. This almost always points back to insufficient surface treatment or incompatible ink chemistry.
Color inconsistency or banding in digital prints usually signals a need to recalibrate color profiles or clean the print head. Smearing after printing typically indicates under-curing or drying time that’s too short. Running a tape adhesion test after every significant material or ink change catches problems early, before they affect your entire run.
Keeping detailed records of your settings for each polypropylene grade also saves considerable troubleshooting time down the line. It sounds tedious—until you need those records at 2 a.m. before a deadline.
Safety Considerations When Printing on Polypropylene
Printing on polypropylene involves chemicals and equipment that require basic safety precautions. Solvent-based inks release volatile organic compounds (VOCs) during the drying process, so adequate ventilation in your workspace is essential. Always wear nitrile gloves and safety glasses when handling inks, adhesion promoters, and cleaning agents.
Corona and flame treatment systems generate ozone and involve high-voltage electrical components or open flames—both require trained operators and appropriate safety protocols. Store inks and cleaning solvents away from heat sources, in clearly labeled containers. Review the Safety Data Sheet (SDS) for every chemical used in your process and keep a copy accessible in your workspace at all times.
Frequently Asked Questions
Can You Print on Polypropylene With a Standard Inkjet Printer?
Standard inkjet printers use water-based inks that won’t adhere to untreated polypropylene. Without surface treatment and PP-compatible ink, the ink will bead up and smear. Some inkjet printers loaded with UV-curable or specialty plastic inks can work on polypropylene, but they must be paired with proper surface preparation for reliable adhesion.
How Long Does Ink Last on Polypropylene?
With proper surface treatment, compatible inks, and a protective topcoat, prints on polypropylene can last several years under normal indoor conditions. Outdoor applications exposed to UV light, moisture, and abrasion will degrade faster unless UV-resistant inks and coatings are used. Regular adhesion testing helps confirm durability for your specific application.
Do You Always Need to Use a Primer Before Printing on Polypropylene?
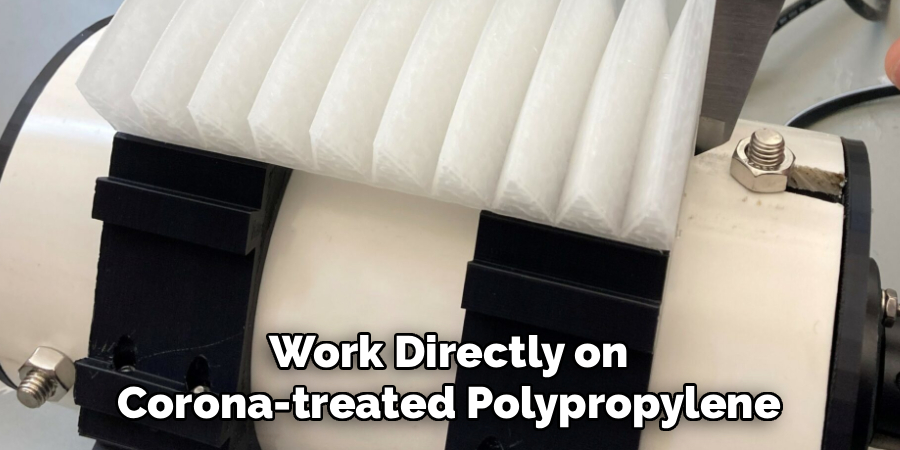
Not always—but it depends on your ink and method. Some UV-curable inks include built-in adhesion promoters that work directly on corona-treated polypropylene without a separate primer. However, for solvent-based and water-based inks, an adhesion-promoting primer is typically necessary to achieve a durable bond. Always run an adhesion test to confirm.
Final Thoughts on Printing Polypropylene Successfully
Printing on polypropylene is a precise process, but it’s entirely achievable with the right preparation and materials. The key is understanding the science behind ink adhesion—polypropylene’s low surface energy is the root cause of most printing failures, and every step in this guide is designed to address it.
Follow these seven steps on how to print polypropylene consistently, test your adhesion at each stage, and apply a protective coating for durability. A methodical approach to polypropylene printing will deliver clean, professional results that last—whether you’re producing product labels, flexible packaging, or industrial components.

About
Zevric Halden is a dedicated expert in the world of 3D printing, printer repair, and additive manufacturing, with years of hands-on experience troubleshooting, maintaining, and optimizing desktop 3D printers. His professional focus lies in combining practical mechanical knowledge with modern 3D printing technologies to help users solve printer problems, improve print quality, and keep their machines running reliably. As the author of 3DMend, Zevric explores the technical side of 3D printing, making complex printer issues easier to understand for makers, hobbyists, and professionals alike.
Education
Rochester Institute of Technology
(Rochester, New York, USA)
Associate Degree in Mechanical & Manufacturing Technology
- Focused on mechanical systems, manufacturing processes, machine maintenance, and precision tools.
- Developed practical experience with mechanical troubleshooting, electronic components, and computer-controlled equipment.
- Gained hands-on knowledge of CAD systems, rapid prototyping, and additive manufacturing technologies.
Worcester Polytechnic Institute
(Worcester, Massachusetts, USA)
Bachelor’s in Mechanical Engineering & Additive Manufacturing
- Specialized in digital fabrication, 3D printing systems, mechanical design, and manufacturing technologies.
- Studied printer calibration, motion systems, extrusion mechanisms, material behavior, and print optimization.
- Participated in practical engineering projects involving rapid prototyping, machine diagnostics, and 3D-printed components.
Publications and Impact
Through 3DMend, Zevric shares his expertise on 3D printer troubleshooting, maintenance, calibration, hardware repair, print-quality issues, and additive manufacturing. His writing focuses on turning frustrating printer problems into clear, practical solutions that readers can understand and apply.
From nozzle clogs and extrusion problems to bed-leveling issues, calibration errors, overheating, unusual noises, failed prints, and mechanical wear, Zevric’s guides are designed to help users identify the underlying cause rather than simply treating the symptoms.
His work bridges the gap between technical engineering knowledge and everyday 3D printing, making reliable repair and maintenance information accessible to everyone—from first-time 3D printer owners and hobbyists to experienced makers and professionals.