

ABS filament warps, cracks, and delaminates easily—but these problems are almost always preventable. The key factors are filament drying, bed adhesion, enclosure use, and slow print speeds. Follow the seven steps in this guide to get consistent, high-quality ABS prints from your first attempt.
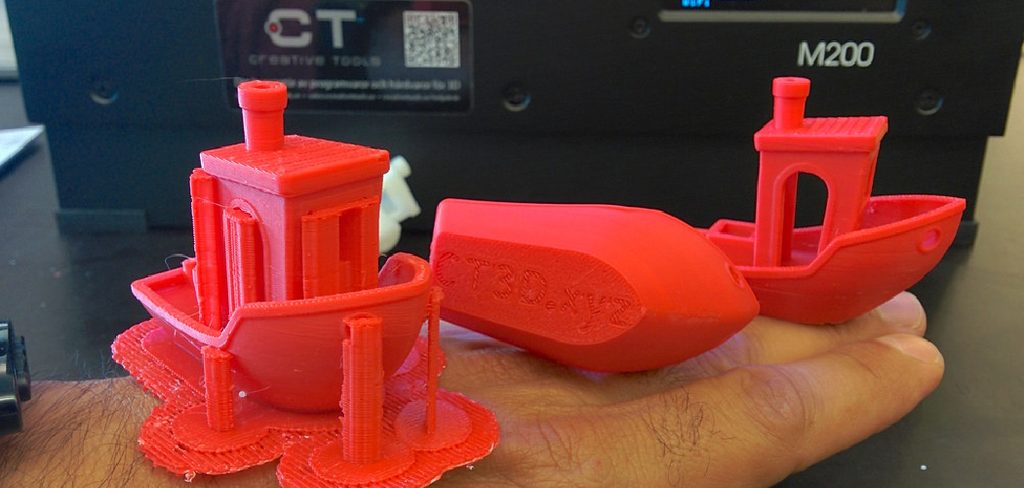
ABS has a reputation problem. Ask anyone in a 3D printing forum, and they’ll tell you the same thing: it warps, it cracks, it splits mid-print for no apparent reason. Plenty of makers try it once, get frustrated, and retreat permanently to PLA.
That reputation isn’t entirely undeserved. ABS is genuinely harder to print than most filaments. But “harder” doesn’t mean “unpredictable”—it just means the margin for error is narrower, and the setup matters more. Get the fundamentals right, and ABS becomes one of the most capable materials you can run through a desktop printer.
The upside is real. ABS handles heat that would deform PLA. It responds beautifully to post-processing, sands cleanly, accepts paint, and can be acetone-smoothed to a near-injection-molded finish. For functional parts, enclosures, and anything that will see mechanical stress or elevated temperatures, ABS is often the better choice—not just a harder one.
This guide on how to print ABS covers everything you need, from equipment requirements to the seven-step printing process, common failure points, and what to do once the print comes off the bed.
What Equipment Do You Actually Need to Print ABS?
Not every printer can handle ABS. The material requires a heated bed capable of reaching 100–110°C and a hotend that can sustain temperatures between 220–250°C. If your printer tops out below those thresholds, ABS printing will be a constant battle.
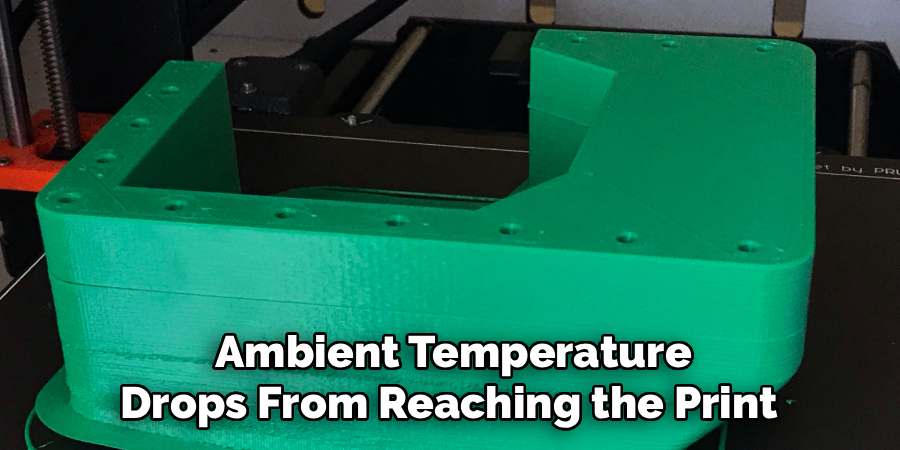
The bigger factor, though, is enclosure. ABS shrinks as it cools—this is simply how the material behaves—and uneven cooling across a print creates internal stress that pulls layers apart or lifts corners off the bed. An enclosed print chamber traps heat and stabilizes the ambient temperature, which is what prevents those failures. Printing without one is possible, but the inconsistency increases substantially, particularly on larger parts.
A well-calibrated, mechanically solid printer matters more with ABS than with forgiving materials. Any looseness in the frame or inconsistency in bed leveling gets amplified when you’re dealing with a material that shrinks and stresses as it cools.
How to Prepare Your Printer Before Loading ABS?
Printer preparation is where most failed ABS prints actually begin. Skipping or rushing this stage—especially bed leveling and adhesion prep—almost guarantees problems downstream.
Level the bed carefully. ABS requires solid first-layer adhesion, and a gap that’s even slightly too large will cause lifting before the print reaches the fifth layer. Use a piece of standard printer paper to check clearance at each corner, or run your printer’s auto-leveling routine if available.
Apply a bed adhesive before heating. Common options include ABS slurry (ABS scraps dissolved in acetone), a PEI sheet, or hairspray on a glass bed. Each works, but PEI sheets offer the most consistent results across sessions. Once applied, set the bed to 100–110°C and let it fully heat before beginning. The surface temperature matters—not just the target reading.
Close your enclosure, or build a makeshift one. A cardboard box draped over the printer is unglamorous but functional. The goal is simply to prevent drafts and ambient temperature drops from reaching the print.
How to Choose the Right ABS Filament?
Filament quality has a more direct impact on ABS printing than it does with PLA. Low-quality ABS may have inconsistent diameter, moisture contamination, or filler ratios that affect how the material behaves under heat.
Look for a diameter tolerance of ±0.02mm or tighter. Brands like Hatchbox, eSUN, and Polymaker offer reliable ABS at mid-range price points. Store open spools in a sealed container with silica gel desiccant—ABS absorbs atmospheric moisture relatively quickly, and wet filament produces audible popping during extrusion along with visible surface defects.
If a spool has been sitting unsealed for more than a few days, dry it at 80°C for 4–6 hours before printing. A dedicated filament dryer like the Sunlu S2 is convenient for regular ABS users, but a standard kitchen oven at its lowest temperature setting works adequately.
7 Simple Steps on How to Print ABS
Step 1: Dry Your Filament Before Every Print Session
Moisture is one of the most common—and most overlooked—causes of failed ABS prints. Even a few hours of exposure to humid air may introduce enough moisture to cause bubbling, poor layer bonding, and a rough surface finish. Dry ABS at 80°C for 4–6 hours before printing. This applies even to spools you opened recently.
Step 2: Level and Clean the Print Bed
A level bed is non-negotiable. Use printer paper to manually check and adjust each corner, or run your auto-leveling sequence. After leveling, wipe the bed surface with isopropyl alcohol to remove oils, dust, and fingerprints—all of which interfere with adhesion. Apply your adhesive of choice and let it set before heating the bed to operating temperature.
Step 3: Dial In Your Nozzle and Bed Temperature
Start with a nozzle temperature of 240°C and a bed temperature of 105°C. These are baselines, not absolutes. If you’re seeing under-extrusion or weak layer bonding, raise the nozzle temperature in 5°C increments. Stringing or blobbing typically calls for a slight reduction. Every ABS brand behaves somewhat differently, and the temperature range printed on the spool is worth checking before you begin.
Step 4: Reduce Your Print Speed
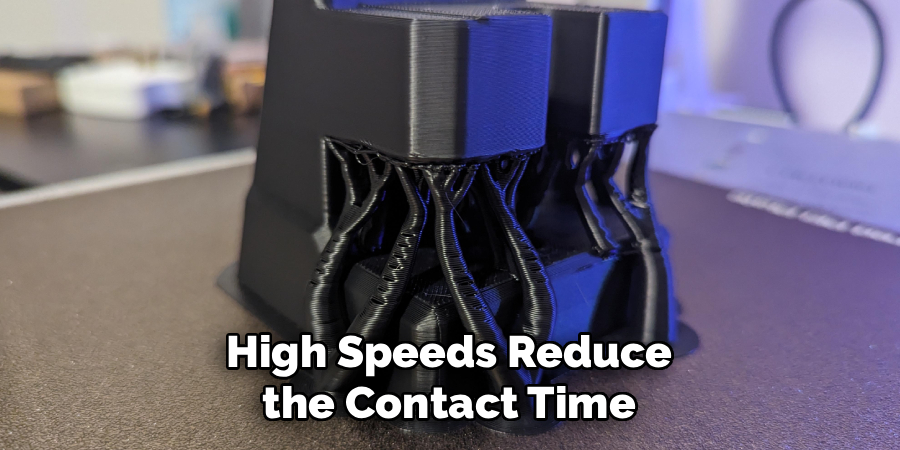
Fast speeds are one of the more reliable ways to ruin an ABS print. High speeds reduce the contact time between layers, which weakens bonding and produces prints that are more brittle than they should be. Set your general print speed to 40–60mm/s, and drop the first layer speed to 20mm/s. The slower pace allows the material more time to fuse properly—the quality improvement is noticeable from the first layer.
Step 5: Enclose the Print Area
If there’s a single hardware factor that changes the reliability of ABS printing most dramatically, it’s enclosure. Drafts, air conditioning, open windows, even a nearby fan can cool your print unevenly and cause warping or stress cracking. Purpose-built enclosures like the Creality Enclosure work well, but a DIY solution—a cardboard box, a foil tent—can serve the same function. The target ambient temperature inside the enclosure is around 45–60°C. Some users place a small thermometer inside to monitor this during longer prints.
Step 6: Enable a Brim or Raft in Your Slicer
ABS shrinkage creates stress at the outer edges of a print, which is why corners tend to lift first. Enabling a brim—a flat extension around the model’s base—increases the contact area between the print and the bed, which resists that lifting force. Set a brim width of at least 8–10mm for parts with large footprints. For models with very small bases, a raft offers even more stability, at the cost of some post-processing time to remove it.
Step 7: Let Prints Cool Inside the Enclosure
Removing a print immediately after it finishes is tempting, but rapid cooling introduces thermal stress that can crack or warp parts that looked perfect on the bed. Leave the print inside the closed enclosure and let the bed cool to room temperature naturally. This slow, even cool-down allows internal stresses to dissipate gradually, producing a noticeably sturdier final part.
Following these steps on how to print ABS with an enclosure will ensure successful and high-quality prints.
Common Mistakes That Cause ABS Prints to Fail
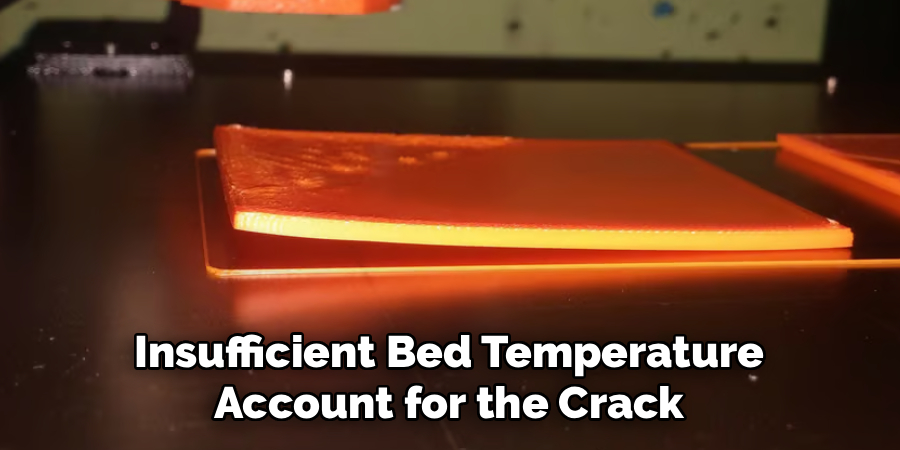
Most ABS failures share a short list of causes. Wet filament, no enclosure, and insufficient bed temperature account for the majority of warped or cracked prints. These are the issues to address first if your prints aren’t coming out as expected.
Cooling fan settings are another frequent problem. Unlike PLA, which benefits from active cooling, ABS tends to delaminate when the part cooling fan runs at full speed. For the first several layers, the cooling fan should be off entirely. After that, running it below 20% appears to help with bridging without introducing the thermal shock that causes layer splitting.
How to Post-Process ABS Prints
ABS responds to post-processing in ways that most other filaments don’t. Acetone smoothing—either by brushing acetone directly onto the surface or by suspending the part above a small pool of acetone in a sealed container—dissolves the outermost layer slightly, smoothing out visible layer lines and leaving a glossy finish that approximates injection molding.
ABS also sands, drills, and paints well. Wet sanding with progressively finer grits (starting around 200, finishing at 1000 or higher) removes layer lines effectively before painting. Primer adhesion on ABS is generally excellent, making it a reliable choice for display models, cosplay components, and functional prototypes that need a clean visual finish.
ABS Printing Safety: What You Need to Know
ABS releases styrene and other volatile organic compounds when heated. This is not a minor consideration for anyone printing regularly. Always print ABS in a well-ventilated space, or use an enclosure fitted with an activated carbon filter to capture fumes before they circulate into the room.
Avoid printing in small, unventilated rooms or sleeping areas. A HEPA and activated carbon air purifier positioned near the printer adds a meaningful layer of protection. Long-term exposure to ABS fumes has been associated with respiratory irritation—ventilation and filtration are the practical controls that reduce that risk.
Frequently Asked Questions
Why Does My ABS Keep Warping Even With a Heated Bed?
Warping occurs when the edges of a print cool faster than the center, creating uneven internal stress. The most common causes are inadequate bed adhesion, no enclosure, or a bed temperature that’s too low. Increasing the bed temperature to 110°C, adding a brim of at least 8–10mm in your slicer, and enclosing the print area to stabilize ambient temperature should reduce or eliminate warping in most cases.
What Is the Best Nozzle Temperature for Printing ABS?
Most ABS filaments print reliably between 230–250°C. A starting point of 240°C works well for the majority of brands. Adjust up in 5°C increments if you’re seeing under-extrusion or weak layer bonding, and down slightly if stringing or blobbing appears. Always cross-reference with the temperature range printed on the spool, as manufacturer recommendations may suggest a specific window for their formulation.
Can I Print ABS Without an Enclosure?
Technically, yes. Practically, results will be inconsistent—particularly on larger parts. Without an enclosure, ambient air currents cool the print unevenly, which tends to cause warping and layer delamination. If a dedicated enclosure isn’t available, printing in a draft-free room and using a DIY option like a cardboard box over the printer can provide enough thermal stability for smaller prints.
How Should I Store ABS Filament to Prevent Moisture Absorption?
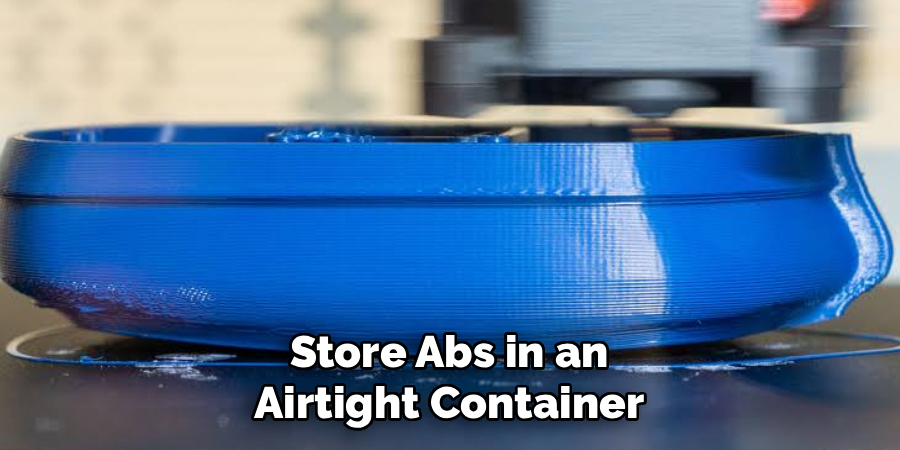
Store ABS in an airtight container with silica gel desiccant when not in use. Even a few hours of exposure to humid air can introduce enough moisture to affect print quality. If a spool has been left unsealed, dry it at 80°C for 4–6 hours before printing. A dedicated filament dryer simplifies this process for regular ABS users.
Is ABS Safe to Print Indoors?
ABS releases volatile organic compounds, including styrene, during printing. Printing indoors without adequate ventilation carries health risks, particularly with regular or prolonged use. Print in a well-ventilated space or use an enclosure with an activated carbon filter. An air purifier with HEPA and carbon filtration placed near the printer adds further protection.
Start Printing ABS With Confidence
ABS takes more setup than PLA. That’s simply the reality. But the effort is front-loaded: once you’ve dialed in your temperatures, established a reliable bed adhesion method, and sorted your enclosure situation, the process becomes consistent and repeatable.
The seven steps in this guide on how to print ABS cover the variables that matter most. Dry your filament, prepare the bed properly, run at the right temperatures, slow down, enclose the print area, use a brim, and let prints cool slowly. Follow that sequence, avoid the common mistakes around cooling fans and wet filament, and ABS printing will open up a range of functional and professional-grade applications that PLA simply can’t match.

About
Zevric Halden is a dedicated expert in the world of 3D printing, printer repair, and additive manufacturing, with years of hands-on experience troubleshooting, maintaining, and optimizing desktop 3D printers. His professional focus lies in combining practical mechanical knowledge with modern 3D printing technologies to help users solve printer problems, improve print quality, and keep their machines running reliably. As the author of 3DMend, Zevric explores the technical side of 3D printing, making complex printer issues easier to understand for makers, hobbyists, and professionals alike.
Education
Rochester Institute of Technology
(Rochester, New York, USA)
Associate Degree in Mechanical & Manufacturing Technology
- Focused on mechanical systems, manufacturing processes, machine maintenance, and precision tools.
- Developed practical experience with mechanical troubleshooting, electronic components, and computer-controlled equipment.
- Gained hands-on knowledge of CAD systems, rapid prototyping, and additive manufacturing technologies.
Worcester Polytechnic Institute
(Worcester, Massachusetts, USA)
Bachelor’s in Mechanical Engineering & Additive Manufacturing
- Specialized in digital fabrication, 3D printing systems, mechanical design, and manufacturing technologies.
- Studied printer calibration, motion systems, extrusion mechanisms, material behavior, and print optimization.
- Participated in practical engineering projects involving rapid prototyping, machine diagnostics, and 3D-printed components.
Publications and Impact
Through 3DMend, Zevric shares his expertise on 3D printer troubleshooting, maintenance, calibration, hardware repair, print-quality issues, and additive manufacturing. His writing focuses on turning frustrating printer problems into clear, practical solutions that readers can understand and apply.
From nozzle clogs and extrusion problems to bed-leveling issues, calibration errors, overheating, unusual noises, failed prints, and mechanical wear, Zevric’s guides are designed to help users identify the underlying cause rather than simply treating the symptoms.
His work bridges the gap between technical engineering knowledge and everyday 3D printing, making reliable repair and maintenance information accessible to everyone—from first-time 3D printer owners and hobbyists to experienced makers and professionals.