

Resin 3D printers use liquid resin that hardens under UV light. A light source cures the resin one layer at a time, building your object from the bottom up. This process, called photopolymerization, produces highly detailed prints with smooth surfaces—well suited to miniatures, jewelry, and dental models.
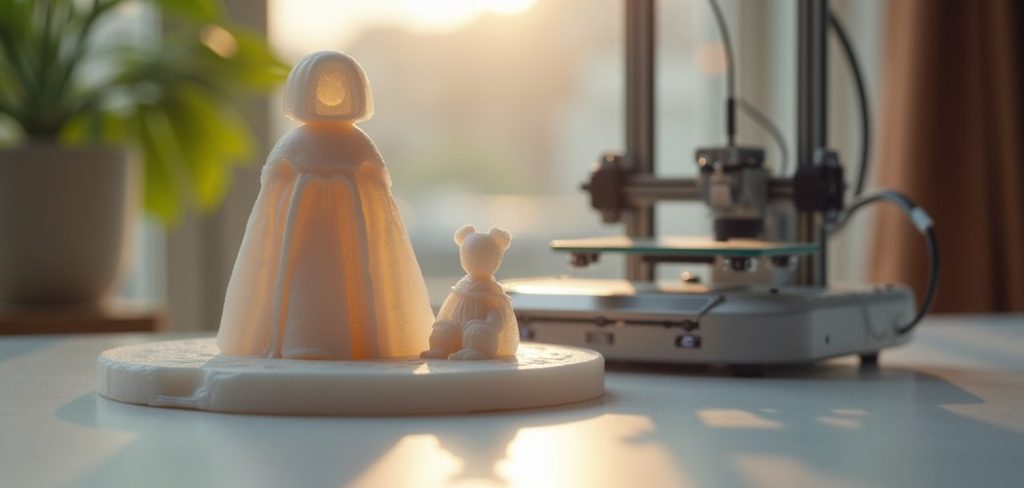
Resin 3D printing has shifted what’s possible for hobbyists and professionals. Ever picked up a tabletop miniature and wondered how the sculptor packed so much detail into something the size of your thumb?
Odds are it never touched a chisel. It came off a resin printer. These machines pull off a level of surface fidelity that filament-based printers just can’t touch.
Still, the underlying process puzzles a lot of newcomers. Light hardening liquid into solid plastic sounds closer to a chemistry demo than a workshop tool. So how does it actually happen? And more to the point—does it suit the kind of work you have in mind?
This guide on how do resin 3d printers work walks through the whole picture. We’ll cover the core reaction, the parts inside the machine, the step-by-step workflow, and the safety habits you really shouldn’t skip.
By the end, you’ll have a clear sense of what makes resin printing tick, and whether it deserves a spot on your bench.
What Is Resin 3D Printing?
Resin 3D printing builds solid objects out of liquid photopolymer resin. Filament printers melt plastic and lay it down in strands.
Resin printers take a different route entirely—they use light to harden liquid into precise shapes.
The method sits under a broader category called vat photopolymerization, and it has a reputation for detail that borders on uncanny.
Three types dominate the market: SLA (Stereolithography), DLP (Digital Light Processing), and LCD, sometimes labeled MSLA. Each relies on a slightly different light source, though the underlying idea holds steady across all of them.
Liquid resin sits in a tank. A focused beam or panel of UV light cures it into a solid, one thin slice at a time.
That trade-off—accuracy and surface quality over sheer speed—is the whole pitch.
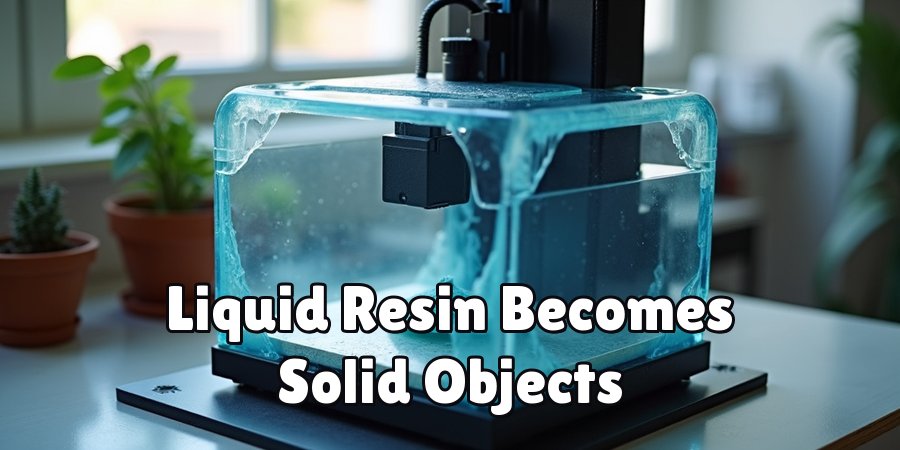
How Does a Resin 3D Printer Work?
The engine behind it all is photopolymerization. In plain terms, that’s a chemical reaction where liquid resin turns solid the moment ultraviolet light hits it.
The printer reads a digital 3D model and cures the resin into the exact shape of each cross-section. One layer hardens, the build plate shifts, the next layer forms on top.
Do that a few hundred (or few thousand) times and a finished object emerges.
The real story here is precision. Light can be focused into astonishingly fine points, which means resin printers may resolve features down to a fraction of a millimeter. That’s the reason they’ve become the default for fields where a slightly blurry edge simply won’t do—dentistry, jewelry, prototyping, and the fussier corners of tabletop gaming.
What Are the Main Parts of a Resin 3D Printer?
Knowing the components makes the whole process click into place. Most resin printers share the same handful of parts, even across different price brackets.
Resin Tank (Vat)
The resin tank, or vat, holds the liquid during printing. Its base is typically lined with a clear, flexible film called FEP. That film does double duty: it lets UV light pass through from below while letting each cured layer peel away without tearing.
Build Plate
The build plate is where your object actually forms. It starts submerged in the resin, then lifts a fraction upward after every layer cures, gradually drawing the finished print up and out of the tank.
Light Source
This is the part that defines the printer type—an LCD screen, a DLP projector, or a laser. It supplies the UV light that hardens the resin, and it carries most of the responsibility for print quality. Cheaper light sources tend to show their limits first.
Control Board and Screen
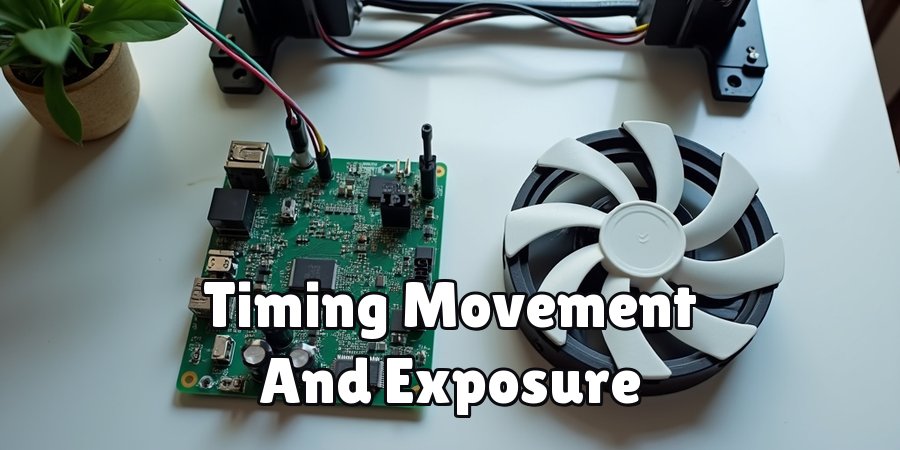
The control board runs the printer’s software, juggling timing, movement, and exposure all at once. A touchscreen or interface lets you kick off prints, tweak settings, and keep an eye on progress mid-job.
7 Simple Steps on How Do Resin 3d Printers Work
Step 1: Prepare Your 3D Model
Begin with a digital 3D model—either something you’ve designed in CAD software or a file downloaded from an online library. Most of the time, it lands as an STL or OBJ file, ready to be processed.
Step 2: Slice the Model
Load your model into slicing software. The slicer carves the design into hundreds of thin horizontal layers and generates support structures where the print needs them. This is also where you set exposure times, layer height, and orientation. Get this stage wrong and everything downstream suffers.
Step 3: Fill the Resin Tank
Pour resin into the vat, and resist the urge to top it off to the brim. Gloves on, ventilation running—uncured resin can irritate skin and eyes, and there’s no reason to gamble on that.
Step 4: Start the Print
Send the sliced file over and hit go. The build plate lowers into the resin, and the light source cures that first layer flat against the bottom of the tank. First-layer adhesion is where a lot of failed prints quietly begin, so it’s worth watching.
Step 5: Layer-by-Layer Curing
Now the printer settles into its rhythm. Each layer sets, the build plate lifts a hair, fresh resin flows into the gap underneath, and the next layer forms. This loop repeats until the print is done—sometimes for hours on end.
Step 6: Remove and Wash the Print
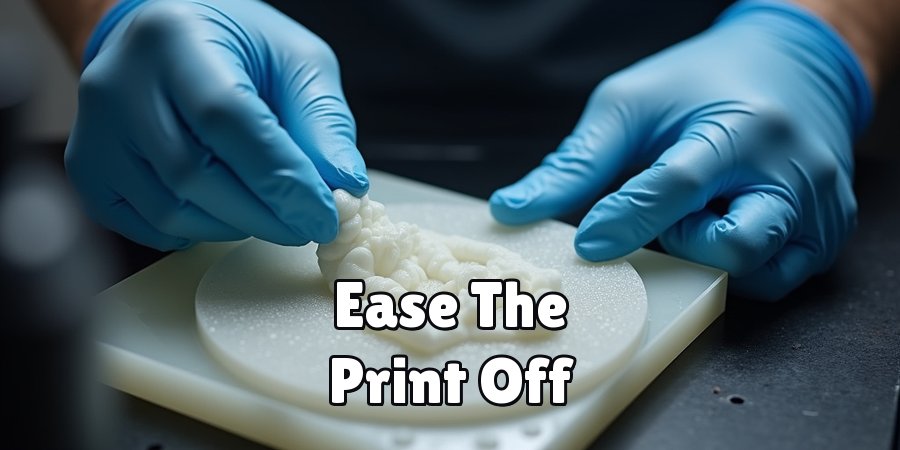
When it finishes, ease the print off the build plate. Then wash it in isopropyl alcohol (IPA) to strip away any uncured resin still clinging to the surface. Skimp here and you’ll feel it later.
Step 7: Cure the Final Print
Set the washed print under UV light—sunlight works, though a dedicated curing station gives more consistent results. This post-curing step hardens the object fully, adding strength and locking in the final finish.
Want to see the full workflow start to finish? Here it is, broken into seven manageable steps on how do resin 3d printers work.
What Are the Advantages of Resin 3D Printers?
Resin printers earn their keep on detail. That’s their signature strength, and for detail-heavy work, little else comes close.
- Exceptional detail: They capture fine features that filament printers tend to smear or lose entirely.
- Smooth surfaces: Prints emerge with barely visible layer lines, which cuts down sanding time.
- High accuracy: A good fit for dimensionally precise parts such as dental models and engineering prototypes.
- Great for small objects: Miniatures, jewelry, and figurines look right at home on a resin machine.
- Consistent results: Once your settings are dialed in, the printer tends to repeat them reliably.
What Common Mistakes Should Beginners Avoid?
New users tend to trip over the same handful of problems, and most are avoidable.
Supports cause the biggest headaches—skip them, or place them carelessly, and you’ll end up with failed or warped prints more often than not. Exposure times run a close second.
Too little and the layers won’t bond; too much and fine details blur into mush. A quick calibration print before any serious job can save you hours of frustration.
Cleanup trips people up as well. Rushing the wash leaves tacky resin on the model, and skipping the post-cure produces prints that feel weak and slightly sticky to the touch.
There’s no real shortcut through the finishing stages. Slow down, and don’t keep reusing filthy IPA past the point where it’s doing any good—dirty solvent just moves grime around.
How Do You Stay Safe When Using a Resin 3D Printer?
Safety isn’t the fun part, but it’s not optional either. Liquid resin is toxic, and it can irritate skin, eyes, and lungs on contact or through fumes.
Wear nitrile gloves and safety glasses every time you handle it, and keep your workspace ventilated so you’re not breathing the vapors.
Resin also needs to stay well away from children and pets, and it should never go down the drain—ever.
Disposal deserves the same care. Cure any leftover resin under UV light until it’s fully solid, then toss it out as regular waste.
Wash your hands after each session even if you wore gloves the whole time; a little residue tends to find its way through.
Handle resin with a bit of respect, and both you and your workspace stay in good shape over the long run.
What Can You Make With a Resin 3D Printer?
Resin printers open up a wide field of projects, creative and professional alike. Hobbyists gravitate toward tabletop gaming miniatures, detailed figurines, and cosplay props. Jewelry makers use them to produce intricate molds and wearable pieces carrying detail that would be painful to achieve by hand.
The professional side runs just as broad. Resin printing turns out dental models, hearing aid components, and engineering prototypes with the tolerances those fields demand.
Product designers lean on the smooth finish for presentation models, and artists use the technology to drag digital sculptures into the physical world.
If your project hinges on precision, a resin printer can probably deliver it.
Frequently Asked Questions
How Long Does a Resin Print Take?
Print time hinges on the object’s height rather than its complexity, since every layer cures in a single flash of light. A small miniature might wrap up in two to three hours, while a taller model could stretch past six. Layer height and exposure settings nudge the total time up or down as well.
Is Resin 3D Printing Safe for Beginners?
Generally, yes—provided you respect the safety basics. Wear gloves and eye protection, keep the area ventilated, and handle resin with a bit of caution. After a few sessions, the routine tends to feel second nature, and the whole thing becomes manageable rather than intimidating.
What’s the Difference Between Resin and Filament Printers?
Resin printers cure liquid resin with UV light, which yields highly detailed, smooth prints. Filament printers melt plastic and stack it in layers, a better approach for larger, functional parts. Choose resin when detail is your priority; reach for filament when you need durable, sizable objects that can take a knock.
Conclusion
Resin printing pays back the time you put into learning it. Every stage—from prepping the model to that final UV cure—shapes the sharpness and finish of what comes out the other end. Once the relationship between light and liquid resin clicks, the workflow stops feeling like a puzzle and starts feeling like second nature.
Ready to try? Start small. Pick a dependable entry-level printer, buy proper safety gear before anything else, and cut your teeth on simple models before reaching for the ambitious stuff.
A little patience, plus what you’ve picked up here, and you’ll be turning digital designs into crisp physical objects sooner than you’d expect. Thanks for reading this guide on how do resin 3d printers work.

About
Zevric Halden is a dedicated expert in the world of 3D printing, printer repair, and additive manufacturing, with years of hands-on experience troubleshooting, maintaining, and optimizing desktop 3D printers. His professional focus lies in combining practical mechanical knowledge with modern 3D printing technologies to help users solve printer problems, improve print quality, and keep their machines running reliably. As the author of 3DMend, Zevric explores the technical side of 3D printing, making complex printer issues easier to understand for makers, hobbyists, and professionals alike.
Education
Rochester Institute of Technology
(Rochester, New York, USA)
Associate Degree in Mechanical & Manufacturing Technology
- Focused on mechanical systems, manufacturing processes, machine maintenance, and precision tools.
- Developed practical experience with mechanical troubleshooting, electronic components, and computer-controlled equipment.
- Gained hands-on knowledge of CAD systems, rapid prototyping, and additive manufacturing technologies.
Worcester Polytechnic Institute
(Worcester, Massachusetts, USA)
Bachelor’s in Mechanical Engineering & Additive Manufacturing
- Specialized in digital fabrication, 3D printing systems, mechanical design, and manufacturing technologies.
- Studied printer calibration, motion systems, extrusion mechanisms, material behavior, and print optimization.
- Participated in practical engineering projects involving rapid prototyping, machine diagnostics, and 3D-printed components.
Publications and Impact
Through 3DMend, Zevric shares his expertise on 3D printer troubleshooting, maintenance, calibration, hardware repair, print-quality issues, and additive manufacturing. His writing focuses on turning frustrating printer problems into clear, practical solutions that readers can understand and apply.
From nozzle clogs and extrusion problems to bed-leveling issues, calibration errors, overheating, unusual noises, failed prints, and mechanical wear, Zevric’s guides are designed to help users identify the underlying cause rather than simply treating the symptoms.
His work bridges the gap between technical engineering knowledge and everyday 3D printing, making reliable repair and maintenance information accessible to everyone—from first-time 3D printer owners and hobbyists to experienced makers and professionals.