

There’s a particular kind of disappointment that comes from a Toybox that used to just work. It printed cheerful little toys on demand, and then one day the first layer turns messy, surfaces look uneven, or the print refuses to stick at all.
Nine times out of ten, that’s a calibration issue rather than a broken machine. And that’s genuinely good news, since it means you can fix it.
Learning how to calibrate Toybox 3D printer brings back that reliable, almost effortless magic the printer is known for. The Toybox was designed to be simple, so calibration feels far less intimidating than the word suggests.
This guide covers why calibration matters, the handful of things you’ll need, a full step-by-step method, and the small habits that keep the machine humming. Whether you’re a curious parent, a young maker, or a classroom helper, you can do this.
Why Calibrating Your Toybox 3D Printer Matters
Before touching a single setting, it helps to know what you’re actually chasing. Calibration isn’t busywork. It’s the difference between toys that look right and toys that come out sad and lumpy.
The Link Between Calibration and Print Quality
A well-calibrated printer lays down a clean first layer, smooth walls, and toys that match the shape you picked. Everything builds on that foundation.
When calibration drifts, quality follows it down. A gap here or a squished layer there may seem minor, but it tends to compound as the print grows taller.
How Calibration Prevents Failed Prints
Most print failures trace back to something calibration could have caught. Poor adhesion, warping, and prints that pop off mid-job usually share the same root cause.
Proper tuning heads those off before they start. It’s a bit like checking your shoelaces before a run: small effort, fewer faceplants.
Keeping the Printer Kid-Friendly and Reliable
The Toybox earns its charm from being easy and fun. Regular calibration protects that feeling, so young makers stay excited instead of frustrated.
A printer that fails repeatedly loses its magic fast. Keeping it tuned means the toys keep appearing, and the enthusiasm keeps flowing right along with them.
Understanding How the Toybox Works
You don’t need an engineering degree here. But picturing how the machine operates makes each calibration step feel less like guesswork and more like something you understand.
The Print Bed and Nozzle Basics
The nozzle melts filament and lays it down; the bed holds everything steady while it cools. The tiny gap between the two shapes nearly every print.
Too wide a gap and nothing sticks. Too narrow and the nozzle scrapes. That single distance is what most calibration work comes back to.
How the Toybox Handles Setup
The Toybox leans hard into beginner-friendly design. Its app and simple controls do a lot of the thinking for you, which is part of why it appeals to families.
That doesn’t mean it never needs a human touch. It means the adjustments you’ll make are gentle and forgiving rather than technical deep-dives.
Signs Your Printer Needs Calibration
The machine tends to tell you when something’s off. Watch for a nozzle that scrapes the bed, gaps in the first layer, or toys that simply won’t stick.
Those symptoms may look alarming, but they’re really just requests. The printer is asking for a small adjustment, not a repair.
Tools and Materials You Will Need
Here’s the reassuring part. Calibrating a Toybox needs almost nothing you don’t already have lying around the house.
Everyday Household Items
A plain sheet of paper is your most valuable tool. It gauges the nozzle height with surprising accuracy, and it costs nothing.
A soft cloth helps too, for wiping down the bed between attempts. That’s honestly most of what the job requires.
Cleaning and Maintenance Supplies
A little isopropyl alcohol clears oils and residue that quietly sabotage adhesion. A gentle brush handles dust around the nozzle and bed.
Neither is strictly mandatory. But a clean surface makes calibration far easier, so they’re worth keeping nearby.
The Toybox App and Test Files
The companion app is where you’ll control heating and adjustments, so keep it handy on your phone or tablet. It smooths out the process considerably.
Small test prints round things out. A quick calibration model shows you whether your settings landed without wasting a full spool.
How to Calibrate Toybox 3D Printer: Step-by-Step Guide
This is where a few careful adjustments turn shaky results back into dependable, clean prints. Take it slowly and check your work as you go. Rushing tends to create the very problems you’re trying to solve.
Step 1: Power On and Clean the Print Bed
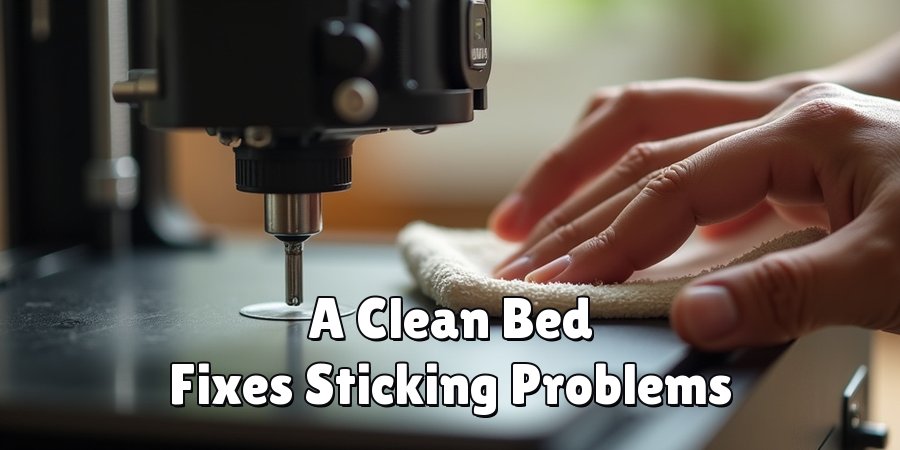
Start by switching the printer on and giving the bed a thorough wipe. Dust, oils, and old fingerprints quietly ruin adhesion long before calibration even begins.
A soft cloth with a little isopropyl alcohol does the trick. Let it dry fully before moving on, since a damp bed can throw off everything that follows.
It feels like a throwaway step. It isn’t. A clean surface may be the single biggest factor in whether your next print sticks.
Step 2: Check and Level the Print Bed
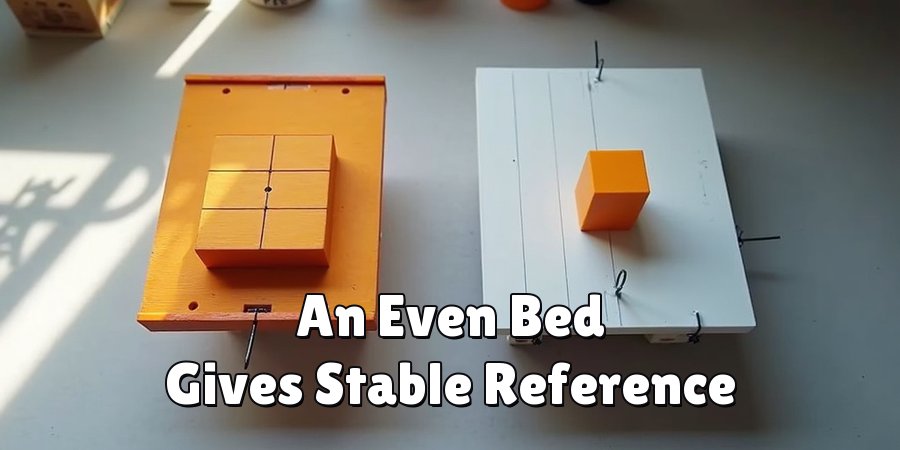
Next, confirm the bed sits flat and even. If it tilts, the gap between nozzle and bed shifts across the surface, and no amount of height tweaking will fix that.
Look for a bed that’s the same distance from the nozzle at each point you check. An even bed gives every later adjustment a stable reference to work from.
Take your time here. A level bed does quiet work that makes the remaining steps far more forgiving.
Step 3: Set the Nozzle Height
Now for the part that matters most. Slide a sheet of paper between the nozzle and bed, then adjust the height until the paper moves with a slight drag.
That gentle resistance is the sweet spot. The nozzle should grip the paper lightly, not pin it down or float above it with room to spare.
Test the feel a few times before you trust it. This small measurement shapes the entire first layer, so it’s worth getting comfortable with.
Step 4: Load and Prime the Filament
With the height set, load your filament and let the nozzle prime. Priming pushes a little material through so the extruder is flowing cleanly before any real print starts.
Watch for a smooth, even strand coming out. If it sputters or comes out patchy, give it another moment, since a hesitant start often means a rough first layer.
A clean prime is easy to skip when you’re eager. Don’t. It sets up the test print to actually show you useful information.
Step 5: Run a Calibration Test Print
Start a small test print and then, crucially, watch the first layer closely. Those opening moments reveal almost everything about whether your settings are dialed in.
Look at how the lines sit. Even, well-stuck lines suggest you’re close, while gaps or squishing point to a height that still needs nudging.
Resist the urge to walk away. The first layer is where problems announce themselves, and catching them live saves you a wasted print.
Step 6: Fine-Tune and Repeat if Needed
If the first layer looks off, make a small adjustment and try again. Nudge the nozzle height a fraction, then rerun the test rather than changing several things at once.
This back-and-forth is normal, not a sign you’re doing it wrong. Even experienced folks reprint a couple of times before the layer looks smooth and firmly stuck.
Keep going until it looks right. Once that first layer comes out clean and even, the hard part is behind you.
Leveling the Bed for a Perfect First Layer
If there’s one factor that decides Toybox print quality, it’s a level, well-set bed. Everything good starts there, and most trouble starts there too.
Reading Your First Layer
Learning to read the first layer is a genuinely useful skill. A good one shows even lines that sit flush and bond together without gaps.
A layer that’s too high looks thin and stringy, barely holding on. Too low, and the lines squish out with a rigid, translucent look. Once you can spot the difference, fixing it gets much easier.
Making Small Height Adjustments
When the first layer looks wrong, tiny changes to nozzle height usually correct it. We’re talking small nudges, not big swings.
Move a fraction in the direction the print seems to need, then check again. Overcorrecting is the common trap, and it sends you chasing the problem in circles.
Rechecking After Each Change
After every adjustment, run another quick test. It’s tempting to make several changes and hope, but that leaves you guessing about which one actually helped.
One change, one check. That rhythm keeps you from overshooting and makes each improvement obvious.
Dialing In Nozzle Height and Adhesion
Sticking problems and nozzle height are closely tied. Fine-tuning that gap, along with a bit of bed grip, tends to solve most adhesion headaches.
Finding the Sweet Spot
The ideal nozzle height balances two things: strong adhesion and clean, un-squished layers. Land there and prints stick without looking crushed.
It may take a few tries to feel where that spot sits for your machine. That’s fine. The paper test gets you close, and the first-layer check confirms it.
Improving Bed Grip
Sometimes the height is right, but prints still lift. A clean bed and a correct starting height fix this more often than not.
Give the surface another wipe if you’re unsure. It’s a low-effort move that appears to resolve a surprising share of sticking complaints.
Avoiding a Too-Close Nozzle
There’s a temptation to set the nozzle very low, thinking closer means better grip. It usually backfires.
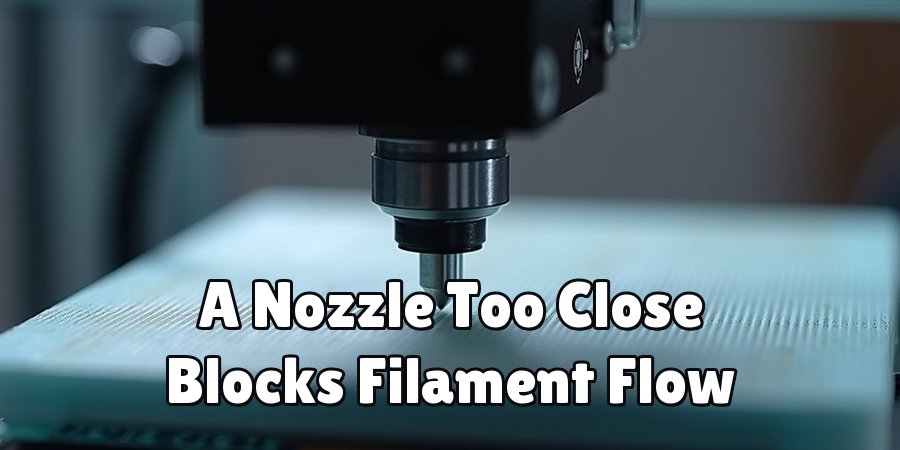
A nozzle set too close scrapes the bed, blocks the filament flow, and leaves torn or ridged first layers. A hair of breathing room beats crushing the plastic flat.
Running Test Prints to Confirm Calibration
Test prints are your fastest, lowest-risk way to check progress. Think of them as a quick temperature read rather than a full commitment.
Choosing a Good Test Model
Small, flat test prints work best. They reveal calibration issues quickly without burning through time or filament on something large.
A simple shape with a broad base tells you plenty. You’re checking the foundation, not printing a masterpiece.
What to Watch For
Keep an eye out for even lines, solid adhesion, and a smooth surface. Those three signs together suggest your calibration is holding.
If any of them look off, the print is handing you a clue. Uneven lines, weak sticking, or a rough finish each point back toward a specific setting.
Interpreting the Results
Reading a flawed test print is where calibration starts to click. A gap in the lines may suggest the nozzle sits too high; squished, rigid lines could indicate it’s too low.
Connect the symptom to the setting, adjust, and retest. Over a few rounds, you start recognizing these patterns almost instantly.
Common Calibration Mistakes and How to Avoid Them
Everyone trips over a few of these early on. Spotting them ahead of time won’t make you perfect, but it’ll spare you some frustration.
Skipping Bed Cleaning
This is the quiet saboteur. Leftover residue undermines even the most careful calibration, and it’s invisible until prints start failing.
A quick wipe before you begin removes the variable entirely. It’s the easiest habit to build and the easiest one to forget.
Rushing the Nozzle Height
Guessing the gap instead of testing it leads straight to poor first layers. The paper method exists precisely so you don’t have to eyeball it.
Slow down for this step. Thirty extra seconds here prevent a string of failed attempts later.
Changing Too Many Things at Once
When several things feel wrong, it’s tempting to adjust all of them together. That approach hides which change actually mattered.
Alter one setting, then test. It’s slower in the moment, yet far faster than untangling a mess of simultaneous tweaks.
Maintenance Tips to Keep Your Toybox Calibrated
A little upkeep keeps the printer tuned for the long run. None of it is demanding, and it saves you from repeating full calibrations too often.
Cleaning the Bed and Nozzle Regularly
Routine cleaning preserves adhesion and keeps calibration steady over time. Oils and dust creep back, so a periodic wipe keeps them in check.
Make it part of your rhythm. A clean machine drifts out of calibration far less often than a grimy one.
Rechecking After Moving the Printer
Relocating or bumping the Toybox can shift settings just enough to matter. Movement has a way of nudging things out of alignment.
After a move, run a quick first-layer check. It’s a small precaution that catches problems before they ruin a print.
Building a Simple Calibration Routine
A light, regular check keeps small issues from growing into failed prints. You don’t need a full recalibration every time, just a glance at the first layer now and then.
Fold it into your normal use. Once it becomes routine, the printer mostly takes care of itself.
Conclusion
That’s the full arc of how to calibrate Toybox 3D printer, from wiping down the bed through fine-tuning that perfect first layer. None of it is complicated, which is rather the whole appeal.
A few small habits carry most of the weight. Leveling carefully, setting the nozzle height with a sheet of paper, and running quick test prints make the difference between frustration and dependable, delightful toys.
Take one action today. Wipe down the bed, or run a fresh test print and see what the first layer tells you.
Calibration becomes second nature faster than you’d expect, and it quietly rewards you with one successful print after another. Fire up the Toybox and watch the ideas come back to life.

About
Zevric Halden is a dedicated expert in the world of 3D printing, printer repair, and additive manufacturing, with years of hands-on experience troubleshooting, maintaining, and optimizing desktop 3D printers. His professional focus lies in combining practical mechanical knowledge with modern 3D printing technologies to help users solve printer problems, improve print quality, and keep their machines running reliably. As the author of 3DMend, Zevric explores the technical side of 3D printing, making complex printer issues easier to understand for makers, hobbyists, and professionals alike.
Education
Rochester Institute of Technology
(Rochester, New York, USA)
Associate Degree in Mechanical & Manufacturing Technology
- Focused on mechanical systems, manufacturing processes, machine maintenance, and precision tools.
- Developed practical experience with mechanical troubleshooting, electronic components, and computer-controlled equipment.
- Gained hands-on knowledge of CAD systems, rapid prototyping, and additive manufacturing technologies.
Worcester Polytechnic Institute
(Worcester, Massachusetts, USA)
Bachelor’s in Mechanical Engineering & Additive Manufacturing
- Specialized in digital fabrication, 3D printing systems, mechanical design, and manufacturing technologies.
- Studied printer calibration, motion systems, extrusion mechanisms, material behavior, and print optimization.
- Participated in practical engineering projects involving rapid prototyping, machine diagnostics, and 3D-printed components.
Publications and Impact
Through 3DMend, Zevric shares his expertise on 3D printer troubleshooting, maintenance, calibration, hardware repair, print-quality issues, and additive manufacturing. His writing focuses on turning frustrating printer problems into clear, practical solutions that readers can understand and apply.
From nozzle clogs and extrusion problems to bed-leveling issues, calibration errors, overheating, unusual noises, failed prints, and mechanical wear, Zevric’s guides are designed to help users identify the underlying cause rather than simply treating the symptoms.
His work bridges the gap between technical engineering knowledge and everyday 3D printing, making reliable repair and maintenance information accessible to everyone—from first-time 3D printer owners and hobbyists to experienced makers and professionals.