

You spend six hours printing a bracket. It looks perfect. Then it snaps the first time you put any real load on it, cracking clean along the layer lines like a stale cracker.
That sting is familiar to anyone who prints functional parts. And it’s exactly the frustration that learning how to make 3D prints stronger sets out to fix.
Here’s the thing worth understanding early. Strength isn’t luck, and it isn’t some hidden setting you flip once. It comes from a handful of choices in slicing, material, orientation, and design.
What follows is a hands-on roadmap. We’ll cover why prints fail, the different kinds of strength, the settings that matter most, and the design tricks that quietly add durability. Most of these fixes are simple enough to apply on your very next print.
Why Some 3D Prints Break So Easily
Before chasing solutions, it helps to understand the problem. A print that fails usually fails for a reason you can name once you know where to look.
I’ll skip the technical deep end, though. You don’t need a materials science background to grasp what’s going on.
The Weakness of Layer Lines
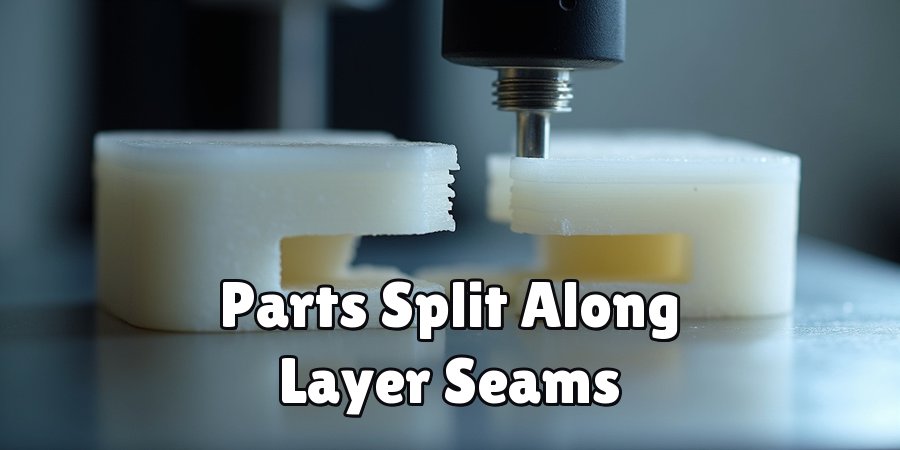
A printed part isn’t solid plastic, not really. It’s stacked layers, and the bond between those layers is weaker than the plastic within each one.
That’s the whole story behind most breakages. Parts tend to split along the seams where one layer meets the next.
Nearly every strengthening strategy, in some form, aims to reinforce or work around this single weak point. Keep that in mind, and a lot of advice starts making sense.
Common Causes of Fragile Prints
Layer bonding isn’t the only culprit, mind you. Thin walls, stingy infill, poor bed adhesion, and simply the wrong material all produce breakable parts.
The trick is figuring out which factor is actually at play. A part that shatters on impact has a different problem than one that peels apart under tension.
Spot the real cause, and you fix the right thing. Guess blindly, and you’ll burn filament chasing improvements that don’t stick.
Understanding What Makes a Print Strong
Strength sounds like one quality. It isn’t. And treating it as a single dial is where a lot of makers go wrong.
Think of this as the mental groundwork. Get the concept right, and your settings choices follow naturally.
Types of Strength That Matter
Parts can be strong in several different ways. Tensile strength resists pulling, impact strength resists sudden shocks, and layer adhesion resists splitting apart.
A part can excel at one and fail miserably at another. A model that survives a heavy pull might still crack the moment it’s dropped.
So knowing the kind of stress a print will face shapes everything else. It points you toward the settings and materials that actually suit the job.
Matching Strength to the Part’s Purpose
A decorative figurine and a load-bearing hook live in completely different worlds. One needs to look good; the other needs to not fail while holding weight.
Think about how, where, and how hard the part will be used before you touch a single setting. That honest assessment saves both time and material.
You invest effort where it counts, in other words. There’s little sense in maxing out a display piece that’ll only ever sit on a shelf.
Optimizing Print Settings for Maximum Strength
Slicer settings are the fastest lever you’ve got. Small changes here often deliver the biggest gains, which makes this the natural place to start.
Two areas deserve most of your attention.
Infill Density and Pattern
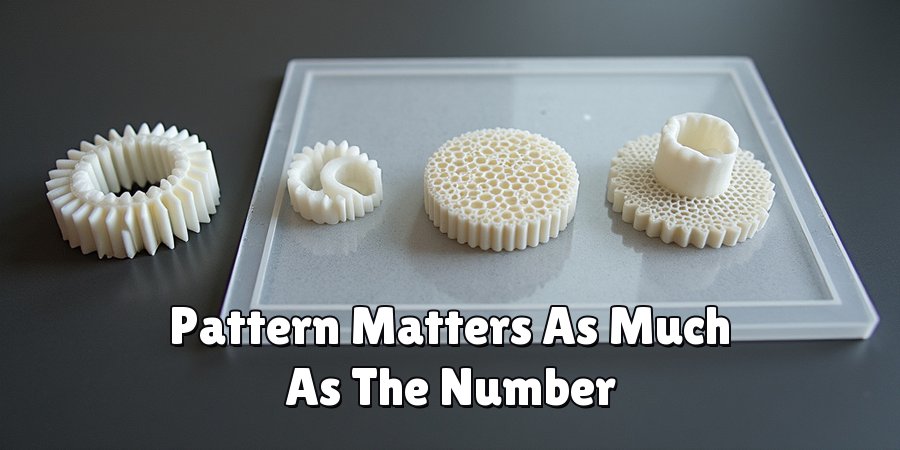
Raising infill density adds internal support, and up to a point, more support means a tougher part. But the pattern matters as much as the number.
Gyroid, cubic, and honeycomb patterns resist stress far better than simple straight lines. They spread load in multiple directions rather than folding under it.
The catch is balance. Cranking infill to full on every print wastes filament and time, so save the high numbers for parts that genuinely bear load.
Wall Count and Layer Height
Here’s something that surprises people. Adding perimeters, those outer wall lines, often boosts strength more than infill ever could.
The thicker outer shell carries most of the load in real use. Two or three extra walls can transform a flimsy part into a solid one.
Layer height plays its own role. Thinner layers bond more reliably to each other, so dropping your layer height improves both detail and that crucial layer adhesion.
How to Make 3D Prints Stronger: Step-by-Step Guide
This is the heart of the whole process. Follow it in order, and you’ll move from a fragile part to a genuinely durable one without much guesswork.
Each step is small on its own. Stacked together, though, several modest improvements add up to a dramatic difference.
Step 1: Define How the Part Will Be Used
Start by picturing the forces the part will face. Will it bend, get pulled, take a drop, or hold constant weight?
That real-world job shapes every decision downstream. Material, orientation, infill-all of it flows from this first honest look.
Skip this, and you build strength everywhere at once, wasting effort. Nail it, and you reinforce exactly where the part needs it.
Step 2: Choose the Right Material
Match the filament to the task before anything else. Tougher options like PETG or nylon suit functional parts, while PLA is fine for lighter duty.
Your material sets the ceiling for how strong the part can ever be. Choose poorly here, and no clever setting will fully rescue it.
So this early choice quietly influences how well every later tweak performs. It’s foundational, even if it doesn’t feel dramatic.
Step 3: Dial In Your Slicer Settings
Now open your slicer and get to work. Increase the wall count, raise infill density, and pick a strong infill pattern suited to the load.
Drop your layer height while you’re at it, since thinner layers bond better. These settings work together, not in isolation.
Adjusted as a group, they give you a solid, reliable foundation. A much tougher print starts taking shape here.
Step 4: Orient the Print for Load Direction
This step is nearly free, and it’s one of the biggest wins available. Position the model so stress runs along the layers rather than across them.
Remember the weak seams between layers? Orientation is how you dodge them.
Rotate a part so that pulling or bending forces pull within a layer, not against the bonds between them. That single choice can slash breakage dramatically.
Step 5: Tune Temperature and Cooling
Heat affects how well layers fuse. Printing slightly hotter and reducing cooling a touch helps fresh plastic bond to the layer beneath it.
Warmer plastic simply welds better. Cool it too fast, and each layer sets before it fully grips the last.
Test small temperature increases within your filament’s safe range, though. You’re balancing stronger adhesion against surface quality, so don’t overdo it.
Step 6: Test, Inspect, and Refine
Finished the print? Now break it, or at least stress it hard. Note where and how it fails.
Then adjust the weakest factor and print again. This simple loop of testing and refining turns vague guesswork into measurable progress.
Each cycle teaches you something specific about your setup. Over a few rounds, you’ll land on a part that reliably holds.
Choosing the Right Material for Stronger Prints
Filament choice shapes durability more than almost anything else. The right material makes every other effort land harder, so it’s worth getting right.
Let’s look at how the common options actually compare.
Comparing Common Filaments by Strength
PLA prints easily and looks great, but it stays brittle and cracks under stress. It’s the friendly beginner material, not the workhorse.
PETG steps things up considerably. It offers a genuinely good mix of strength and toughness, which makes it a sensible default for everyday functional parts.
Push further, and you reach ABS and ASA, which resist heat and impact well. Nylon sits near the top, delivering exceptional durability and a useful bit of flexibility, though it asks more of your printer.
When to Consider Specialty and Composite Filaments
For demanding parts, composite filaments earn a look. Carbon-fiber and glass-fiber reinforced materials add impressive stiffness and strength.
They come with strings attached, though. These abrasive materials usually need a hardened nozzle and some careful tuning to print well.
Weigh the added cost and hassle against what the part truly requires. Not every bracket needs carbon fiber, and pretending otherwise just drains your wallet.
Print Orientation and Its Impact on Strength
Orientation deserves its own section because it’s such a powerful, cost-free tool. How you position a part on the bed can make or break its durability.
The principle is simple, even if applying it takes a little thought.
Aligning Layers With the Load
A part is strongest along its layers and weakest between them. So orientation should place stress within layers whenever you can manage it.
Picture a hook that hangs weight. Print it flat and the pulling force works against the layer bonds, right where it’s weakest.
Rotate that same hook so the load runs along the print lines instead, and it holds far more before failing. You’ve avoided snapping it at its most vulnerable point.
Balancing Strength Against Supports and Quality
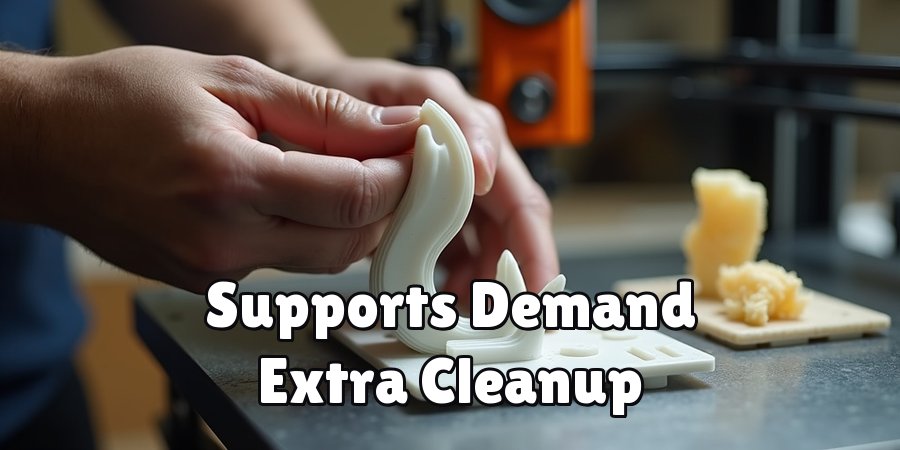
The strongest orientation isn’t always the tidiest, unfortunately. Sometimes it creates steep overhangs that demand supports or leave a rougher finish.
That’s a real trade-off to weigh. You might split a model into pieces, or accept a bit of extra cleanup, to get the orientation you need.
There’s rarely a perfect answer here. The goal is landing on an orientation that delivers real strength without wrecking print quality or wasting filament on supports.
Post-Processing Techniques That Add Durability
The work doesn’t have to end when the print does. A little effort afterward can meaningfully toughen a part, and this stage gets overlooked constantly.
Two approaches stand out.
Annealing for Extra Toughness
Annealing means gently heating a finished print to improve its strength and heat resistance. Certain materials, PLA and nylon among them, respond well to it.
There’s a wrinkle, though. Parts often shrink slightly during annealing, so it works best where added toughness matters more than exact dimensions.
Follow tested temperatures for your specific filament rather than winging it. Done right, a functional part comes out noticeably stronger; done carelessly, it warps into something useless.
Bonding, Reinforcing, and Sealing Prints
Sometimes strength comes from what you add after printing. Epoxy coatings, adhesives, and embedded hardware like threaded inserts all reinforce weak spots and joints.
Multi-part prints, in particular, benefit from being glued along strong seams. A sealed surface adds rigidity too.
These tricks turn a fragile assembly into something dependable. A pressed-in threaded insert, for instance, gives you a metal-strong bolt hole where bare plastic would strip out fast.
Smart Design Tips for Stronger Parts
The best strength is designed in from the start. If you model your own parts, a few habits build durability before the printer ever runs.
This is where a little engineering knowledge pays off handsomely.
Adding Fillets, Ribs, and Gussets
Sharp interior corners are where cracks love to begin. A fillet, which is just a rounded corner, spreads stress out instead of concentrating it at a single point.
Ribs and gussets do similar work on flat walls and joints. They reinforce those areas without adding much weight or material.
These are old engineering tricks, and they toughen a part dramatically for very little effort. Round your corners and brace your joints, and you’ve done half the work already.
Avoiding Weak Points in Your Model
Some failures are baked into the design long before printing. Thin walls, tiny connecting bridges, and abrupt changes in thickness all create fragile spots.
Thicken the critical areas. Smooth out sudden transitions so stress doesn’t pile up at one edge.
Reposition holes away from the paths that carry load, too. You’re essentially designing out the weaknesses before they ever reach the bed, which beats fixing them later.
Common Mistakes That Weaken Prints
A few errors quietly sabotage strength, and they show up again and again. Avoiding them gets you tougher parts with no extra effort at all.
Most stem from simple misunderstandings.
Relying on Infill Instead of Walls
This one trips up nearly every beginner. They crank infill to 100% while leaving the wall count low, then wonder why the part still isn’t strong.
Adding perimeters usually delivers more strength per gram than dense infill does. The outer shell is where the real load-bearing happens.
Balance the two rather than leaning entirely on density. You’ll get far tougher parts while using less filament and less time.
Ignoring Moisture and Print Quality
Damp filament is a silent strength-killer. It prints poorly, riddling parts with tiny weak spots you can’t always see.
Dry your filament, especially the thirsty stuff like nylon and PETG. Then dial in your adhesion and fix any under-extrusion before blaming your settings.
All the clever tuning in the world won’t save a print made from wet filament. Protect your gains by keeping the basics in order.
Habits to Consistently Print Stronger Parts
Getting one strong print is nice. Making strong prints your default is better, and that comes down to routine.
Think of this as the long game of dependable printing.
Testing and Tuning Your Settings
Print small test pieces and stress them to see how your settings actually behave. Each material responds a little differently, so real testing beats assumptions.
Once you find what works, save it. A proven profile for each filament and part type lets you repeat great results without starting from scratch.
Those hard-won lessons become ready-to-use presets. That’s how skill compounds over time rather than resetting with every project.
Maintaining Your Printer and Filament
A well-tuned machine simply prints stronger parts. A clean nozzle, a level bed, and properly stored dry filament all support consistent results.
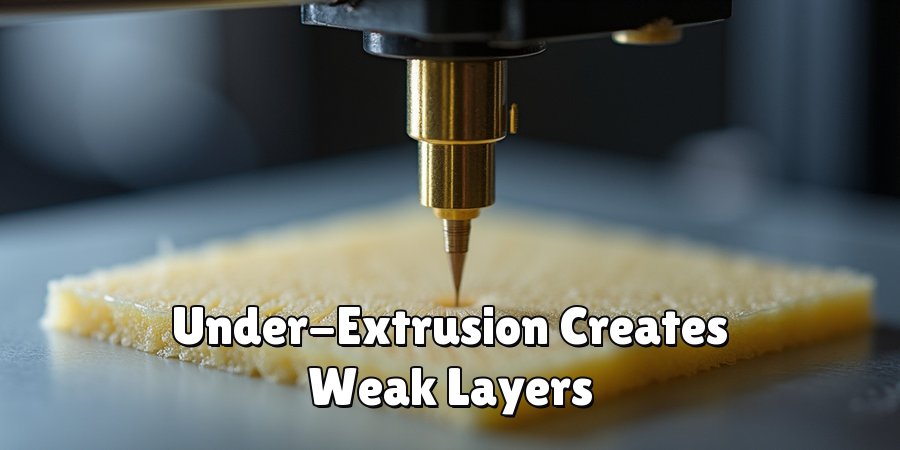
Neglect these and hidden defects creep in. Under-extrusion, poor adhesion, weak layers-all of it traces back to basic upkeep.
Simple maintenance prevents most problems before they start. You end up troubleshooting less and printing dependable parts more.
Conclusion
Come back to that snapped bracket for a second. Six hours of printing, gone in an instant, cracked along a seam you could’ve reinforced.
A handful of smart choices changes that story entirely. Knowing how to make 3D prints stronger turns frustrating breakages into parts you can genuinely rely on.
We’ve covered a lot of ground here. Tuning infill, walls, and layer height, choosing tougher materials, orienting for load, post-processing, and designing out the weak points before they ever appear.
The real secret is that these gains stack. No single tweak transforms a part, but several together absolutely do. My honest suggestion? Pick one weak print this week, apply a few of these techniques, and reprint it into something that finally holds up under real pressure.

About
Zevric Halden is a dedicated expert in the world of 3D printing, printer repair, and additive manufacturing, with years of hands-on experience troubleshooting, maintaining, and optimizing desktop 3D printers. His professional focus lies in combining practical mechanical knowledge with modern 3D printing technologies to help users solve printer problems, improve print quality, and keep their machines running reliably. As the author of 3DMend, Zevric explores the technical side of 3D printing, making complex printer issues easier to understand for makers, hobbyists, and professionals alike.
Education
Rochester Institute of Technology
(Rochester, New York, USA)
Associate Degree in Mechanical & Manufacturing Technology
- Focused on mechanical systems, manufacturing processes, machine maintenance, and precision tools.
- Developed practical experience with mechanical troubleshooting, electronic components, and computer-controlled equipment.
- Gained hands-on knowledge of CAD systems, rapid prototyping, and additive manufacturing technologies.
Worcester Polytechnic Institute
(Worcester, Massachusetts, USA)
Bachelor’s in Mechanical Engineering & Additive Manufacturing
- Specialized in digital fabrication, 3D printing systems, mechanical design, and manufacturing technologies.
- Studied printer calibration, motion systems, extrusion mechanisms, material behavior, and print optimization.
- Participated in practical engineering projects involving rapid prototyping, machine diagnostics, and 3D-printed components.
Publications and Impact
Through 3DMend, Zevric shares his expertise on 3D printer troubleshooting, maintenance, calibration, hardware repair, print-quality issues, and additive manufacturing. His writing focuses on turning frustrating printer problems into clear, practical solutions that readers can understand and apply.
From nozzle clogs and extrusion problems to bed-leveling issues, calibration errors, overheating, unusual noises, failed prints, and mechanical wear, Zevric’s guides are designed to help users identify the underlying cause rather than simply treating the symptoms.
His work bridges the gap between technical engineering knowledge and everyday 3D printing, making reliable repair and maintenance information accessible to everyone—from first-time 3D printer owners and hobbyists to experienced makers and professionals.