

You’re halfway through a print when it hits you. This model would look so much better in two colors, or maybe you meant to drop a magnet inside before the plastic sealed it shut.
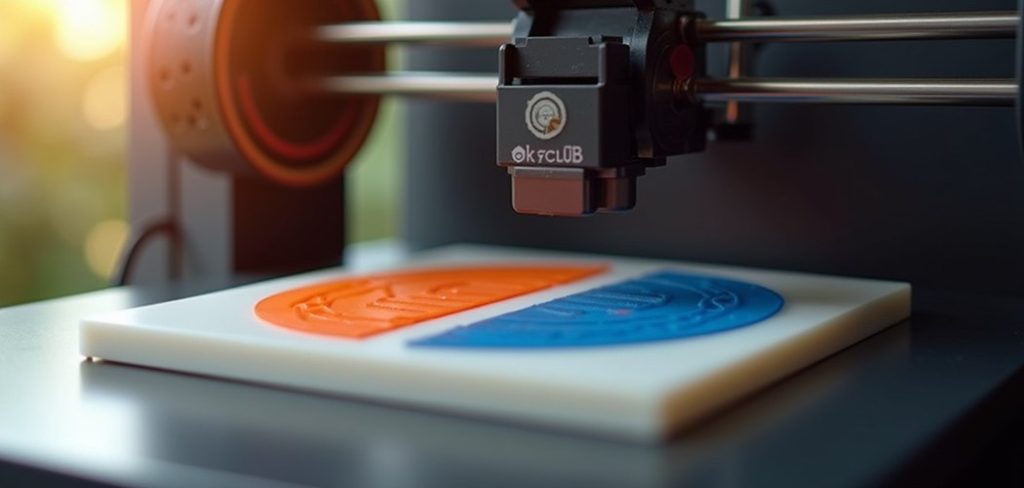
Too late, right? Not quite. Learning how to pause a print layer in Cura opens up a level of control most people never touch.
It sounds like an advanced trick, the kind reserved for seasoned makers. But it’s genuinely simple once you know where the setting lives.
What follows is a hands-on roadmap. We’ll cover why pausing helps, how Cura’s Pause at Height script works, a clear step-by-step process, creative uses, and how to fix the hiccups that sometimes crop up. Stick with me, and a well-placed pause turns plain single-color jobs into multi-color, embedded-hardware pieces you’ll actually be proud of.
Why Pausing a Print Can Be So Useful
Before the how, a moment on the why. It helps to see what a pause actually unlocks before you go adding one.
None of this requires fancy hardware, either. That’s part of the appeal.
Unlocking Color and Material Changes
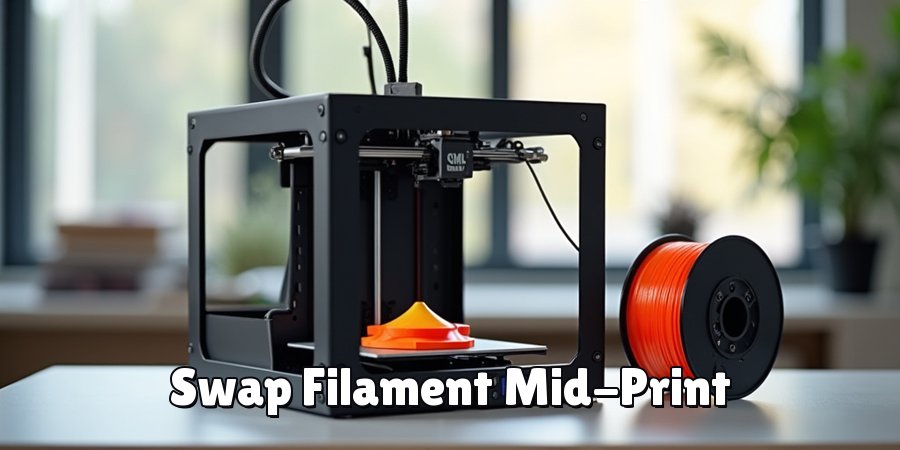
Here’s the trick that hooks most people. Pause mid-print, swap the filament, and resume — suddenly your single-extruder machine prints two colors.
A plain nameplate becomes a two-tone sign. A logo gets its accent color. You can even switch materials partway through if a project calls for it.
One well-timed pause does all that, no multi-material printer needed. For anyone eyeing those pricey dual-extruder setups, this is a cheap, clever alternative.
Embedding Objects and Inspecting Progress
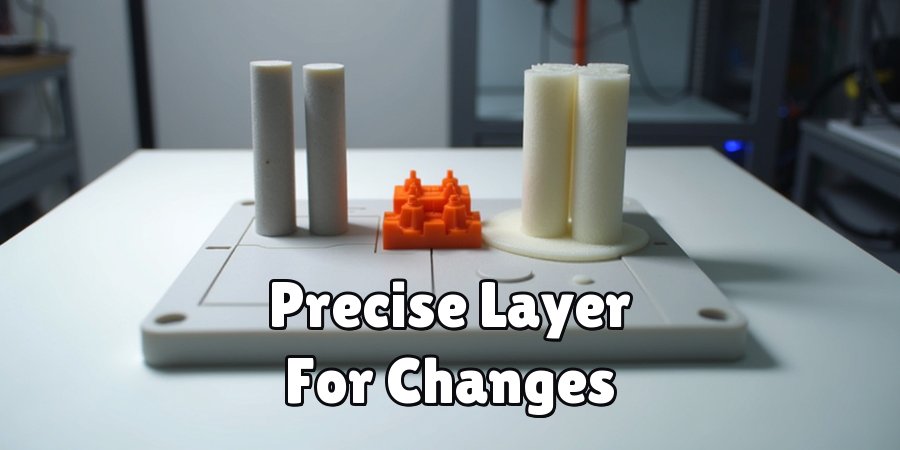
A pause also cracks the print open, briefly, right when you need access. Drop in a magnet, press in a nut, tuck a hidden note inside before the layers close over it.
That window is impossible to get any other way. Once a print seals, it’s sealed.
Pausing helps with inspection, too. You can eyeball a tricky layer, catch an early problem, and fix it before it ruins the whole job.
Understanding How Cura Handles Pauses
A little background makes the process feel far less mysterious. Cura isn’t improvising when it pauses; it’s following an instruction you planted.
Knowing that changes how you approach the whole thing.
The Pause at Height Post-Processing Script
Cura has a built-in tool for this called the Pause at Height script. It sits in the post-processing menu, and its job is to slip pause commands into your sliced file.
So the pause is planned, not manual. The script tells the printer exactly when to stop, meaning you’re not standing there hovering over the machine, waiting to hit a button.
That’s the reassuring part. Set it up once, and Cura handles the timing for you.
How Layers and Heights Work Together
There are two ways to tell Cura where to pause, and the difference matters. You can pause by layer number, or by physical height in millimeters.
Layer number ties the pause to the sliced file itself, which tends to feel precise. Height works well when you already know the exact millimeter mark you’re after.
Either way, understanding this distinction lets you pinpoint the moment you want. That control is really the whole point.
What You Need Before You Start
A bit of prep smooths the entire process. Nothing here is heavy lifting, but skipping it can mean slicing your file twice.
Think of this as clearing the runway before takeoff.
Checking Your Printer’s Pause Compatibility
Not every printer handles pause commands the same way. Some respond cleanly to a firmware pause; others need specific G-code to stop correctly.
So it’s worth confirming compatibility before you commit to a long print. Check your firmware, and maybe run a quick test on a small model to see how your machine actually behaves.
A five-minute test now spares you a failed six-hour print later. That trade is almost always worth it.
Preparing Your Model and Slicer
Have the model loaded, your print settings dialed in, and the layer preview ready in Cura before you add anything. Get the groundwork done first.
A little setup upfront lets you find the perfect pause point quickly. It also means you won’t be re-slicing the file over and over because you forgot a step.
How to Pause a Print Layer in Cura: Step-by-Step Guide
This is the heart of the whole thing. Follow it in order, and you’ll move from an unsliced model to a perfectly timed pause without much fuss.
Each step is small on its own. A little care during setup guarantees the pause lands exactly where you want it.
Step 1: Load and Slice Your Model
Start by importing your model into Cura, choosing your print settings, and slicing the file as usual. Get it fully sliced first.
The reason is simple. Slicing generates the layer data you need, so you can preview the print and spot the exact layer where a pause makes sense.
Without that data, you’re guessing. With it, the right spot becomes obvious.
Step 2: Find the Exact Pause Layer
Now use Cura’s layer view slider to scrub through the print. Drag it up and down until you find the layer where the pause should happen.
Note the precise layer number, or the height, once you land on it. That way the pause hits at the perfect moment — right before a color change, say, or just under where an embedded part needs to go.
Take your time here. This is the decision the rest hinges on.
Step 3: Open the Post-Processing Menu
Head to the Extensions menu, select Post Processing, then choose Modify G-Code. That’s where pause instructions get added.
I know, it sounds technical the first time. Modify G-Code has an intimidating ring to it.
But the interface is straightforward, and it walks you through the options clearly. You won’t be writing code by hand, I promise.
Step 4: Add the Pause at Height Script
Inside that menu, click Add a Script and pick Pause at Height from the list. That’s the tool doing the real work.
The script inserts the pause command automatically. No G-code typing, no cryptic syntax to memorize.
This is what makes the whole thing approachable, even if you’ve never peeked at a G-code file in your life. Cura writes the hard part for you.
Step 5: Configure the Pause Settings
Now set the details. Tell the script whether to pause by layer number or by height, then adjust options like park position, retraction, and filament handling.
These settings matter more than they look. Tuning them prevents oozing, protects the print, and readies the printer to resume cleanly once you’ve done your mid-print task.
Don’t rush this part. A few thoughtful tweaks here save you blobs and gaps later.
Step 6: Re-Slice, Save, and Print
Here’s the step people forget, and it’s the one that trips them up most. Re-slice the model so the pause command actually takes effect.
Then save the file and start the print. The printer will now stop on its own at your chosen layer.
That closes the loop. You perform your change, resume, and carry on with confidence.
Choosing the Right Pause Method for Your Printer
Different setups call for different approaches. Matching the method to your machine is what makes the pause reliable instead of hit-or-miss.
Two choices shape how you go about it.
Pausing by Layer Number Versus Height
Layer number gives you precise control tied directly to the sliced file. If you found your spot using the layer slider, this often feels the most natural.
Height suits a different situation. When you know the exact millimeter mark you need — because a nut sits 12mm up, for instance — pausing by height makes sense.
Pick whichever fits the model and your comfort level. Both work; one just tends to feel more intuitive depending on the job.
Firmware Pause Versus Marlin Commands
Some printers stop best with a built-in firmware pause. Others need specific G-code commands to halt correctly and hold position.
The only sure way to know is to test. Run each option on a small print and watch how your machine responds.
Once you’ve found the method your printer handles reliably, stick with it. That consistency is what stops surprises on longer jobs.
Creative Uses for Pausing Mid-Print
This is where pausing earns its keep. A single pause opens the door to prints that look far more advanced than the effort behind them.
Two uses stand out.
Multi-Color and Multi-Material Prints
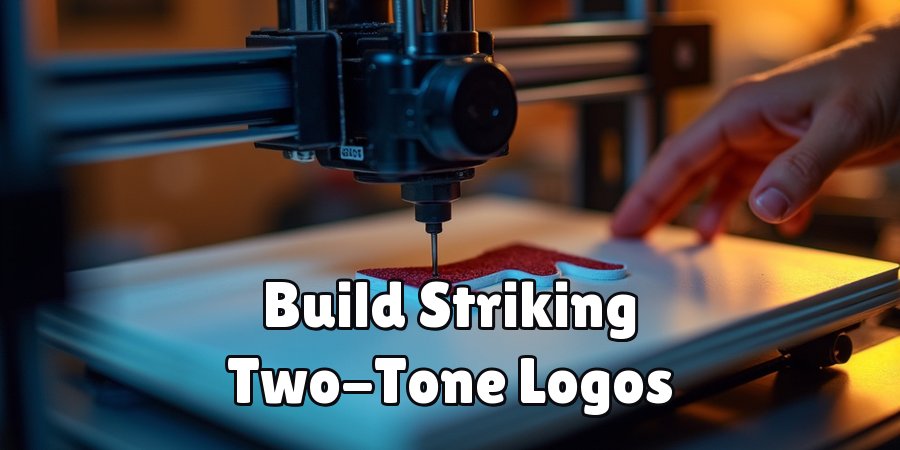
Swapping filament during a pause lets you build striking two-tone logos, layered signs, and color-blocked models — all on a single-extruder printer.
Plan your color changes around specific layers, and simple designs turn vibrant. A flat coaster becomes a two-color piece; a name sign gets a bold accent band.
It’s an affordable way to get effects that usually demand pricier gear. Honestly, it’s one of the more satisfying tricks in the hobby.
Embedding Nuts, Magnets, and Hidden Items
Pause at the right layer, and you can press in captive nuts, magnets, weights, or even a small hidden note before the print seals over them.
This makes for sturdier assemblies. A captive nut gives you a metal-strong bolt point where bare plastic would strip out fast.
It also opens up playful possibilities. A hidden magnet, a secret message tucked inside — things that would be flat-out impossible without that brief opening.
Resuming Your Print Smoothly After a Pause
The resume gets overlooked, yet it decides how clean the finished print looks. A sloppy restart leaves scars right where you paused.
A little care here keeps the transition invisible.
Handling Filament and Nozzle During the Pause
Load your new filament, clear any oozing, and try not to let the nozzle cool too much while the print waits. A cold nozzle resumes poorly.
A quick, careful swap prevents gaps, blobs, and adhesion trouble. The goal is to pick up right where you left off, seamlessly.
Move with purpose, in other words. The longer you dawdle, the more the nozzle drools and cools.
Getting a Seamless Layer Transition
Prime the nozzle before resuming, wipe away any stray filament, and get moving promptly. Those small habits help the new layer bond firmly to the last one.
Do it well and the seam nearly disappears. The print holds together as though it never stopped at all.
It’s a bit of finesse, sure. But it’s the difference between a clean two-tone piece and one with an ugly ridge at the swap.
Common Problems and How to Fix Them
Pausing comes with a few predictable snags. The good news is they’re easy to diagnose once you’ve seen them.
Two crop up most often.
Print Not Pausing at the Right Layer
The usual culprit is forgetting to re-slice after adding the script. It’s the single most common mistake, and an easy one to make.
Mismatched height settings or an incompatible pause method can also send the printer to the wrong spot or skip the pause entirely.
Double-check your script settings and re-slice the file. That usually sorts it, and the pause lands exactly where you meant it to.
Blobs, Gaps, and Adhesion Issues After Resuming
Oozing during a long pause, or a nozzle that cooled off, tends to leave blobs, gaps, or weak layers at the transition.
The fixes are straightforward. Adjust your retraction, keep the temperature steady during the pause, and resume quickly rather than lingering.
Get those right, and the print stays smooth and strong straight through the swap. No ugly bumps, no fragile seam.
Tips for Perfect Pauses Every Time
A couple of habits turn reliable pausing into second nature. These are the small moves that separate a clean result from a frustrating one.
Think of this as the long game of confident printing.
Testing With Small Prints First
Run a quick, small test print before committing to a long job. It confirms the pause behaves correctly on your specific machine.
This habit surfaces timing quirks and firmware behavior early. Better to learn a lesson on a twenty-minute test than to discover the problem four hours into something ambitious.
A little testing upfront saves a lot of wasted filament. That math almost always works out.
Planning Pause Points in Advance
Preview the model and mark your ideal pause layers before slicing. A bit of forethought leads to cleaner, better-timed results.
Think ahead about where color changes or insert placements should fall. That turns a rushed guess into a deliberate choice.
The prints that look most polished usually come from this kind of planning. It’s rarely luck.
Conclusion
Come back to that moment mid-print, when you wished you could stop and change something. It used to feel like a lost opportunity.
Now it’s just a setting. Knowing how to pause a print layer in Cura turns basic single-color jobs into multi-color creations, embedded-hardware parts, and prints you can inspect before they seal up their own mistakes.
We’ve covered a fair amount here. Understanding the Pause at Height script, finding the exact layer, configuring the settings, resuming cleanly, and troubleshooting the snags that come up.
Testing small prints and planning your pause points ahead make every attempt smoother, so keep those close. My honest suggestion? Slice a project today, add a single pause, and enjoy the quiet satisfaction of taking full creative control of your prints.

About
Zevric Halden is a dedicated expert in the world of 3D printing, printer repair, and additive manufacturing, with years of hands-on experience troubleshooting, maintaining, and optimizing desktop 3D printers. His professional focus lies in combining practical mechanical knowledge with modern 3D printing technologies to help users solve printer problems, improve print quality, and keep their machines running reliably. As the author of 3DMend, Zevric explores the technical side of 3D printing, making complex printer issues easier to understand for makers, hobbyists, and professionals alike.
Education
Rochester Institute of Technology
(Rochester, New York, USA)
Associate Degree in Mechanical & Manufacturing Technology
- Focused on mechanical systems, manufacturing processes, machine maintenance, and precision tools.
- Developed practical experience with mechanical troubleshooting, electronic components, and computer-controlled equipment.
- Gained hands-on knowledge of CAD systems, rapid prototyping, and additive manufacturing technologies.
Worcester Polytechnic Institute
(Worcester, Massachusetts, USA)
Bachelor’s in Mechanical Engineering & Additive Manufacturing
- Specialized in digital fabrication, 3D printing systems, mechanical design, and manufacturing technologies.
- Studied printer calibration, motion systems, extrusion mechanisms, material behavior, and print optimization.
- Participated in practical engineering projects involving rapid prototyping, machine diagnostics, and 3D-printed components.
Publications and Impact
Through 3DMend, Zevric shares his expertise on 3D printer troubleshooting, maintenance, calibration, hardware repair, print-quality issues, and additive manufacturing. His writing focuses on turning frustrating printer problems into clear, practical solutions that readers can understand and apply.
From nozzle clogs and extrusion problems to bed-leveling issues, calibration errors, overheating, unusual noises, failed prints, and mechanical wear, Zevric’s guides are designed to help users identify the underlying cause rather than simply treating the symptoms.
His work bridges the gap between technical engineering knowledge and everyday 3D printing, making reliable repair and maintenance information accessible to everyone—from first-time 3D printer owners and hobbyists to experienced makers and professionals.