

A finished 3D model sitting on your screen is only half a project. It’s a shape, sure, but your printer can’t read it yet. Something has to translate that shape into instructions the machine actually understands.
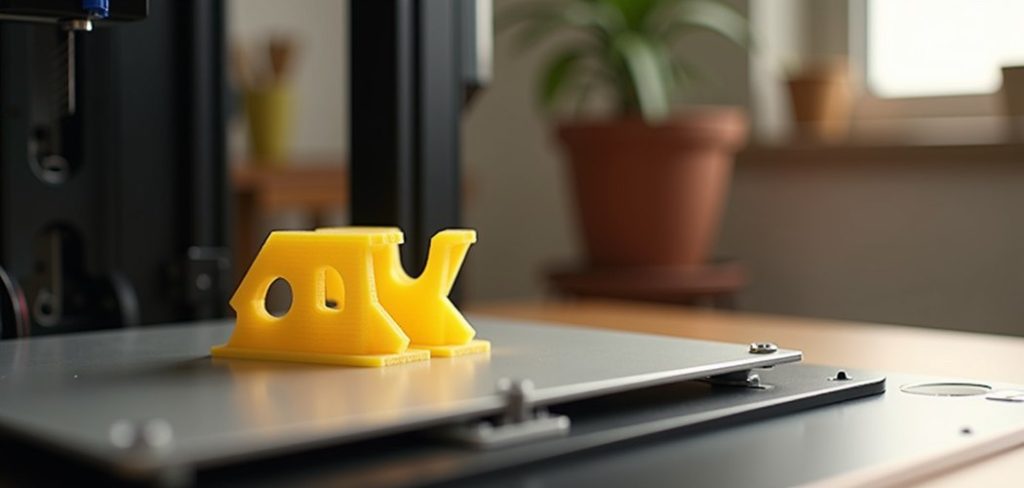
That something is a slicer. And learning how to use PrusaSlicer gives you a surprising amount of control over how your prints turn out, whether you own a Prusa machine or something else entirely.
The interface looks busy at first. All those tabs and sliders can feel like too much. But it settles down quickly once you break it into stages.
This guide covers setup, the key features, a full step-by-step walkthrough, and a handful of tips that sharpen your results. By the end, turning a model into clean G-code should feel routine.
What PrusaSlicer Is and Why It Matters
Before clicking anything, it helps to know what this software does and why so many makers swear by it. The short version: it’s the bridge between your design and your printer.
What PrusaSlicer Actually Does
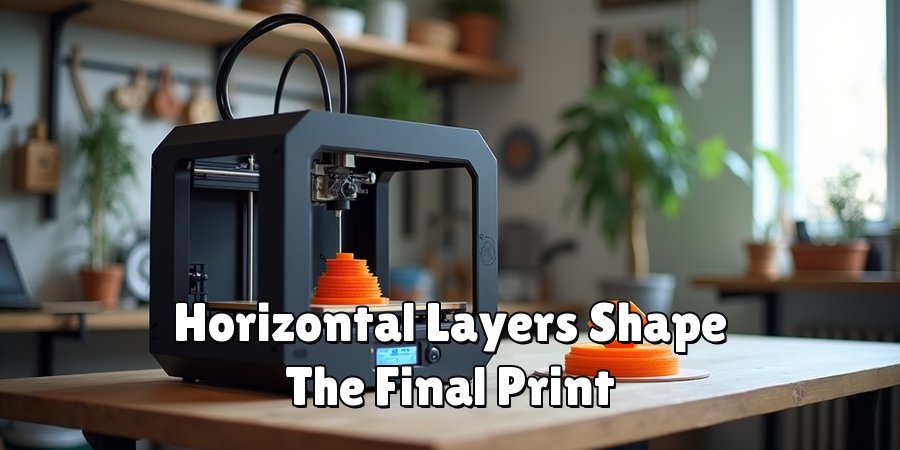
PrusaSlicer takes a 3D model and chops it into horizontal layers. Then it writes G-code, the line-by-line instructions your printer follows to lay down plastic one layer at a time.
That translation is where print quality is won or lost. The same model can come out beautifully or badly depending on how it was sliced.
Who PrusaSlicer Is For
Beginners tend to appreciate its simple mode, which hides the overwhelming stuff until you’re ready. Experts, meanwhile, get access to deep, granular settings that let them tune almost everything.
That range is part of the appeal. The software grows with you rather than forcing a choice between too basic and too complex.
Key Benefits for Your Prints
Strong default profiles do a lot of heavy lifting here. You can often print something decent straight away, without touching a single advanced setting.
Wide printer support helps too. Reliable results save time and filament, which anyone who’s watched a failed print peel off the bed will appreciate.
Getting Started: Installation and Setup
The first few steps shape how comfortable the software feels later. A clean setup now saves confusion down the road.
Downloading and Installing PrusaSlicer
Grab it from the official source rather than a random mirror. The installer walks you through the process smoothly on Windows, macOS, or Linux.
It’s free, which lowers the barrier considerably. Follow the prompts, and you’ll be looking at a fresh install within a few minutes.
Choosing Your Printer Profile
During setup, you’ll pick your printer. This matters more than it might seem, since selecting the right model loads accurate defaults tuned for that machine.
If your exact printer isn’t listed, a close match often works as a starting point. You can adjust from there once you see how prints behave.
Selecting Simple, Advanced, or Expert Mode
PrusaSlicer offers three levels of complexity. Simple mode keeps things light. Advanced and Expert modes progressively reveal more settings.
Start simple. There’s no rush to expose every option, and you can switch modes anytime as your confidence grows.
Understanding the PrusaSlicer Interface
Knowing where things live makes everything else easier. A quick tour of the layout beats fumbling around blindly.
The 3D View and Toolbar
The center of the screen shows your build plate and whatever model sits on it. A toolbar along the side handles moving, rotating, scaling, and other adjustments.
Spend a minute clicking through those tools. Getting comfortable positioning a model here pays off on every project that follows.
Print Settings and Filament Tabs
Up top, you’ll find tabs for print settings and filament. This is where layer height, infill, temperature, and material profiles all live.
You won’t need every option early on. But knowing these tabs exist means you’ll find them when a print calls for a tweak.
The Slice and Export Controls
Toward the bottom right sit the buttons that matter most in the moment: slice and export. Slicing turns your model into G-code, and exporting sends that file to your printer or an SD card.
These two actions cap off nearly every session. Everything else builds toward pressing them.
How to Use PrusaSlicer: Step-by-Step Guide
Here’s where the interface stops being abstract and turns into a print-ready file. Work through it in order, and the process starts feeling natural fast.
Step 1: Import Your 3D Model
Start by loading your file. PrusaSlicer accepts STL, OBJ, and 3MF formats, and you can drag one straight onto the build plate or use the import menu.
Once it lands, check that it appears correctly. A model that shows up sunk into the plate or floating above it may need a quick position fix before you go further.
Step 2: Position and Orient the Model
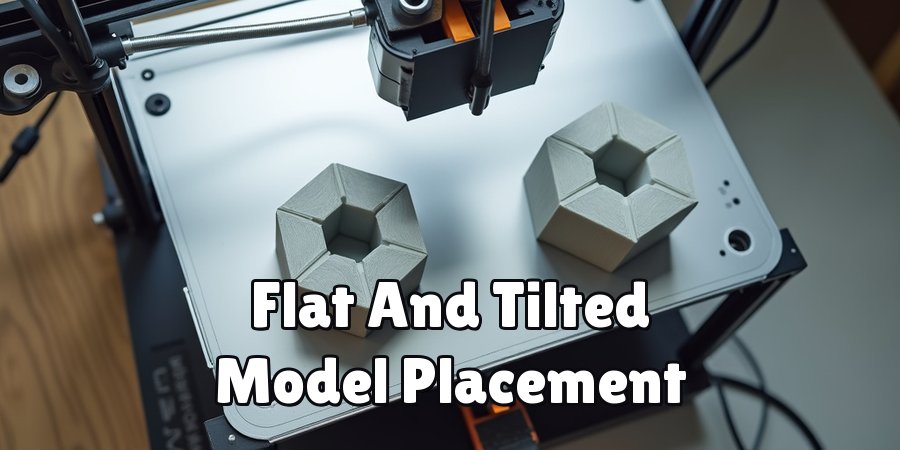
Now think about how the model sits. Rotating and moving it isn’t just tidiness — orientation affects strength, surface quality, and how much support the print needs.
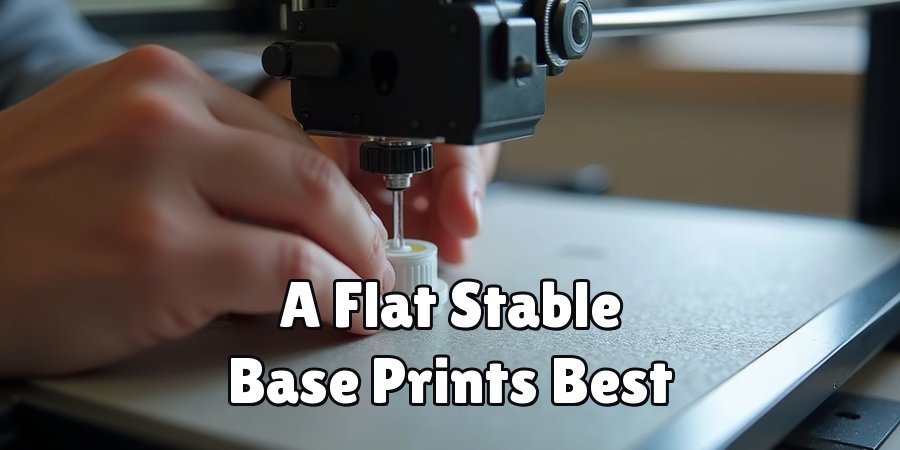
A flat, stable base usually prints best. Consider which face matters most for appearance, since the bottom layer against the plate tends to look different from the rest.
Step 3: Choose Your Print Settings
With placement sorted, pick your settings. Layer height controls detail, infill density controls strength, and the quality presets bundle sensible defaults together.
For a first print, a standard 0.2mm layer height and moderate infill work well. You can chase finer detail later once you know what your printer handles cleanly.
Step 4: Set Up Supports and a Brim
Some models need help. Steep overhangs and bridges may collapse without supports, so enable them when the geometry calls for it.
A brim can help too, especially for parts with small footprints that tend to lift. Adding one gives the first layer more grip, though it means a bit of cleanup afterward.
Step 5: Slice and Preview the Print
Hit slice, then actually look at the preview. This layer-by-layer view is easy to skip and genuinely worth the ten seconds it takes.
The preview shows print time, filament use, and how each layer builds. It’s your best chance to catch a problem before it wastes an hour and a spool of plastic.
Step 6: Export G-code and Print
If the preview looks right, export the G-code. Save it to an SD card or send it directly, depending on how your printer connects.
Then start the print with a little more confidence than you’d have flying blind. You’ve seen what it’ll do, so fewer surprises are waiting.
Adjusting Key Print Settings for Better Results
A few settings shape your prints far more than the rest. Understanding these gives you the most improvement for the least effort.
Layer Height and Print Quality
Layer height is the classic trade-off. Thinner layers capture more detail and smoother curves, while thicker layers print noticeably faster.
There’s no single right answer. A display piece may warrant fine layers, whereas a rough functional bracket rarely needs them.
Infill Patterns and Density
Infill is the internal structure hidden inside your print. Different patterns and percentages balance strength against material use and print time.
For most everyday parts, 15 to 20 percent infill holds up fine. Bumping it higher makes sense only when a part actually needs to bear load.
Print Speed and Temperature
Speed and temperature quietly influence a lot. Push speed too high and quality drops; run temperature wrong and you invite stringing, poor adhesion, or weak layers.
Small adjustments here can fix surprisingly stubborn defects. If a print looks off, these two settings are often worth checking before anything fancier.
Working With Supports and Adhesion
Tricky prints stop being intimidating once you understand supports and how the first layer sticks. These two areas cause a lot of early failures.
When Supports Are Needed
Not every model needs them. Supports earn their place under overhangs and bridges, where plastic would otherwise be printing into thin air.
Look at the model before slicing. If a section juts out with nothing beneath it, that’s your signal that supports may be worth adding.
Support Types and Placement
PrusaSlicer offers a few flavors: organic, grid, and paint-on supports. Each suits different situations, and the paint-on option lets you place them exactly where you want.
Organic supports use less material and often peel away more cleanly. It’s worth trying them when a model gives you trouble with the standard grid.
Improving Bed Adhesion
A print that won’t stick can’t succeed. Brims, skirts, and rafts all help the first layer grip and stay put through the job.
A clean bed matters just as much. Even the best adhesion helper struggles against dust or a greasy fingerprint on the surface.
Common Mistakes and How to Avoid Them
Everyone trips over a few of these early. Knowing them ahead of time won’t make you flawless, but it thins out the frustration.
Using the Wrong Printer or Filament Profile
A mismatched profile quietly sabotages everything downstream. Wrong temperatures, wrong dimensions, wrong expectations — it all leads to poor quality or outright failure.
Double-check that your printer and filament profiles actually match what’s in front of you. It’s a two-second glance that saves a lot of head-scratching.
Ignoring the Slice Preview
Skipping the preview is tempting when you’re eager to print. That’s usually when a hidden problem slips through and wastes your time.
The preview exists precisely to catch these. Glancing at it costs almost nothing and may spare you a failed print you’d only notice halfway through.
Over-Supporting the Model
More supports feel safer, but they aren’t free. Excess supports burn material, add print time, and turn cleanup into a chore.
Aim for the minimum that does the job. If a model prints fine with fewer supports, there’s no reason to bury it in scaffolding.
Tips to Get the Most Out of PrusaSlicer
A few habits unlock a lot of the software’s deeper value. None of them are complicated — they just take a little intention.
Saving Custom Profiles
Once you dial in settings that work, save them. A custom profile means you never have to rebuild that perfect configuration from scratch again.
This keeps results consistent, too. Reaching for a saved profile beats guessing at settings you swear you got right last time.
Using Modifiers and Variable Settings
Modifiers let you change settings in specific regions of a model rather than the whole thing. You might add strength to one section without over-building the rest.
It’s a genuinely useful trick for functional parts. A little targeted tuning often beats cranking up settings across the entire print.
Keeping the Software Updated
Updates bring new features, refined profiles, and smoother performance. Skipping them means missing improvements that could make your prints easier.
You don’t have to chase every release the day it drops. But checking now and then keeps you from falling too far behind.
Conclusion
That covers how to use PrusaSlicer, from the first install all the way through exporting a finished G-code file. It’s a lot of small steps, but none of them are hard once you’ve done them a couple of times.
Every clean, reliable print traces back to a few thoughtful choices in the slicer. Those are exactly the choices you now know how to make.
Take one small step today. Install the software, or slice a favorite model just to watch the preview build layer by layer.
Confidence grows with each print, and early experiments are simply part of the ride. Load a model, press slice, and watch your idea start taking shape.

The 3D Mend team — we print, we fail, we work out why, and we write it down. Every guide here started as something that went wrong on one of our own machines.