

Setting up and using a FlashForge 3D printer involves five core steps—identifying your model, loading filament, slicing your file in FlashPrint, leveling the build plate, and starting the print. Most beginners can produce their first successful print within a few hours of unboxing, provided they don’t skip bed leveling.
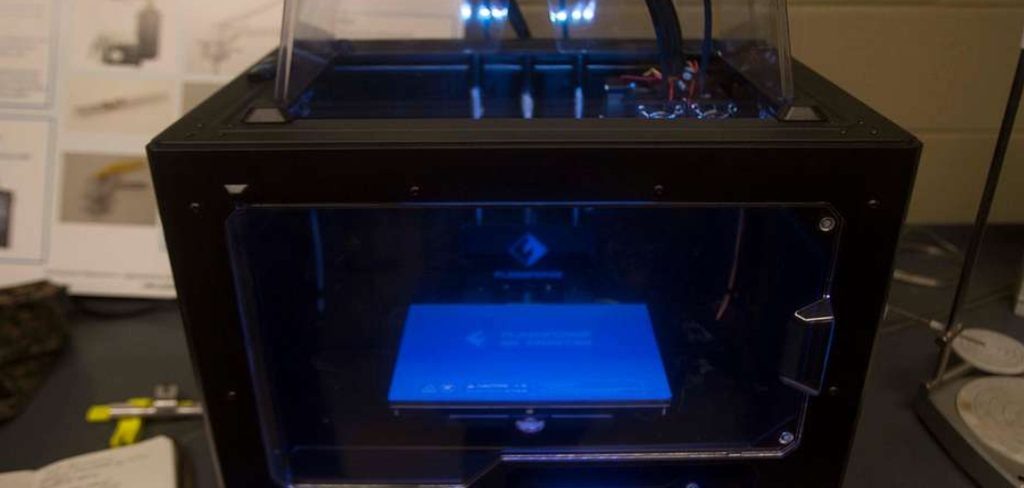
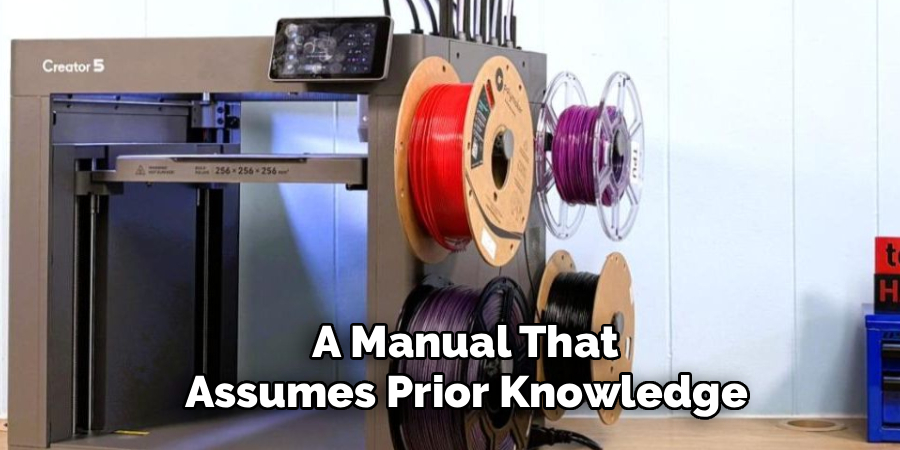
First things first: the anxiety is normal. Unboxing a 3D printer for the first time tends to produce a specific kind of overwhelm—lots of components, a manual that assumes prior knowledge, and the quiet suspicion that you’re about to break something expensive. FlashForge printers are, by most measures, among the more forgiving options for beginners, but that doesn’t mean the learning curve vanishes entirely.
What this guide on how to use flashforge 3d printer does is walk you through the process in the order it actually matters. Not every feature, not every setting—just what you need to get from an unboxed machine to a finished print without unnecessary detours. Experienced users might find some sections familiar; that’s fine. Skip ahead. For everyone else, start at the top.
Identify Your FlashForge Printer Model Before Doing Anything Else
This sounds obvious, but it’s worth stating clearly: FlashForge produces multiple distinct printer lines, and they are not interchangeable in terms of software profiles, firmware, or filament compatibility. The Adventurer 3, Adventurer 4, Adventurer 5M, Creator Pro 2, and Guider 2S each have different build volumes, extruder configurations, and recommended settings.
Your model number appears on a label on the back or underside of the machine. Once you have it, visit flashforge.com and locate the documentation and driver downloads specific to that model. Skipping this step—or assuming settings from one model apply to another—tends to cause problems that are frustrating to diagnose later.
What You’ll Need Before Your First Print
Gathering materials upfront saves time. Mid-print interruptions caused by missing tools or incompatible filament are entirely avoidable.
FlashForge 3D Printer
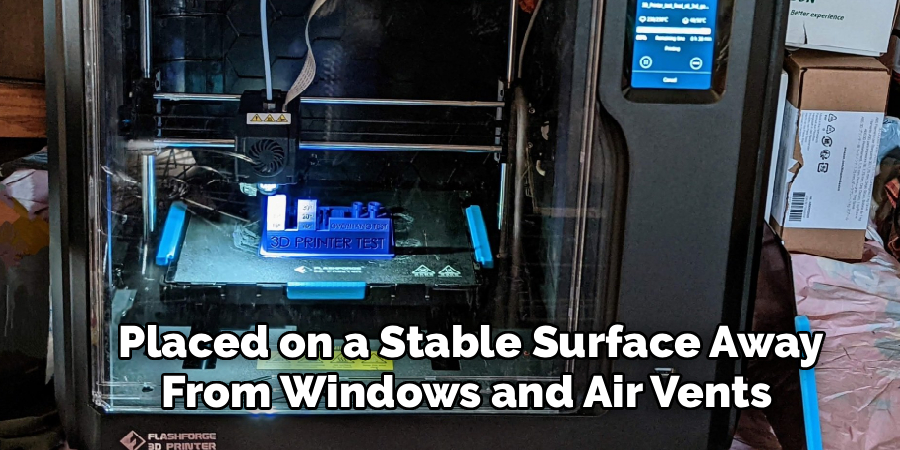
Fully assembled, plugged into a grounded outlet, and placed on a stable surface away from windows and air vents. Drafts affect print adhesion more than most beginners expect.
Filament
PLA is the right starting point for almost everyone. It prints at lower temperatures (around 190–220°C), doesn’t require a heated enclosure, and is widely available. ABS and PETG are worth exploring later—both demand tighter temperature control and more tuning.
FlashPrint Software
FlashForge’s official slicing software, available as a free download from the FlashForge website. FlashPrint converts.STL or OBJ model files into printer-readable formats (.GX or .G). It’s not the most feature-rich slicer on the market, but for FlashForge hardware, it’s the most reliable option.
A 3D Model File
Thingiverse, Printables, and MyMiniFactory all offer large libraries of free, print-ready files. For your first print, choose something small and structurally simple—a coin tray or a calibration cube, not a 40-part articulated dragon.
SD Card or USB Cable
Check your model’s manual to confirm which connection method it supports. Some FlashForge models accept both; others are more limited.
A Flat Spatula or Print Removal Tool
You’ll need this to remove finished prints from the build plate. Attempting to pry prints off with improvised tools is a reliable way to damage the surface.
7 Simple Steps on How to Use FlashForge 3D Printer
Step 1: Set Up and Level the Build Plate
Bed leveling is the single step most beginners skip or rush—and it’s the most common reason first prints fail. A nozzle that sits too close to the build surface will scrape and smear. Too far away, and the filament won’t stick.
Power on the printer and navigate to the bed leveling option in the touchscreen menu. Most FlashForge models guide you through an assisted process, prompting you to adjust the four corner knobs until the nozzle gap matches the thickness of a standard sheet of paper. Work through each corner twice; the first pass gets you close, the second gets you accurate.
Step 2: Load Your Filament
From the touchscreen, navigate to the filament loading menu and select the material type you’re using. This tells the printer what temperature to heat the nozzle to—PLA typically loads at around 200°C.
Once the nozzle reaches temperature, place your spool on the holder, feed the filament into the extruder tube, and push it through until it flows steadily from the nozzle tip. A consistent, smooth extrusion is what you’re looking for. Uneven flow at this stage usually points to a partial clog or a feeding angle issue worth addressing before you start a long print.
Step 3: Install FlashPrint and Import Your Model
Download FlashPrint from the FlashForge website and install it. Open the software, then import your model file via File > Load. The model appears on a virtual representation of your build plate.
Use FlashPrint’s move, rotate, and scale tools to orient it appropriately. As a general principle, position the flattest face of the model against the virtual plate—this maximizes contact area and reduces the need for support structures.
Step 4: Adjust Your Slicer Settings
For a first print, you don’t need to touch most settings. Focus on four:
- Layer height: 0.2mm is a solid default. Lower values (0.1mm) produce finer detail but take significantly longer.
- Infill density: 15–20% works for decorative items. Anything structural or load-bearing should be closer to 50%.
- Print speed: 50–60mm/s is appropriate for PLA on most FlashForge models. Slower speeds generally improve surface quality on detailed geometry.
- Supports: Enable these if your model has overhanging sections greater than roughly 45 degrees. FlashPrint can generate them automatically.
Click Start Slicing when the settings look right.
Step 5: Preview and Export the Print File
After slicing, FlashPrint displays a layer-by-layer preview alongside estimated print time and filament usage. Spend a minute reviewing this—it’s a useful way to catch obvious problems before they show up 12 hours into a print.
Once satisfied, export the file to an SD card or send it directly to the printer via USB, depending on your model’s capabilities.
Step 6: Start the Print
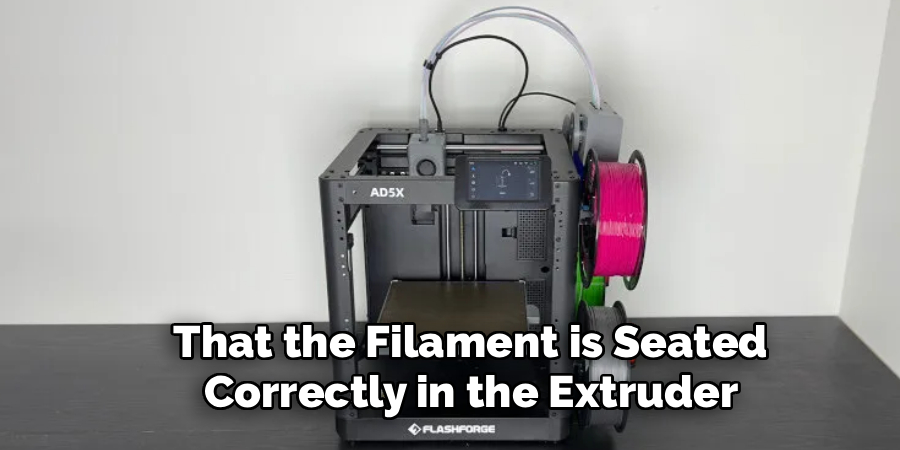
On the printer, navigate to Print > Local Files, select your file, and confirm. Before the print begins, check that the build plate is clean (a wipe with isopropyl alcohol removes oils and residue that affect adhesion) and that the filament is seated correctly in the extruder.
Watch the first layer carefully. A good first layer sits flat against the plate with slightly squashed edges—evidence that the nozzle height is correct. If the filament looks rounded or detaches easily, the nozzle may be sitting too high. Stop the print, re-level, and try again.
Step 7: Remove and Finish Your Print
Let the build plate cool fully before attempting removal. On newer FlashForge models with magnetic or flexible PEI plates, the print typically releases on its own as the plate cools and flexes slightly. On glass or fixed plates, a spatula and steady, even pressure work best—avoid sudden force.
Remove support structures with flush cutters or needle-nose pliers. Sand rough edges if the surface finish matters for your use case.
Following these steps on how to use flashforge 3d printer will help you produce successful prints.
Common Mistakes to Avoid
Two problems account for the majority of failed beginner prints. The first is skipping bed leveling—either entirely or treating it as a one-time task rather than something to check periodically as the machine settles. The second is printing at the wrong nozzle temperature. Every filament spool has a recommended temperature range printed on the label; use it, and match it in FlashPrint before starting.
A third mistake, less discussed, is loading damp filament. Filament absorbs moisture from the air over time, and wet PLA produces prints with surface bubbling, inconsistent extrusion, and audible popping sounds during printing. Store unused filament in sealed bags with desiccant packets.
How to Troubleshoot Common FlashForge Printing Problems
Print not sticking to the bed: The most likely causes are a dirty build surface, an incorrect bed temperature, or a leveling issue. Clean the plate with isopropyl alcohol, confirm the bed temperature matches your filament type (60°C for PLA, 90–100°C for ABS), and re-level if necessary.
Stringing: Thin filament wisps between separate sections of a print typically point to retraction settings being too low or print temperature running too high. Try increasing retraction distance by 0.5mm increments in FlashPrint and reducing nozzle temperature by 5°C. Either change alone may be enough.
Under-extrusion: Gaps or weak layers often indicate a partial nozzle clog, incorrect temperature, or a filament tangle on the spool. A cold pull—heating the nozzle to operating temperature, pushing filament through, then cooling to around 90°C and pulling the filament out firmly—can clear minor blockages without requiring nozzle replacement.
Basic FlashForge Printer Maintenance
Two habits will prevent the majority of printer problems: cleaning the nozzle and lubricating the guide rods.
Perform a cold pull every few weeks to remove built-up residue from inside the nozzle. Apply a small amount of machine oil or PTFE lubricant to the Z-axis lead screws and guide rods every one to two months. Without this, movement becomes uneven, and print quality degrades gradually—slowly enough that you might not notice until something goes noticeably wrong.
Check the build plate surface periodically for scratches or wear. Adhesion tends to decline as the surface accumulates damage, and replacing the plate is cheaper than troubleshooting print failures that originate there.
Safety Tips
- Never leave a running print unattended for extended periods—thermal runaway, though rare on modern FlashForge printers, remains a real risk.
- Keep the printer in a ventilated space, particularly when printing ABS, which releases fumes that may irritate respiratory systems.
- Allow the nozzle to cool fully before any hands-on maintenance
- Keep flammable materials away from the machine during operation
Tips for Better Print Quality
- Use a brim for prints with small contact areas; it significantly improves first-layer adhesion without adding much post-processing work
- Calibrate your extruder’s e-steps periodically—small deviations in filament flow compound across long prints
- Slow down for detailed geometry; 30–40mm/s on fine features often produces noticeably better results. Update FlashPrint regularly, as new versions typically include updated printer profiles and occasional bug fixes that affect output quality.
Frequently Asked Questions
What Filament Types Are Compatible With FlashForge Printers?
Most FlashForge printers support PLA, ABS, PETG, and TPU. Some models—the Creator Pro 2, for example—also accommodate specialty materials like PVA and carbon fiber composites. The full compatibility list for your specific model appears in the documentation available on the FlashForge website at flashforge.com.
How Long Does a Typical 3D Print Take on a FlashForge Printer?
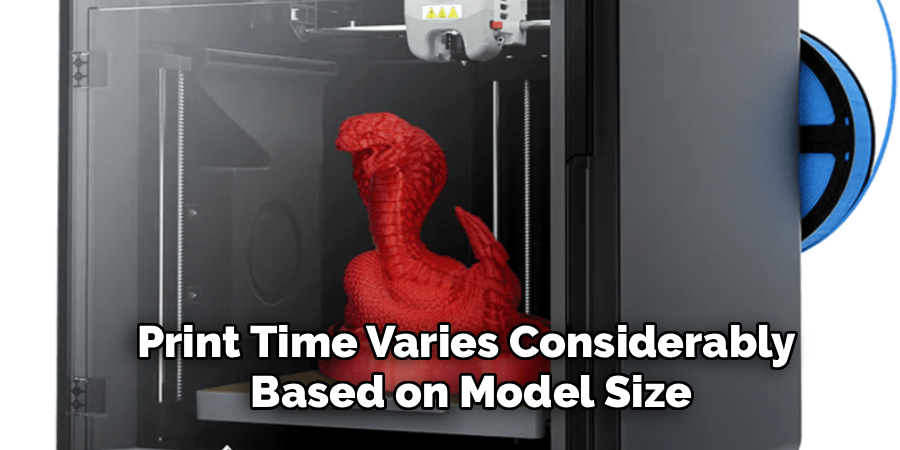
Print time varies considerably based on model size, layer height, infill density, and print speed. A small figurine printed at standard quality settings may take one to three hours. A large functional part with high infill could run ten to twenty hours or more. FlashPrint provides a time estimate after slicing, before the file is sent to the printer.
Why Is My FlashForge Printer Not Extruding Filament Properly?
The most common causes are a partial nozzle clog, mismatched temperature settings, or a jam in the extruder. Start with a cold pull to clear the nozzle, then confirm that your temperature settings match the filament type. If the problem continues, inspect the extruder gear for wear or debris, which can prevent the gear from gripping the filament consistently.
Do I Need to Level the Bed Every Time I Print?
Not necessarily, but more often than most beginners expect. Leveling tends to drift as the machine vibrates during printing, particularly on printers without automatic bed leveling. A quick check before any print longer than a few hours is a reasonable habit, especially if you’ve recently moved the machine or changed the filament.
Is FlashPrint the Only Slicer That Works With FlashForge Printers?
FlashPrint is the recommended option and the most straightforward for beginners. Some FlashForge models can also work with third-party slicers like Cura, though this may require manual configuration and can produce less predictable results. For initial setup and first prints, FlashPrint is the safer choice.
Start Printing With Confidence
The learning curve on a FlashForge printer is genuinely shorter than it first appears. A few failed prints early onAn error occurred during generation. Please try again or contact support if it continues. can be frustrating, but they’re an essential part of the learning process. With a bit of practice, you’ll soon get the hang of calibrating your machine and troubleshooting any issues that may arise.
One way to build confidence in your 3D printing skills is by starting with simpler designs and gradually moving on to more complex ones. As with any skill, practice makes perfect, so don’t be discouraged if your first few prints aren’t perfect. Have patience and keep experimenting until you feel comfortable enough to take on more challenging designs. Thanks for reading this guide on how to use flashforge 3d printer.

About
Zevric Halden is a dedicated expert in the world of 3D printing, printer repair, and additive manufacturing, with years of hands-on experience troubleshooting, maintaining, and optimizing desktop 3D printers. His professional focus lies in combining practical mechanical knowledge with modern 3D printing technologies to help users solve printer problems, improve print quality, and keep their machines running reliably. As the author of 3DMend, Zevric explores the technical side of 3D printing, making complex printer issues easier to understand for makers, hobbyists, and professionals alike.
Education
Rochester Institute of Technology
(Rochester, New York, USA)
Associate Degree in Mechanical & Manufacturing Technology
- Focused on mechanical systems, manufacturing processes, machine maintenance, and precision tools.
- Developed practical experience with mechanical troubleshooting, electronic components, and computer-controlled equipment.
- Gained hands-on knowledge of CAD systems, rapid prototyping, and additive manufacturing technologies.
Worcester Polytechnic Institute
(Worcester, Massachusetts, USA)
Bachelor’s in Mechanical Engineering & Additive Manufacturing
- Specialized in digital fabrication, 3D printing systems, mechanical design, and manufacturing technologies.
- Studied printer calibration, motion systems, extrusion mechanisms, material behavior, and print optimization.
- Participated in practical engineering projects involving rapid prototyping, machine diagnostics, and 3D-printed components.
Publications and Impact
Through 3DMend, Zevric shares his expertise on 3D printer troubleshooting, maintenance, calibration, hardware repair, print-quality issues, and additive manufacturing. His writing focuses on turning frustrating printer problems into clear, practical solutions that readers can understand and apply.
From nozzle clogs and extrusion problems to bed-leveling issues, calibration errors, overheating, unusual noises, failed prints, and mechanical wear, Zevric’s guides are designed to help users identify the underlying cause rather than simply treating the symptoms.
His work bridges the gap between technical engineering knowledge and everyday 3D printing, making reliable repair and maintenance information accessible to everyone—from first-time 3D printer owners and hobbyists to experienced makers and professionals.