

Printing on fabric requires matching your material to the right printing method, preparing the fabric correctly, and curing the ink properly. Follow these seven steps—from pre-washing to heat setting—and you’ll get clean, long-lasting results on your first attempt.
Fabric printing sounds simple enough until your first attempt peels in the wash, bleeds at the edges, or comes out so faded it barely resembles what you designed. The problem usually isn’t the equipment. It’s the process—or more specifically, the gaps in it.
Fabric behaves nothing like paper. It absorbs, stretches, shrinks, and reacts to heat in ways that catch beginners off guard. A design that looks perfect on screen can turn into a blurry mess on the wrong material, or disappear entirely after one wash cycle if the ink wasn’t cured properly. These aren’t rare mistakes. They’re the default outcome when someone skips the fundamentals.
This guide on how to print on material walks through everything that actually matters: how to choose the right fabric, which printing method suits your project, and the seven practical steps that lead to clean, vibrant, wash-resistant results. Whether you’re making one custom T-shirt at home or building out a small product line, the framework here applies.
How Does Your Choice of Material Affect Print Quality?
The fabric you choose sets a ceiling on what’s possible. No amount of technique compensates for a material that’s incompatible with your printing method.
Natural fibers—cotton and linen, primarily—absorb ink readily. That absorbency makes them well-suited for screen printing and direct-to-garment (DTG) printing, where water-based inks need to bond with the fiber itself. Synthetic fabrics like polyester behave differently. Rather than absorbing ink, they bond with dye through heat—which is exactly how sublimation printing works, transferring pigment directly into the fiber for a smooth, permanent finish.
Texture, color, and stretch all factor in too. Light-colored fabrics with a tight, smooth weave tend to produce the sharpest prints. Heavily textured or stretchy materials can distort a design during the printing process, particularly under heat or pressure. Before committing to a full run, test a small swatch. It takes five minutes and can save an entire project.
Which Printing Method Should You Use for Fabric?
Printing method selection depends on three things: your material, the complexity of your design, and your budget. Here’s a practical breakdown of the most common options:
Screen Printing:
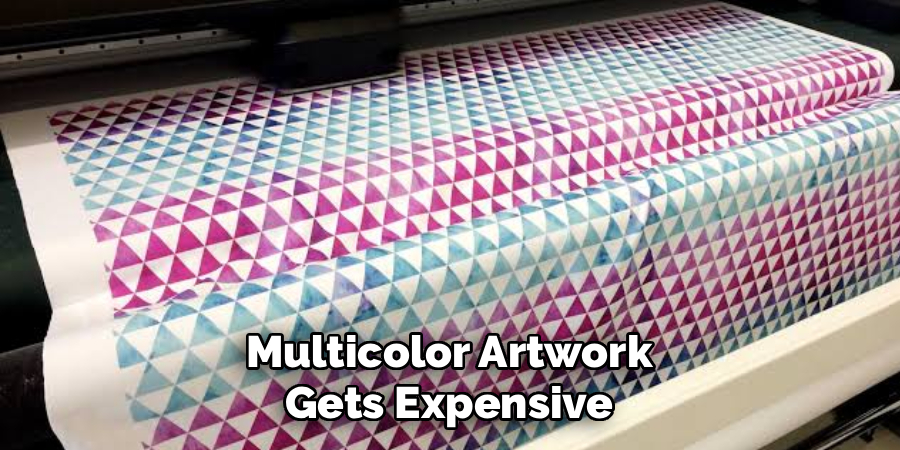
Best for bold, simple designs on cotton. Highly cost-effective for large production runs, but each color requires a separate screen—so intricate, multicolor artwork gets expensive fast.
Direct-to-Garment (DTG):
Designed for detailed, photographic, or multicolor prints on 100% cotton. Requires a heat press to cure the ink after printing.
Heat Transfer / Iron-On:
The most accessible option for beginners. Works with a standard home iron or a heat press, and suits small batches well.
Sublimation Printing:
Produces vivid, all-over prints on polyester and synthetic blends. Does not work on natural fibers—sublimation dye has no synthetic fiber to bond with on cotton, which results in faded, washed-out prints.
Block Printing:
A manual, hands-on technique better suited to artistic and craft projects than commercial production.
Mismatching method to material is one of the most common beginner errors. The fix is straightforward—know what your fabric is made of before you choose your approach.
7 Simple Steps on How to Print on Material
Step 1: Gather Your Supplies
Collect everything before you start. Fabric, ink or transfer paper, your printing tool (screen, printer, or iron), and any pre-treatment sprays your method requires. Having everything within reach reduces the risk of mid-process errors—stopping to locate something mid-print is a reliable way to ruin a piece. For DTG printing specifically, add a heat press to the list: it’s required to cure the ink after application.
Step 2: Pre-Wash the Fabric
Washing fabric before printing is non-negotiable. Sizing agents, manufacturing oils, and other residues left in new fabric can prevent ink from bonding to the fibers. Pre-washing also accounts for shrinkage—skip it, and your design may warp or crack the first time the garment goes through a normal wash cycle. Use a mild detergent. Avoid fabric softener; it leaves a coating on the surface that interferes with ink adhesion.
Step 3: Pre-Treat the Fabric (If Required)
Certain printing methods require a pre-treatment solution before the ink goes down. DTG printing on dark-colored fabrics is the most common example—without pre-treatment, the ink soaks into the fabric rather than sitting on the surface, resulting in dull, low-contrast prints. Apply the solution evenly with a sprayer, then cure it with a heat press before moving on. On light-colored cotton, this step may not be necessary. Check the requirements for your specific method and ink type.
Step 4: Prepare Your Design
Artwork should be finalized in a high-resolution digital format—300 DPI at minimum for sharp, clean results. For heat transfer printing, mirror the image horizontally before printing so it reads correctly once transferred to the fabric. For screen printing, each color in the design requires its own screen, so simplicity works in your favor. Design tools like Adobe Illustrator or Canva work well for finalizing artwork before you commit to a print.
Step 5: Set Up Your Printing Equipment
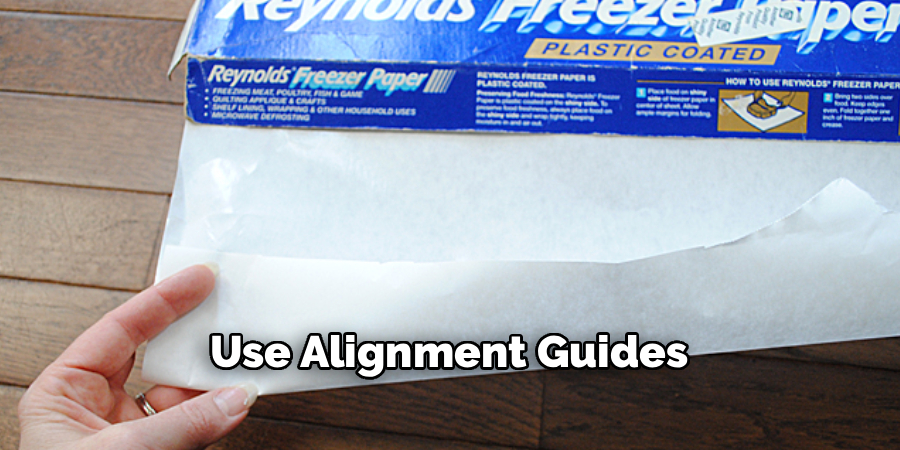
Setup precision here pays off later. For a heat press, preheat to the temperature specified for your ink or transfer paper—typically between 320°F and 375°F (160°C–190°C). For screen printing, secure the screen firmly and ensure the fabric underneath is flat and taut. Any slack in the material can cause smudging or shift the design off-center. Alignment guides and registration marks are worth the extra setup time, particularly for multi-color prints.
Step 6: Print Your Design
Apply consistent pressure and move with purpose. In screen printing, pull ink across the screen in a single, fluid motion using a squeegee—hesitation mid-stroke can create uneven coverage. For heat transfer, press down firmly and hold for the time specified by the transfer paper manufacturer, which is usually 15 to 30 seconds. Don’t lift the press mid-cycle. Doing so may cause the design to shift or leave edges that peel prematurely.
Step 7: Cure and Set the Ink
Curing is the step most beginners underestimate—and the one most responsible for prints that fade or crack after the first few washes. For DTG and screen printing, use a heat press or conveyor dryer to cure the ink at the correct temperature. For iron-on transfers, place a clean cloth over the finished design and apply heat for an additional 10 to 15 seconds. Once cured, let the fabric cool completely before handling or folding. Moving a piece too soon can distort the design while the ink is still setting.
Following these steps on how to print on material will ensure that you have a high-quality and long-lasting design.
Common Problems and How to Fix Them
Even with careful preparation, issues come up. Knowing what causes them makes the fix obvious.
Ink bleeding into the fabric usually points to over-application or ink that isn’t compatible with the fabric type. Reduce ink viscosity and confirm you’re using fabric-specific ink formulated for your material.
Faded prints after washing are almost always a curing problem. The ink wasn’t fully set before the garment went through the wash. Increase curing time or temperature, then test on a swatch before reprinting the full piece.
Misaligned or off-center designs come from rushing the setup stage. Slow down, use alignment guides, and double-check placement before the press comes down.
Safety Considerations
Fabric printing involves heat, chemicals, and equipment that deserve careful handling.
Work in a well-ventilated space whenever you’re using inks, solvents, or pre-treatment sprays—prolonged exposure to fumes causes real harm. Wear gloves when handling chemical solutions. Keep a first aid kit accessible when operating heat presses or irons. Store all inks and chemicals in sealed containers, away from children and out of direct sunlight. These aren’t overcautious measures—they protect both you and the longevity of your materials and equipment.
Frequently Asked Questions
What Is the Best Fabric for Beginners to Print On?
Cotton is the most practical starting point. It absorbs ink well, works with multiple printing methods—screen printing, DTG, and heat transfer among them—and is widely available. For the cleanest results, look for 100% cotton with a tight, smooth weave. Blended fabrics may produce inconsistent results depending on the ink and method used.
Can I Print on Dark-Colored Fabric at Home?
Yes, with some additional preparation. Dark fabrics require either a pre-treatment solution or a white ink underbase to prevent colors from disappearing into the material. Heat transfer paper designed for dark fabrics is also a reliable beginner option—it works with a standard home iron or entry-level heat press without requiring specialized equipment.
How Do I Make My Fabric Print Last Longer After Washing?
Proper curing matters more than anything else here. Ink that isn’t fully cured at the correct temperature will begin to fade or crack quickly. Once the piece is cured, turn garments inside out before washing, use cold water, and avoid high-heat tumble drying. These habits have a significant effect on how long a print holds up over repeated wash cycles.
Do I Need a Heat Press, or Can I Use a Regular Iron?
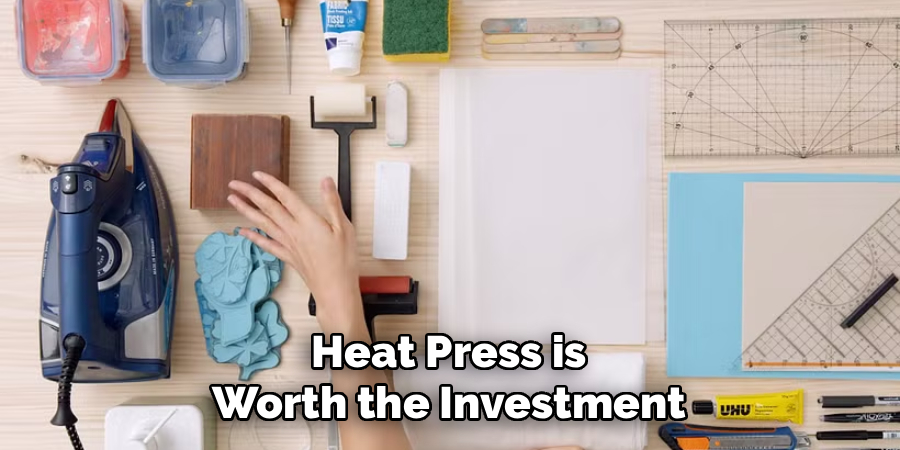
A regular iron works for heat transfer printing and can handle iron-on transfers reasonably well. It won’t deliver the consistent pressure and temperature of a heat press, which may affect durability. For DTG printing and more demanding methods, a heat press produces more reliable results. If you’re printing frequently or building a product line, a heat press is worth the investment.
What Resolution Should My Design Be for Fabric Printing?
300 DPI (dots per inch) is the standard minimum for sharp results on fabric. Lower resolutions may look acceptable on screen but tend to appear soft or pixelated once printed. For large-format or all-over prints, higher resolution source files give you more flexibility when scaling the design up without losing quality.
Start Printing With Confidence
Printing on material rewards preparation more than it rewards talent. Once you understand how your fabric and printing method interact, results improve quickly—and so does your confidence in taking on more complex projects.
Start with something manageable: a simple design on 100% cotton, using heat transfer or screen printing. Nail the curing process. Pay attention to what works. From there, the progression to more complex methods and materials is a natural one. Each project teaches you something the next one benefits from. Thanks for reading this guide on how to print on material.

About
Zevric Halden is a dedicated expert in the world of 3D printing, printer repair, and additive manufacturing, with years of hands-on experience troubleshooting, maintaining, and optimizing desktop 3D printers. His professional focus lies in combining practical mechanical knowledge with modern 3D printing technologies to help users solve printer problems, improve print quality, and keep their machines running reliably. As the author of 3DMend, Zevric explores the technical side of 3D printing, making complex printer issues easier to understand for makers, hobbyists, and professionals alike.
Education
Rochester Institute of Technology
(Rochester, New York, USA)
Associate Degree in Mechanical & Manufacturing Technology
- Focused on mechanical systems, manufacturing processes, machine maintenance, and precision tools.
- Developed practical experience with mechanical troubleshooting, electronic components, and computer-controlled equipment.
- Gained hands-on knowledge of CAD systems, rapid prototyping, and additive manufacturing technologies.
Worcester Polytechnic Institute
(Worcester, Massachusetts, USA)
Bachelor’s in Mechanical Engineering & Additive Manufacturing
- Specialized in digital fabrication, 3D printing systems, mechanical design, and manufacturing technologies.
- Studied printer calibration, motion systems, extrusion mechanisms, material behavior, and print optimization.
- Participated in practical engineering projects involving rapid prototyping, machine diagnostics, and 3D-printed components.
Publications and Impact
Through 3DMend, Zevric shares his expertise on 3D printer troubleshooting, maintenance, calibration, hardware repair, print-quality issues, and additive manufacturing. His writing focuses on turning frustrating printer problems into clear, practical solutions that readers can understand and apply.
From nozzle clogs and extrusion problems to bed-leveling issues, calibration errors, overheating, unusual noises, failed prints, and mechanical wear, Zevric’s guides are designed to help users identify the underlying cause rather than simply treating the symptoms.
His work bridges the gap between technical engineering knowledge and everyday 3D printing, making reliable repair and maintenance information accessible to everyone—from first-time 3D printer owners and hobbyists to experienced makers and professionals.
3 thoughts on “How to Print on Material”