

Under-extrusion is one of the more maddening problems a 3D printer operator can run into. Your print starts fine, then gaps creep in, layers come out thin, and the whole thing starts falling apart—sometimes literally. The frustrating part? It’s not always obvious what’s causing it.
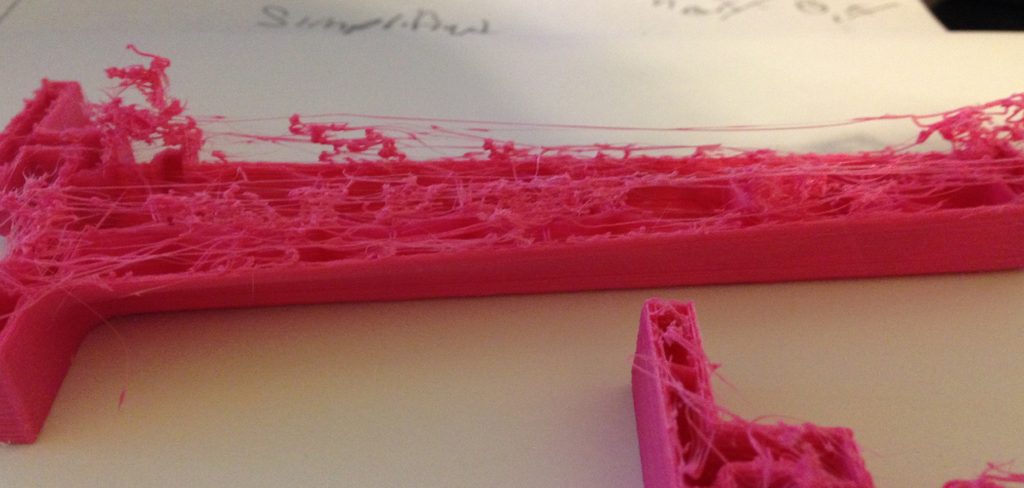
The good news is that most under-extrusion problems trace back to a short list of fixable causes. You don’t need to be a seasoned technician to work through them. This guide on how to fix under extrusion covers what under-extrusion actually is, what tends to cause it, and how to fix it in seven clear steps. Get your extrusion dialed in, and the difference in print quality is immediate.
Understanding Under Extrusion in 3D Printing
Under-extrusion happens when the extruder can’t push enough filament through the nozzle to complete a layer properly. The result: weak, brittle prints with gaps, missing layers, or a rough, uneven surface. It’s a common problem—and one that’s frequently misdiagnosed, because the causes vary significantly from one printer and setup to the next.
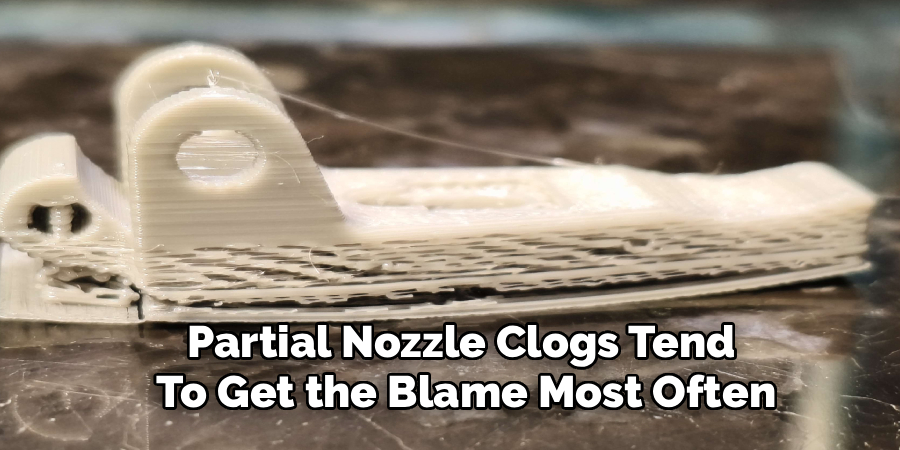
Partial nozzle clogs tend to get the blame most often, and sometimes that’s fair. But incorrect print temperature, excessive print speed, worn extruder gears, and filament diameter inconsistencies can all produce nearly identical symptoms. Identifying the actual cause before you start making changes saves real time and prevents you from fixing the wrong thing.
Tools and Materials Needed
Before troubleshooting, it helps to have everything within reach. Scrambling for tools mid-process slows things down and makes it harder to work methodically.
Acupuncture Needle or Nozzle Cleaning Kit
A fine needle or a dedicated nozzle cleaning kit is the go-to for clearing partial clogs without damaging the nozzle. Both are inexpensive and easy to find online.
Digital Calipers
Use digital calipers to verify your filament’s diameter. Filament that measures noticeably outside its stated size—say, 1.75mm filament that’s actually running closer to 1.65mm—can cause inconsistent extrusion, and it’s worth catching early.
Replacement Nozzle
Keep a spare on hand. If cleaning doesn’t resolve the clog, swapping the nozzle is often the fastest path forward and avoids extended downtime.
Heat-Resistant Gloves
The hot end operates anywhere from 180°C to 260°C. Gloves aren’t optional when you’re working close to those temperatures.
Screwdrivers and Hex Keys
Extruder disassembly and nozzle changes typically require a basic screwdriver set and hex (Allen) keys sized to your printer’s fasteners.
Quality Filament
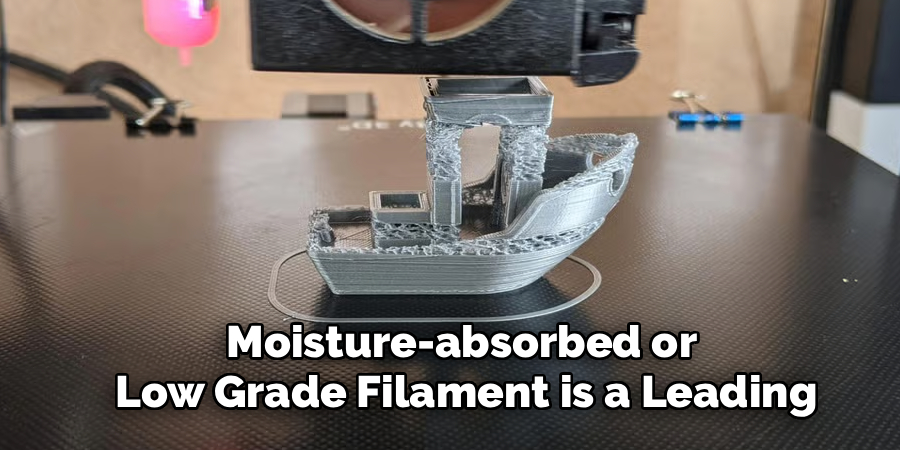
Moisture-absorbed or low-grade filament is a leading—and often overlooked—cause of under-extrusion. Keep your filament dry and sourced from a manufacturer with consistent quality control.
Slicer Software (Updated Version)
Your slicer controls the settings that directly affect extrusion behavior. Make sure you’re running a current version of your preferred tool—whether that’s Cura, PrusaSlicer, or Simplify3D—so you’re working with accurate parameters and any relevant bug fixes.
7 Simple Steps on How to Fix Under Extrusion
Step 1: Check and Clean the Nozzle
A partially clogged nozzle remains the single most common cause of under-extrusion. Heat yours to its standard printing temperature, then use a fine needle or cleaning tool to clear any debris from the opening. If that doesn’t do it, try a cold pull: heat the nozzle, push filament through manually, cool it to around 90°C, then pull it out sharply. The filament should carry residue out with it. Repeat the process until the pulled filament comes out clean.
Step 2: Increase the Print Temperature
When the nozzle temperature runs too low, filament doesn’t melt fast enough to keep pace with what the extruder is demanding. Raise the temperature in 5°C increments and run a short test print after each adjustment. Most PLA prints well between 190°C and 220°C; PETG typically needs 230°C to 250°C. The temperature range printed on your filament spool is a reasonable starting point if you’re unsure.
Step 3: Reduce Your Print Speed
High print speeds are underestimated as a cause of under-extrusion. When the printer moves faster than the extruder can reliably melt and deliver material, gaps and missed layers follow. Reducing your print speed by 20–30% in your slicer settings is often enough to see a meaningful improvement. Prints with fine details tend to benefit from slower speeds regardless of whether extrusion problems are present.
Step 4: Calibrate Your Extruder (E-Steps)
E-steps—steps per millimeter—define how far the extruder motor rotates to push exactly 1mm of filament. When this value drifts off, consistent under- or over-extrusion follows. The calibration process itself is straightforward: mark a point 100mm along your filament, command the printer to extrude that amount, then measure how far the filament actually moved. Adjust the E-steps value in your firmware to bring the two figures into agreement.
Step 5: Inspect and Adjust Extruder Tension
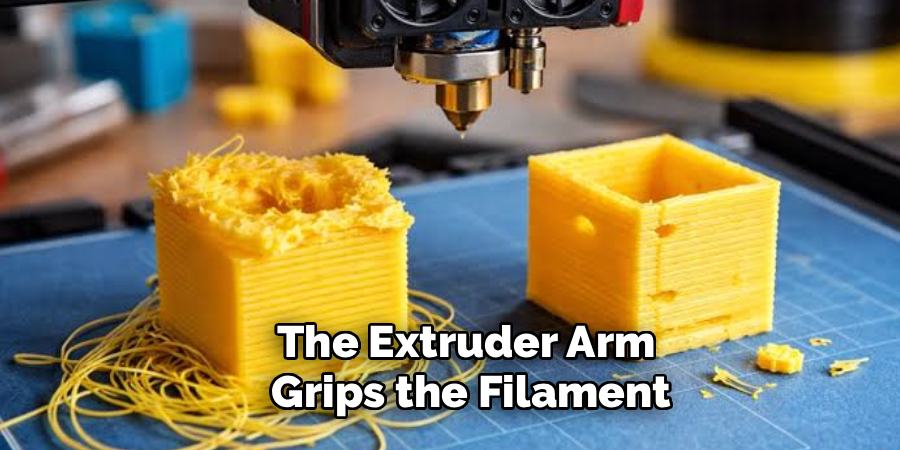
The extruder arm grips the filament and feeds it forward. Too little tension and the gear slips over the filament without actually moving it. Too much, and it grinds the filament down, generating debris that eventually causes clogs. Check the tension screw or spring on your extruder arm and adjust until filament feeds smoothly—no slipping, no grinding.
Step 6: Check Your Filament for Moisture or Defects
Filament that has absorbed moisture causes bubbling and inconsistent flow during printing. If you hear crackling or popping mid-print, that’s a fairly reliable indicator. Drying the filament in a dedicated filament dryer—or a low-temperature oven set to around 50°C for PLA—for four to six hours usually resolves it. While you’re at it, use calipers to check the filament’s diameter at several points along its length. Significant variation from the stated size points to a quality issue worth addressing at the source.
Step 7: Review and Optimize Your Slicer Settings
Sometimes the problem isn’t hardware at all. Slicer configuration errors can produce under-extrusion symptoms that look identical to mechanical issues. Settings worth examining include the flow rate (or extrusion multiplier), layer height, and retraction distance. A flow rate set below 100% will restrict extrusion intentionally—sometimes left over from a previous print and forgotten. Layer height that exceeds 75% of the nozzle diameter may also cause poor layer adhesion that reads as under-extrusion. Work through settings one at a time, running small test cubes between changes to isolate which variable is actually responsible.
Following these steps on how to fix under extrusion can help improve the overall print quality and ensure that your 3D prints come out as intended. However, it’s also important to note that under-extrusion can sometimes be caused by other factors such as a clogged nozzle or a faulty filament spool.
If you have checked all the settings mentioned above and are still experiencing under-extrusion, then it may be worth checking if there is any debris stuck in your nozzle. This can happen when printing with materials that are prone to leaving residue or when using low-quality filaments. In this case, you will need to clean out your nozzle either manually or with a specialized cleaning filament.
Sometimes, under-extrusion can also be caused by a worn-out
Common Mistakes to Avoid
Changing multiple settings at once is probably the most counterproductive thing you can do when troubleshooting under-extrusion. It makes it nearly impossible to tell which adjustment fixed the problem—or whether a new change introduced a different one. One variable at a time, with a test print in between, is slower but far more reliable.
Neglecting regular maintenance is the other common misstep. Extruder gears accumulate filament debris with use, and nozzles degrade over time with high-temperature printing. A consistent routine—cleaning the nozzle periodically, inspecting the extruder, checking belt tension—catches most under-extrusion issues before they become mid-print failures. The goal is to make maintenance a habit rather than a response to something going wrong.
Do You Need to Use Professionals?
For most 3D printing enthusiasts, the steps above are sufficient to resolve under-extrusion without outside help. These are well-documented fixes that don’t require advanced technical knowledge. If you’re comfortable following instructions and working carefully around heated components, there’s no reason you can’t handle this yourself.
That said, some situations do warrant professional support. If the mainboard, extruder motor, or thermistor appears to be faulty, electronics repairs may fall outside a beginner’s comfort level. And if your printer is still under warranty, attempting repairs yourself could void that coverage. In either case, contacting the manufacturer’s support team or a local 3D printing repair service is the more sensible option.
Frequently Asked Questions
What Causes Under Extrusion in 3D Printing?
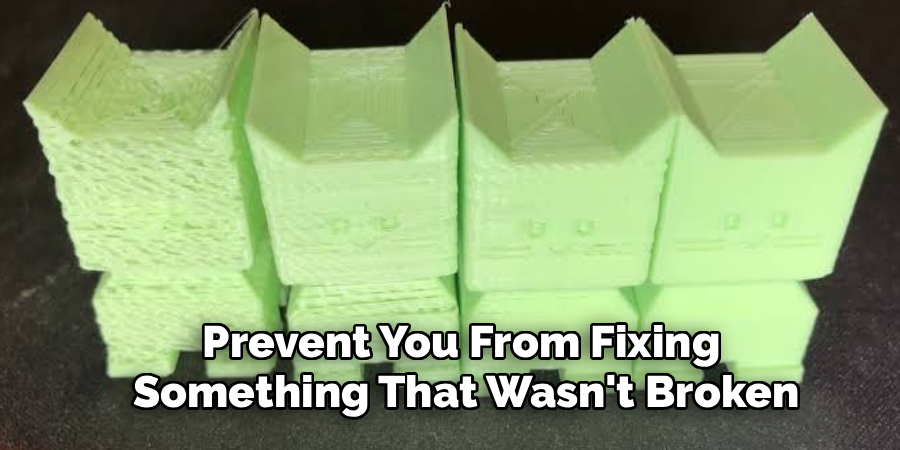
Under-extrusion most commonly results from a clogged or partially blocked nozzle, a print temperature that’s too low, excessive print speed, miscalibrated extruder E-steps, or filament that has absorbed moisture. Pinpointing the specific cause before making adjustments will save significant troubleshooting time and prevent you from fixing something that wasn’t broken.
How Do I Know If My Nozzle Is Clogged?
The most common signs include thin or missing layers, filament that curls back on itself when extruded, clicking sounds from the extruder motor, and visible gaps in the print. A quick test: manually push filament through the heated nozzle. If it requires unusual force or comes out unevenly, a clog is likely present.
Can Low-Quality Filament Cause Under-Extrusion?
Yes. Low-grade filament often comes with inconsistent diameter, variable material composition, or elevated moisture content—all of which contribute directly to under-extrusion. Switching to filament from a reputable manufacturer and storing it in a sealed, dry environment goes a long way toward reducing extrusion problems over the long term.
How Often Should I Clean My Nozzle?
There’s no universal answer, but a general rule of thumb is to inspect the nozzle after every 10 to 20 hours of printing—more frequently if you’re working with abrasive or composite filaments. If you notice any degradation in print quality between inspections, don’t wait for the scheduled interval.
Is Under Extrusion Always a Hardware Problem?
Not necessarily. Slicer settings are a surprisingly frequent cause. Flow rate, retraction distance, and layer height all affect extrusion behavior, and a misconfigured profile can mimic hardware failure quite convincingly. Before disassembling anything, it’s worth reviewing your slicer settings to rule out a configuration issue.
Start Simple, Work Systematically
Under-extrusion is common, but it’s far from permanent. Most of the time, the fix is closer than it seems—a clogged nozzle, a temperature setting that’s slightly off, a slicer parameter that got changed and forgotten. The key is patience and a willingness to work through potential causes one at a time rather than making sweeping changes all at once.
Start with the simplest checks first: nozzle condition and print temperature. Move toward extruder calibration and slicer settings only if the obvious culprits check out. Once your printer is properly dialed in, consistent maintenance will keep under-extrusion from becoming a recurring problem—and your prints will reflect it. Thanks for reading this guide on how to fix under extrusion.

About
Zevric Halden is a dedicated expert in the world of 3D printing, printer repair, and additive manufacturing, with years of hands-on experience troubleshooting, maintaining, and optimizing desktop 3D printers. His professional focus lies in combining practical mechanical knowledge with modern 3D printing technologies to help users solve printer problems, improve print quality, and keep their machines running reliably. As the author of 3DMend, Zevric explores the technical side of 3D printing, making complex printer issues easier to understand for makers, hobbyists, and professionals alike.
Education
Rochester Institute of Technology
(Rochester, New York, USA)
Associate Degree in Mechanical & Manufacturing Technology
- Focused on mechanical systems, manufacturing processes, machine maintenance, and precision tools.
- Developed practical experience with mechanical troubleshooting, electronic components, and computer-controlled equipment.
- Gained hands-on knowledge of CAD systems, rapid prototyping, and additive manufacturing technologies.
Worcester Polytechnic Institute
(Worcester, Massachusetts, USA)
Bachelor’s in Mechanical Engineering & Additive Manufacturing
- Specialized in digital fabrication, 3D printing systems, mechanical design, and manufacturing technologies.
- Studied printer calibration, motion systems, extrusion mechanisms, material behavior, and print optimization.
- Participated in practical engineering projects involving rapid prototyping, machine diagnostics, and 3D-printed components.
Publications and Impact
Through 3DMend, Zevric shares his expertise on 3D printer troubleshooting, maintenance, calibration, hardware repair, print-quality issues, and additive manufacturing. His writing focuses on turning frustrating printer problems into clear, practical solutions that readers can understand and apply.
From nozzle clogs and extrusion problems to bed-leveling issues, calibration errors, overheating, unusual noises, failed prints, and mechanical wear, Zevric’s guides are designed to help users identify the underlying cause rather than simply treating the symptoms.
His work bridges the gap between technical engineering knowledge and everyday 3D printing, making reliable repair and maintenance information accessible to everyone—from first-time 3D printer owners and hobbyists to experienced makers and professionals.