

There’s a specific kind of excitement in opening a new printer box. And a specific kind of hesitation right behind it. You lift the lid, see a machine surrounded by foam and tape, and think, where do I even begin?
That mix of eagerness and mild panic is completely normal. The good news is that learning how to use a Flashforge 3D printer is far simpler than that pile of parts suggests.
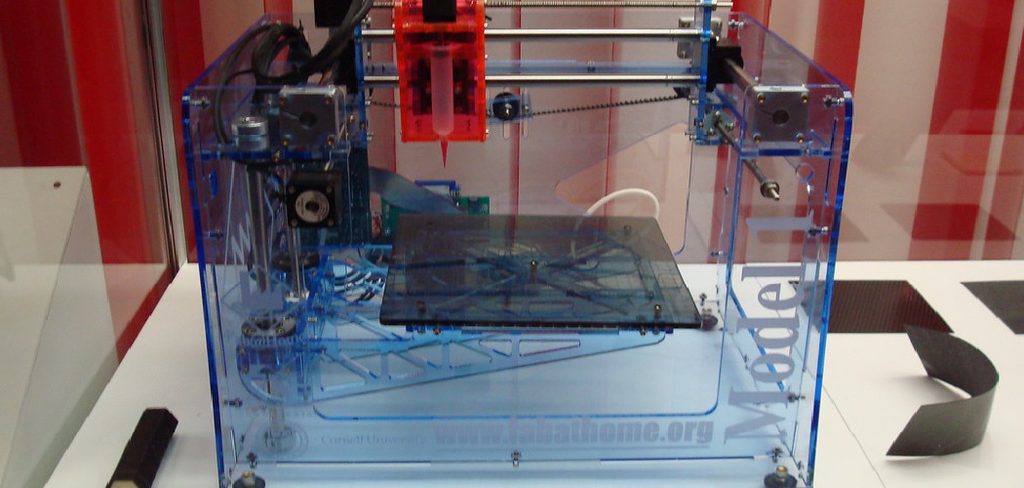
These machines have a reputation for being beginner-friendly, and it’s earned. In this guide, I’ll walk you through the whole journey, from unboxing to your first finished print. We’ll cover the interface, loading filament, the slicer software, and the step-by-step process that ties it all together.
By the end, you should feel ready to power on and print something you’re proud of.
Why FlashForge Printers Are So Popular
Before we get into the hands-on stuff, it’s worth understanding why so many people start here. FlashForge didn’t build its following by accident.
The appeal comes down to a few practical things that matter most when you’re new.
Beginner-Friendly Design
FlashForge leans hard into approachability. Many of their machines ship enclosed, with guided touchscreens and menus that don’t assume you already speak fluent 3D printing.
That design philosophy shows up in the small stuff. A clear preheat button here, a simple filament-loading prompt there. For a first-time user, those touches lower the intimidation factor considerably.
Reliable Print Quality
There’s also a consistency to these printers that tends to keep people loyal. Sturdy frames and steady extrusion mean you can pull clean prints off the bed without endless tinkering.
That’s not to say you’ll never adjust anything. But you likely won’t spend your first month fighting the machine instead of using it. Reliability like that builds confidence fast.
Strong Support and Community
The last piece is less about the hardware and more about what surrounds it. FlashForge has decent documentation, and beyond that, a large user base.
When you hit a snag, and you will, someone has probably hit it before. Active forums and community guides mean answers are usually a quick search away. That safety net matters more than people realize when they’re starting out.
Unboxing and Setting Up Your FlashForge
Alright, let’s get physical. The first hands-on moments set the tone, so it’s worth doing them carefully rather than tearing in.
A calm, methodical start saves you headaches later.
Checking the Box Contents
Before anything else, take inventory. Your box should hold the printer itself, a power cord, a starter spool of filament, some tools, and a quick-start guide.
Lay everything out and confirm nothing is missing. It’s a small step, but discovering a missing tool halfway through setup is a genuine mood-killer.
Removing Packaging and Protective Foam
Now comes the careful part. Printers ship with foam, tape, and zip ties locking down the moving parts so nothing rattles loose in transit.
Work through them slowly and clear every piece. A stray bit of foam wedged near the print head or a forgotten tie on an axis can cause problems the moment you power on. Take your time here.
Placing the Printer in the Right Spot
Where you put the machine matters more than you’d think. Aim for a stable, level surface with decent ventilation and easy access to a power outlet.
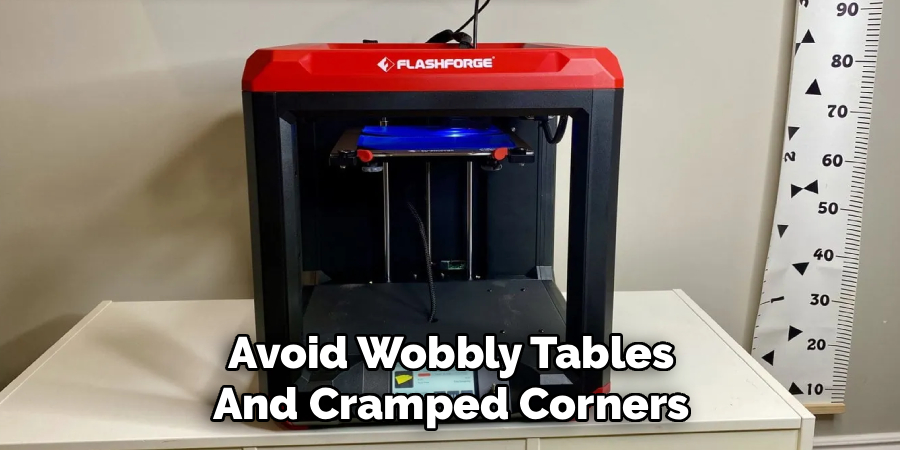
Avoid wobbly tables and cramped corners. A steady base helps print quality, and good airflow keeps things comfortable, especially if you later print materials that give off fumes.
Understanding the FlashForge Interface
With the printer placed and unpacked, let’s get comfortable with the controls. The interface is where you’ll spend a fair bit of time, so a quick tour helps.
None of this is as complex as it might first appear.
Navigating the Touchscreen Menu
Most FlashForge machines use a touchscreen, and it’s fairly intuitive. The main screen usually gives you a few clear paths: print, tools, and settings.
Tap around a little before you print anything. Getting a feel for where things live now means you won’t be hunting for a button mid-setup later.
Key Buttons and Controls
A handful of controls come up again and again. Preheat warms the nozzle and bed. Move axis lets you nudge the print head around manually. Filament options handle loading and unloading.
Once you know what these do, the machine stops feeling mysterious. They’re the everyday tools you’ll reach for constantly, so they’re worth learning early.
Connecting to Wi-Fi or USB
Finally, there’s the matter of getting files onto the machine. Most FlashForge printers offer a couple of routes.
You can connect over Wi-Fi for wireless transfers, or simply load files from a USB drive if that’s easier. Either works fine. Pick whichever suits your space and habits, and we’ll come back to this in the step-by-step section.
Loading Filament the Right Way
Here’s one of the most important early steps, and one people occasionally rush. Loading filament properly sets you up for a clean print, while doing it sloppily invites gaps and clogs.
It’s not hard. It just rewards a little attention.
Preparing and Mounting the Spool
Start by seating the spool on its holder. You want it positioned so the filament feeds smoothly, without catching or tangling as the print pulls it through.
Give the spool a gentle spin to confirm it turns freely. A snagged spool can starve the nozzle mid-print, which is a frustrating way to lose a job.
Preheating the Extruder
Before you feed anything in, warm up the nozzle. Cold filament won’t budge, but heated filament softens enough to slide cleanly into the hot end.
Use the preheat option on the touchscreen and wait for it to reach temperature. This step seems minor, yet skipping it is a common cause of loading trouble.
Feeding Filament Through the Extruder
With the nozzle hot, thread the filament into the extruder and push gently until the mechanism grabs it. Keep feeding until a steady line of melted plastic flows from the tip.
That clean flow is your confirmation. When you see it, the filament is loaded properly and ready to print. If it sputters or stops, something upstream may be catching, so check the path.
Getting to Know the Slicer Software
The printer is only half the equation. To turn a 3D model into something the machine can actually print, you need slicer software.
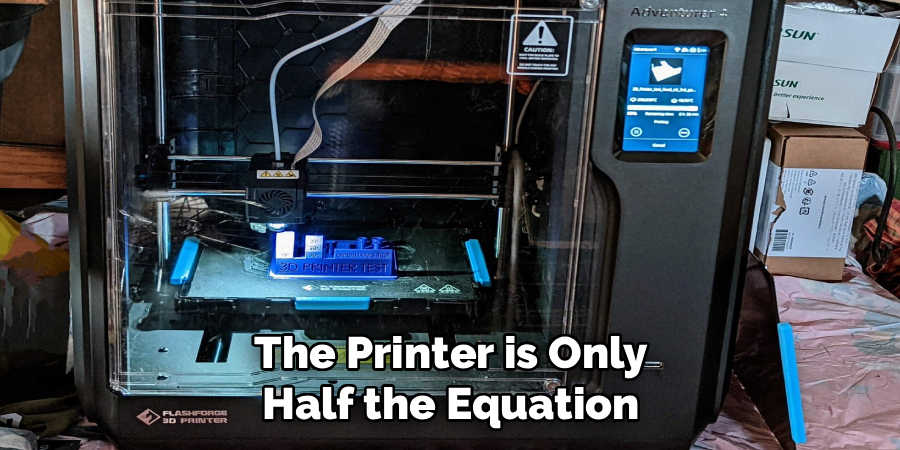
For FlashForge, that’s usually FlashPrint, and it’s worth getting comfortable with.
What FlashPrint Does
Think of FlashPrint as the translator. It takes a 3D model and converts it into layer-by-layer instructions the printer understands.
Without that translation, your printer wouldn’t know where to move or how much to extrude. FlashPrint bridges the gap between a file on your screen and a physical object on the bed.
Importing and Positioning Models
Using it starts simply enough. Load an STL or OBJ file, and the model appears on a virtual print bed.
From there, you can move, rotate, and scale it. Positioning matters, since how a model sits affects print quality and whether it needs supports. Spend a moment getting the orientation right before slicing.
Choosing Print Settings and Supports
This is where you shape the outcome. FlashPrint lets you set layer height, infill, and supports, among other things.
Finer layers mean more detail but longer prints. Higher infill means stronger parts but more filament. And supports catch overhangs that would otherwise droop. These choices may feel overwhelming at first, but the defaults are a reasonable place to begin.
How to Use a Flashforge 3D Printer: Step-by-Step Guide
Here’s the heart of it. Once you understand how to use a Flashforge 3D printer step by step, the whole thing clicks into place. Work through these seven stages in order, and don’t rush the early ones.
Each step builds on the last, so a careful start pays off all the way through.
Step 1: Level the Print Bed
Everything begins with a level bed. Run the guided bed-leveling routine on the touchscreen, adjusting until the nozzle sits at the right height across the whole surface.
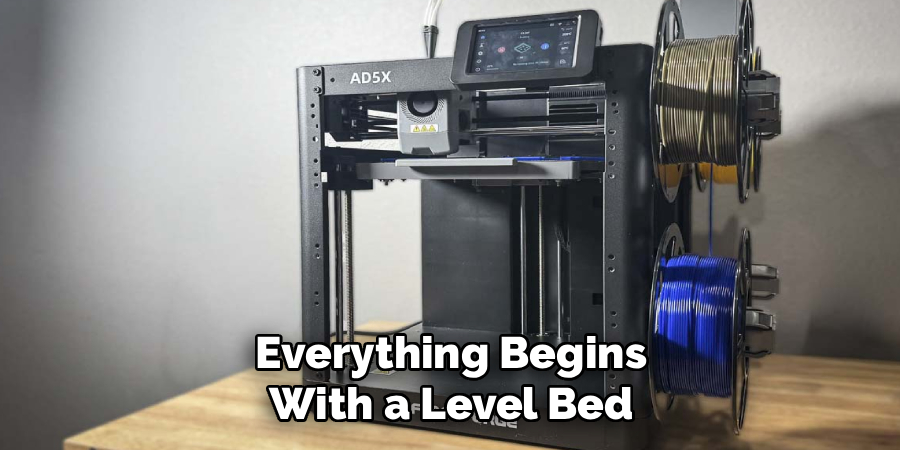
Most FlashForge machines walk you through this with clear prompts. It can feel fiddly the first time, but a level bed is the foundation every successful print depends on. Get this right and half your future problems disappear.
Step 2: Load and Confirm Your Filament
Next, make sure your filament is loaded and flowing. Preheat, feed it in, and watch for that steady stream from the nozzle we talked about earlier.
Confirming a good load now prevents mid-print gaps and clogs later. It’s a quick check, and it spares you the disappointment of a print that fails halfway because the nozzle ran dry.
Step 3: Prepare Your Model in FlashPrint
Now switch to the software. Import your model into FlashPrint, position it on the bed, and choose your settings, like layer height and infill.
Before you finish, take a peek at the preview. It shows how the print will build up layer by layer, which can catch obvious problems while they’re still easy to fix.
Step 4: Transfer the File to the Printer
With the model sliced, send it to the machine. Export the file, then either transfer it over Wi-Fi or copy it onto a USB drive.
FlashForge makes this part quick. Whichever method you chose earlier, the sliced file should land on the printer and appear in its file menu within moments, ready to go.
Step 5: Start the Print and Watch the First Layer
Select your file on the touchscreen and start the print. Then, and this matters, keep an eye on that first layer.
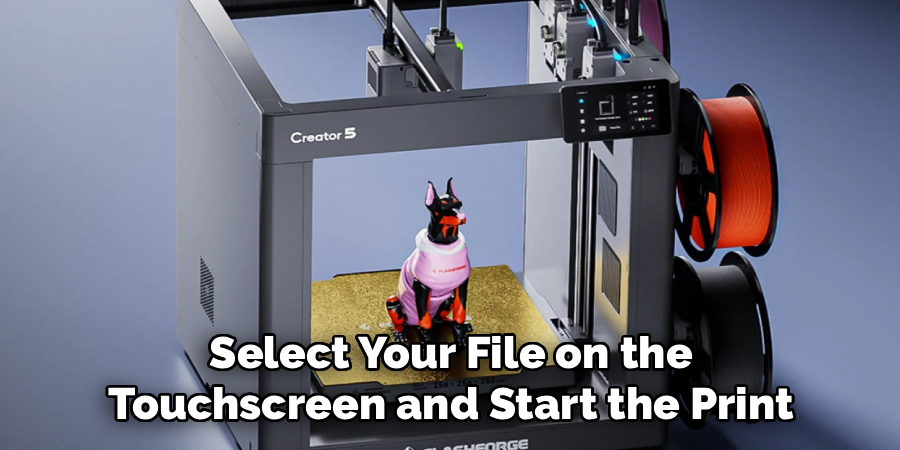
The first layer tells you almost everything. If it goes down smooth and sticks well, the rest of the print will likely follow nicely. If it looks patchy or won’t adhere, it’s better to stop and re-level than to waste filament on a doomed job.
Step 6: Monitor Progress Along the Way
Once the first layer looks good, you can relax a bit. But it helps to check in periodically rather than walking away entirely.
Look for early signs of trouble, like stringing, shifting layers, or a corner starting to lift. Catching a small problem partway through saves both filament and time. A quick glance every so often is usually enough.
Step 7: Remove and Finish Your Print
When the print completes, resist the urge to grab it immediately. Let the bed cool first, since a warm print can stick stubbornly or deform if you pry too hard.
Once cool, gently lift the print free. Then clean up any supports or brim, and there it is, your finished piece. Take a second to appreciate it, because a first successful print is a genuine milestone.
Troubleshooting Common Printing Problems
Even friendly machines have off days. A few issues crop up often enough that it’s worth knowing the fixes in advance, so a small setback never discourages you.
Most of these are quick to solve once you know where to look.
Prints Not Sticking to the Bed
This is probably the most common complaint. When prints won’t grip the bed, the usual culprits are leveling, a dirty surface, or temperature.
Re-level the bed, wipe it clean, and check your bed temperature against what your filament wants. One of those three tends to solve it. If corners keep lifting specifically, a slightly warmer bed often helps.
Stringing and Messy Surfaces
Those thin wispy threads stretched across your print are stringing, and they’re annoying but fixable. Two things cause most of it: damp filament and poorly tuned retraction.
Try drying your filament first, since moisture is a sneaky offender. Then adjust your retraction settings in FlashPrint. Between the two, you’ll usually clear it up.
Clogs and Under-Extrusion
Sometimes the flow just isn’t right. Gaps in the print or a nozzle that seems to sputter often point to a clog or under-extrusion.
A quick nozzle clean usually restores things. So does confirming your print temperature suits the filament, since running too cool can choke the flow. If it persists, the filament path is worth inspecting.
Maintenance Tips to Keep Your Printer Running
A little upkeep goes a long way. FlashForge machines are durable, but like anything mechanical, they run best when you care for them.
None of this takes much time, and it may save you a costly repair down the line.
Cleaning the Nozzle and Bed
Buildup is the enemy of consistency. Check the nozzle now and then for residue, and keep the print surface clean of dust and old adhesive.
A clean nozzle flows predictably, and a clean bed grips reliably. These two habits alone prevent a surprising share of print problems before they start.
Lubricating Moving Parts
The rods and rails that guide the print head need to move smoothly. Over time, they can dry out or collect grime, which makes motion rougher and noisier.
A light touch of appropriate lubricant keeps everything gliding quietly. Don’t overdo it, though. A little goes a long way, and too much just attracts dust.
Storing Filament Properly
Filament quietly absorbs moisture from the air, and damp filament prints poorly. So how you store it matters.
Keep spools in sealed containers with a bit of desiccant when you’re not using them. Dry filament simply prints cleaner, with less stringing and fewer surprises. It’s an easy habit that pays off every time.
Frequently Asked Questions
A few questions come up again and again once people get started. Here are honest answers.
What Filament Works Best With FlashForge Printers?
For beginners, PLA is hard to beat. It prints easily, sticks reliably, and forgives a lot of small mistakes while you’re learning.
Once you’re comfortable, PETG and ABS open up more durable, heat-resistant prints. They’re a bit fussier, though, so most people start with PLA and branch out from there.
Do I Have to Use FlashPrint Software?
Not strictly, no. FlashPrint is the easiest and most integrated option, which is why it’s the natural choice for most users.
That said, other slicers can work with the right profile settings. If you already know a different slicer, you may be able to adapt it. For a smooth start, though, FlashPrint keeps things simple.
How Do I Fix a Failed First Layer?
Most first-layer failures trace back to the same handful of causes. Start by re-leveling the bed, since that’s the usual suspect.
Then clean the surface and check your nozzle height. One of those three almost always sorts it out. A good first layer is worth the extra couple of minutes, so don’t hesitate to stop and fix it.
Conclusion
Figuring out how to use a Flashforge 3D printer turns an intimidating box of parts into a genuinely capable tool. And really, the process is more approachable than it first looks.
Success comes from a clear sequence. Unbox carefully, level the bed, load your filament, slice a model in FlashPrint, and print that first satisfying part.
A few good habits keep things running well over the long haul. Keep the bed clean, store your filament dry, and run the occasional maintenance check. None of it is demanding.
So go ahead and start with a simple PLA model. An easy first win builds real confidence, and it’s the fastest way to shake off any lingering nerves. There’s a quiet thrill in holding something you designed and printed entirely on your own, and it never quite gets old.

The 3D Mend team — we print, we fail, we work out why, and we write it down. Every guide here started as something that went wrong on one of our own machines.