

You hit print, glance at the estimated time, and your heart sinks. Fourteen hours for a part that fits in your palm.
So you wander off, check back an hour later, and the nozzle is still crawling along the third layer like it has all the time in the world. That slow grind wears on your patience fast.
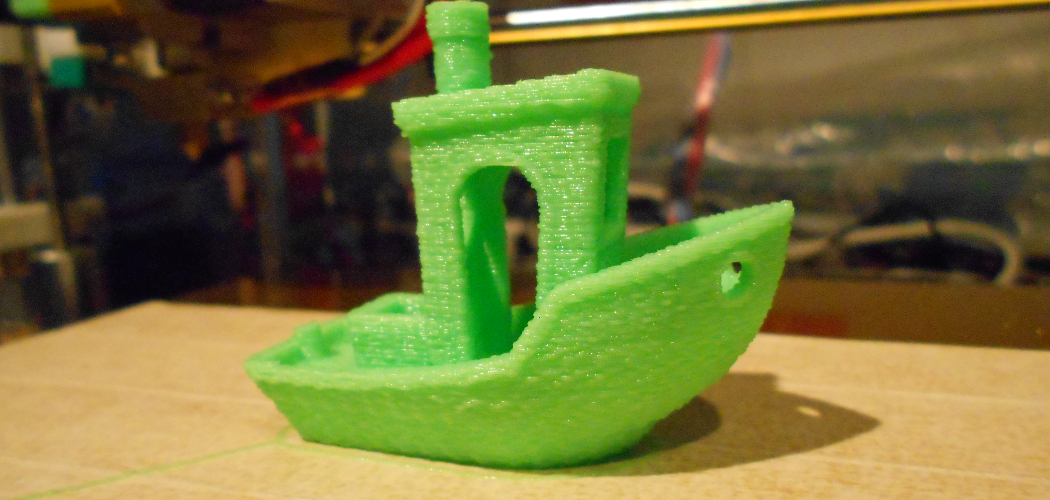
Here’s the reassuring part, though. Learning how to speed up 3D print jobs is easier than most people assume, and it rarely costs a thing.
Most of the time you’re not looking at a hardware problem at all. You’re looking at cautious default settings and a few untapped adjustments. In this guide, I’ll walk you through why speed matters, what quietly slows your prints down, and a step-by-step process to shave real hours off your next job without wrecking the finish.
Why Print Speed Matters
Faster printing sounds nice, but is it worth the fuss of tuning? For most people, yes, and the reasons stack up quickly.
Getting Projects Done Sooner
The obvious win is simply waiting less. A print that finishes in six hours instead of twelve means you get to hold the thing that much sooner.
That matters more than it seems, especially when you’re iterating on a design. Turning ideas into objects quickly keeps the momentum going, and there’s a small thrill in pulling a finished part off the bed ahead of schedule.
Printing More in Less Time
Shave hours off each job, and the whole workflow opens up. Suddenly you can run bigger batches, test more versions, and keep the machine busy rather than idle.
For anyone printing regularly, that added throughput adds up fast. More finished parts per day tends to mean less frustration and more actual making.
Saving Energy and Reducing Wear
There’s a quieter benefit too. Shorter print times use less electricity, which nudges your energy bill down over the long run.
Faster jobs may also ease the strain on your machine. Less total running time means motors, belts, and the hotend spend fewer hours under load, which could stretch their lifespan a little.
What Slows Down 3D Prints
Before you start pushing sliders, it helps to know what’s actually holding your prints back. The culprits tend to cluster in a few predictable places.
Conservative Default Settings
Most slicers ship with cautious defaults, and for good reason. They aim to work on nearly any machine without failing.
The downside is that they often leave plenty of speed on the table. Modern printers can usually handle far more than the out-of-box numbers suggest, so those defaults are frequently your biggest untapped opportunity.
High Detail, Thin Layers, and Dense Infill
Fine detail comes at a cost, and that cost is time. Thin layers mean the printer lays down many more passes to reach the same height.
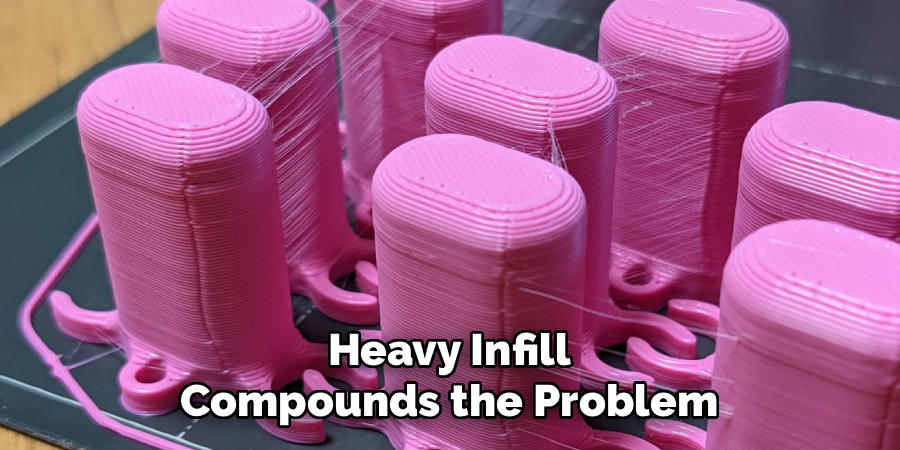
Heavy infill compounds the problem. Every extra percentage point fills more interior space, which the nozzle has to trace pass after pass. Together, these two settings can quietly double a print’s duration.
Slow Travel Moves
Not all the time goes into printing. Some of it disappears into travel, those non-printing hops the head makes between separate areas.
When travel speed is set low, the printhead ambles across the bed instead of zipping. It adds up over thousands of moves, stretching the total without laying down a single useful line.
Mechanical and Cooling Limits
There are real ceilings here, and it’s worth respecting them. Your hotend can only melt filament so fast, and your fans can only cool it so quickly.
Push past those limits and quality suffers, or the print fails outright. Knowing where your machine’s flow rate and cooling top out helps you speed up safely rather than blindly.
What You Will Need
You don’t need to buy anything to start speeding up prints. A few things you likely already have will carry you through.
Slicer Software Access
Most of the real gains live in your slicer. Cura, PrusaSlicer, Bambu Studio-whichever you use, they all hold the speed, layer height, and acceleration settings we’ll adjust.
Get comfortable finding these controls. Everything in the step-by-step section happens right here, so knowing your way around the menus makes the whole process smoother.
A Well-Maintained Printer
Speed asks more of your machine, so it pays to have it in decent shape first. Tight belts, a clean nozzle, and smooth-moving axes let a printer handle higher pace without stumbling.
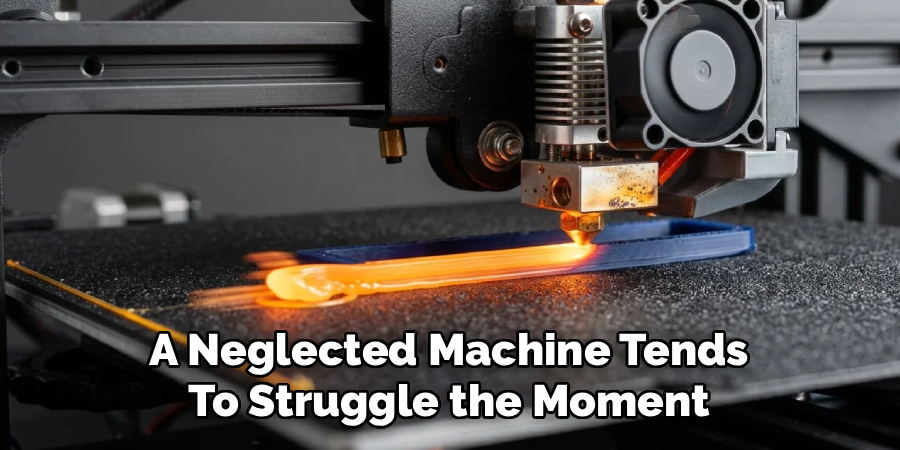
A neglected machine tends to struggle the moment you push it. So a quick tune-up before you start saves you chasing phantom problems later.
A Simple Test Model
Finally, grab a quick benchmark print. A calibration cube or a Benchy works perfectly.
You’ll print it after each change to measure both time and quality. Without something consistent to compare against, you’re just guessing at whether a tweak actually helped.
How to Speed Up 3D Print: Step-by-Step Guide
Here’s the heart of it. Work through these seven steps in order, and change one thing at a time so you can see what each adjustment really does. Print your test model between changes, since that’s the only honest way to judge the trade-off.
Step 1: Increase Your Print Speed Setting
Start with the base print speed and raise it in small increments. A jump of 10 to 20 millimeters per second at a time keeps things manageable.
Most printers handle more than their defaults suggest, so nudge it up, print your test, and watch. When quality starts to slip, you’ve found your ceiling. Back off a touch and you’ve got a safe, faster sweet spot.
Step 2: Raise Your Layer Height
This one delivers the biggest bang for the least effort. Thicker layers mean fewer passes to reach the same height, which slashes print time dramatically.
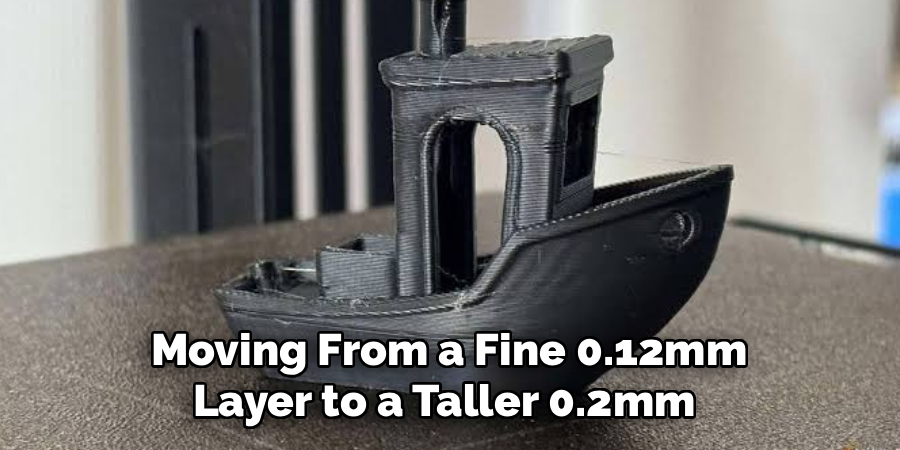
Moving from a fine 0.12mm layer to a taller 0.2mm can nearly halve a job. On many models, the surface still looks clean, so you lose little for a huge time saving.
Step 3: Lower Your Infill Percentage
Ask yourself how much strength the part actually needs. For decorative or low-stress prints, heavy infill is just wasted time and filament.
Drop it to something lean, and pair it with an efficient pattern. The print gets lighter and finishes sooner, usually with no meaningful loss of durability for everyday pieces.
Step 4: Speed Up Travel Moves
Now target those non-printing hops. Raising travel speed lets the head zip between areas instead of ambling.
There’s a bonus, too. Faster travel, when paired with good retraction, can actually reduce oozing and stringing. So this tweak may improve the finish while it trims time.
Step 5: Reduce or Optimize Supports
Supports eat time and filament, and often more of both than you’d expect. Smart model orientation can cut down how many you need in the first place.
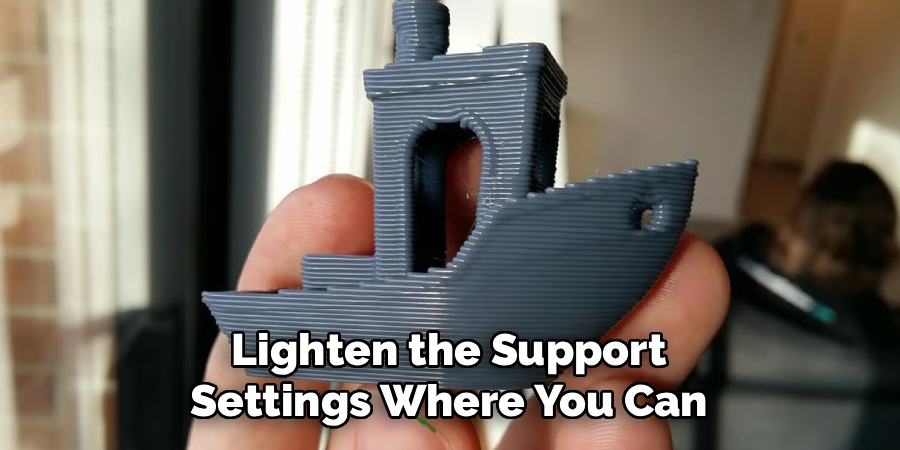
Lighten the support settings where you can, and skip them entirely where the geometry allows. Fewer supports mean faster prints and less cleanup afterward, which feels like a double win.
Step 6: Tune Acceleration and Jerk Settings
This is the more advanced lever, so tread carefully. Acceleration and jerk control how quickly the printer changes speed and direction.
Raise them gradually, in the slicer or firmware, and the machine moves more decisively between segments. Small, tested increases speed things up, but big jumps can introduce ringing or skipped steps, so keep the changes modest.
Step 7: Run a Test Print and Refine
Finally, tie it all together with a benchmark print. Check both the time saved and the surface quality against your earlier attempts.
If something looks off, adjust one setting and reprint. Once the result holds up, note your winning values and lock them in. There’s real satisfaction in seeing that estimated time drop while the print still looks sharp.
Best Practices for Faster Printing
A few habits turn a one-time speed boost into consistent, reliable results. None of them take much effort.
Change One Setting at a Time
I keep coming back to this because it matters more than any single tweak. Adjust one variable, print, observe.
When you change three things at once, and the print improves, you’ve learned nothing about which one helped. Worse, a good change can hide a bad one. Isolating each tweak turns guesswork into something closer to a real test.
Match Speed to the Model
Not every print deserves the same pace. A chunky, simple bracket handles high speed just fine.
A detailed miniature, though, deserves a gentler touch. Slowing down for intricate work preserves the crispness that fast printing tends to blur, so let the model guide your settings.
Save Fast Profiles for Reuse
Once you’ve dialed in a fast setup that works, save it as a profile. Then you’re not re-tuning from scratch every time.
It feels like a small thing until the day it saves you twenty minutes and a stack of test prints. Future you will appreciate having a proven fast profile ready to go.
Common Mistakes to Avoid
Everyone overshoots a little when chasing speed. Knowing these traps ahead of time saves you some failed prints.
Pushing Speed Too Far Too Fast
The urge to crank everything at once is understandable. It also tends to backfire.
Huge jumps in speed cause skipped steps, ugly layers, and outright failures rather than real gains. Creep upward instead, and you’ll find your machine’s true limits without wasting filament along the way.
Ignoring Hotend Flow Limits
Your nozzle can only melt so much plastic per second. Print faster than that, and the extruder simply can’t keep up.
The result is under-extrusion, with gaps and weak, patchy layers. If speed introduces those symptoms, you’ve likely hit the flow ceiling, and no other setting will fix it.
Sacrificing Cooling on Detailed Prints
Speed and cooling are linked more than people realize. Rush a print with detailed overhangs and too little cooling, and fine features droop into a mess.
So on intricate models, don’t starve the fans to save time. The trade rarely favors you when the details matter.
Tips to Maintain Quality While Printing Faster
Faster doesn’t have to mean rougher. A few adjustments keep prints looking clean even at a brisk pace.
Keep Your Printer Well-Tuned
Speed magnifies every mechanical flaw. A loose belt that’s fine at slow speeds turns into ringing at fast ones.
So check your belts, clean the nozzle, and calibrate regularly. A well-maintained machine simply handles speed more gracefully, giving you cleaner results with less fuss.
Use Variable Speed by Feature
Here’s a smart trick that many slicers support. Slow down for the outer walls, where quality shows, while cranking up the infill and inner sections that nobody sees.
You get a clean visible surface with a fast interior. It’s the closest thing to having your cake and eating it too.
Upgrade Cooling When Needed
If cooling keeps holding you back, a better fan or duct may be worth it. Improved part cooling lets you print faster while keeping crisp details and clean overhangs.
It’s one of the few upgrades that directly unlocks more speed. For anyone printing detailed work regularly, it tends to pay off.
Frequently Asked Questions
A few questions come up again and again once people start chasing speed. Here are honest answers.
Does Faster Mean Lower Quality?
Not necessarily. Moderate speed increases usually keep quality high, especially on simpler models.
Push to extremes, though, and artifacts start creeping in. The trick is finding the point where speed and finish stay balanced, which a few test prints will reveal quickly.
What Is a Good Print Speed?
For many machines, somewhere between 50 and 100 millimeters per second works well. Faster printers, built with speed in mind, handle considerably more.
Treat those numbers as a starting range rather than a rule. Your ideal depends on your machine, your material, and how much detail the part demands.
Can I Speed Up Without Upgrades?
Absolutely. Most speed gains come from slicer settings and good maintenance, not new parts.
Upgrades like better cooling can help you push further. But you can shave real time off your prints today using only the settings you already have.
Conclusion
Figuring out how to speed up 3D print jobs comes down to a handful of simple, repeatable adjustments. What looks like a hardware limitation is usually just cautious settings waiting to be loosened.
The path is clear. Raise your print speed and layer height, lower the infill, quicken travel moves, optimize supports, then carefully tune acceleration before confirming it all with a test print.
A few habits keep the results lasting. Change one setting at a time, match your speed to the model, and save the fast profiles that work.
So start with a small layer height increase, since that single change often delivers the biggest, fastest win. Run a test, make one tweak, and watch the estimated time fall. There’s a genuine satisfaction in pulling a finished print off the bed sooner than you thought possible.

The 3D Mend team — we print, we fail, we work out why, and we write it down. Every guide here started as something that went wrong on one of our own machines.