

Getting a clean 3D print feels satisfying—until you pull it off the build plate and find drooping overhangs, collapsed bridges, or stringy messes where solid geometry should be. These failures almost always come down to one thing: support structures, or the lack of them.
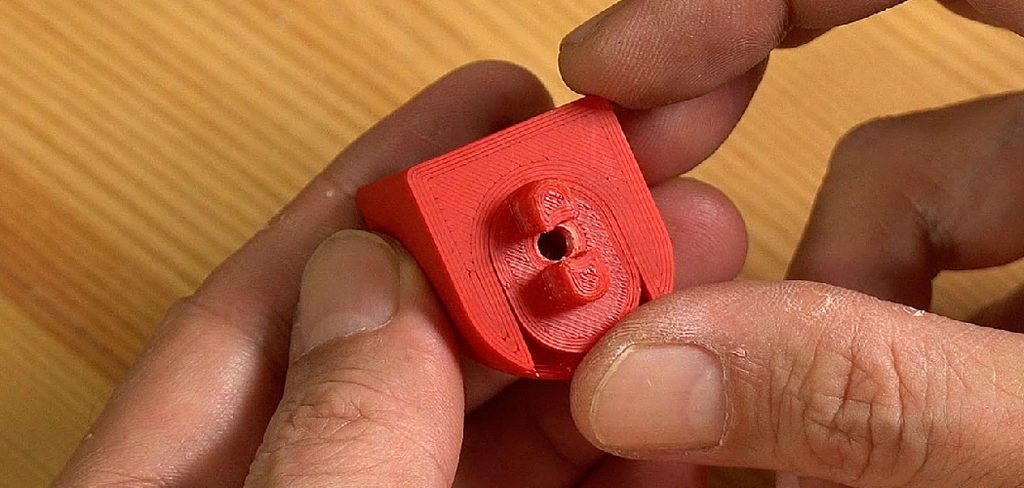
Supports are temporary scaffolding printed beneath overhanging sections of your model. They hold up features that would otherwise collapse mid-print due to gravity. Once the print is done, you remove them—ideally leaving a clean, accurate surface behind. Sounds straightforward, but knowing when to add supports, where to place them, and how to configure them correctly makes all the difference between a clean result and a frustrating failure.
This guide on how to add supports to 3d prints walks you through the entire process—from understanding why supports matter to fine-tuning slicer settings for the best possible outcome.
Understanding Why 3D Print Supports Matter
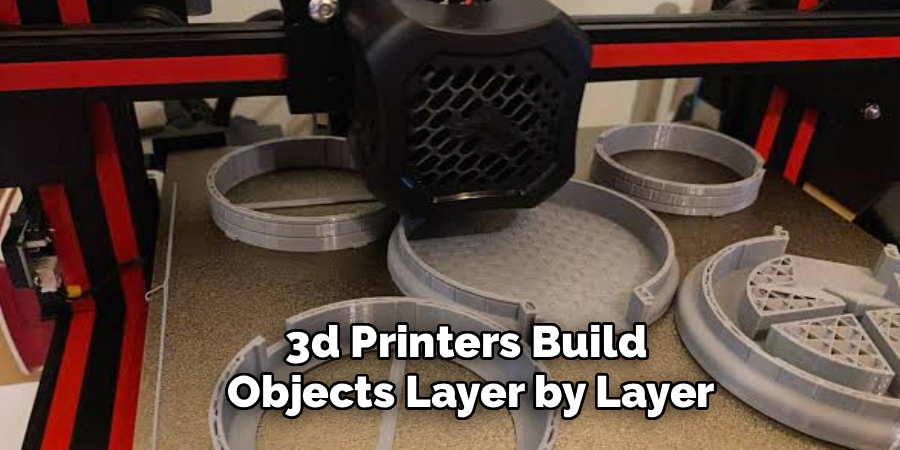
3D printers build objects layer by layer, with each new layer resting on top of the one beneath it. This works well for flat or gradually sloping surfaces. The problem begins when a layer extends too far beyond the one below it—what’s called an overhang.
Most FDM printers can handle overhangs up to around 45 degrees without support. Beyond that threshold, the filament has too little to rest on and starts to droop, warp, or fail entirely. Horizontal bridges—think the flat top of an arch, or a hole printed sideways—face the same challenge. Without support material underneath, these sections have nothing holding them up during printing.
Support structures solve this by providing a temporary foundation that keeps your model geometrically accurate from start to finish.
Choosing the Right Slicer
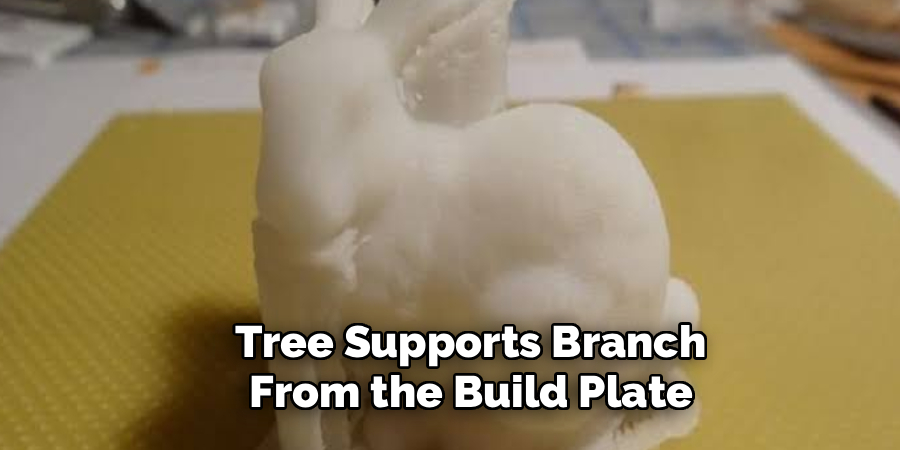
Your slicer software is where all support decisions happen. Popular options include Ultimaker Cura, PrusaSlicer, and Bambu Studio, each offering both automatic and manual support placement tools. Most also let you choose between two primary support types: normal (linear) supports, which print in a grid pattern, and tree supports, which branch upward from the build plate to contact only the areas that need help.
Tree supports typically use less material and are easier to remove—making them a strong choice for organic shapes and models with complex geometry. Normal supports, on the other hand, tend to be more reliable for flat overhangs and industrial-style models with straight edges.
Before diving into the steps below, download and open your preferred slicer, import your 3D model file, and confirm that your filament profile is set up correctly.
7 Simple Steps on How to Add Supports to 3D Prints
Step 1: Identify the Overhangs and Bridges in Your Model
Load your model into the slicer and use the overhang preview tool to highlight areas that need support. In Cura, this appears under the Preview tab after slicing. PrusaSlicer shows overhang angles directly in its 3D view using color-coded highlights. Look for any surface angled more than 45 degrees from vertical, as well as any horizontal bridges longer than roughly 5mm. These are your target areas.
Step 2: Enable Support Structures in Your Slicer Settings
Navigate to your slicer’s print settings panel and locate the support section. Toggle supports on—most slicers default to automatic support placement, detecting overhangs based on a threshold angle you define. Start with a 45-degree threshold as a baseline. You can tighten this to 40 degrees for more coverage, or loosen it to 50 degrees to reduce material use and post-processing time.
Step 3: Select the Right Support Type for Your Model
Choose between normal supports and tree supports based on your model’s geometry. Tree supports work best for organic shapes, figurines, and models where supports would otherwise touch delicate surface details. Normal supports are more reliable for flat overhangs and industrial-style models with straight edges.
If your slicer offers support interfaces—thin, denser layers placed between the support and the model—enable them. They produce a noticeably smoother contact surface and make removal significantly easier.
Step 4: Adjust the Support Density and Pattern
Support density controls how solid the support structure is. A setting between 10% and 20% infill works well for most prints. Too dense, and the supports become difficult to remove and waste material. Too sparse, and they may not hold up your overhang reliably.
For the pattern, grid or lines work well for most situations. Zigzag patterns can also be effective and are generally easier to snap off cleanly.
Step 5: Set the Correct Support Z-Distance
The Z-distance is the gap between the top of the support and the bottom of your model. This is one of the more consequential settings to get right. Set it too small, and the support fuses to your print—making removal difficult and potentially damaging the surface. Set it too large, and the overhang still sags.
A Z-distance of 0.1mm to 0.2mm is a reliable starting point for most FDM printers. Resin printers may require different values; consult your slicer’s documentation for material-specific guidance.
Step 6: Use Manual Support Placement to Fine-Tune Coverage
Automatic support generation is a solid starting point, but it’s rarely perfect. Most slicers let you add or remove individual supports manually. Use this to add supports where auto-detection missed, and to remove supports from spots that would be difficult to reach or would leave visible marks on cosmetic surfaces.
In Cura, the Support Blocker and Custom Support tools give you precise control over placement. PrusaSlicer offers similar functionality through its support enforcer and blocker paint tools.
Step 7: Preview, Slice, and Confirm Before Printing
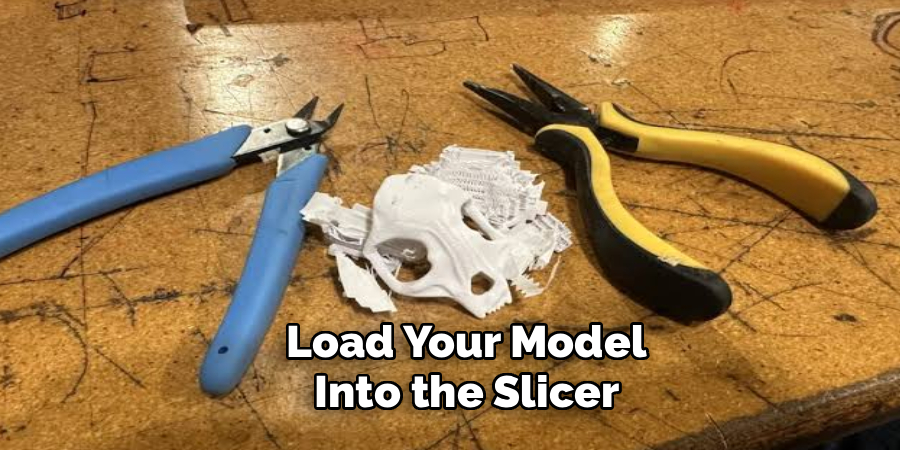
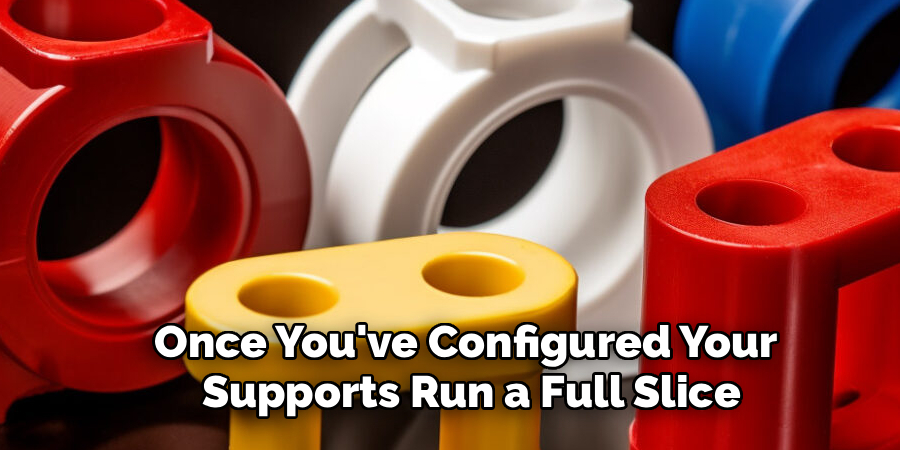
Once you’ve configured your supports, run a full slice and carefully review the layer-by-layer preview. Scroll through the layers to confirm supports appear where needed and that no critical overhangs are left unprotected. Check that the first support layer contacts the build plate properly and that support interfaces are generating on the correct surfaces.
When everything looks right, export the file to your printer and start the print. Following these steps on how to add supports to 3d prints will help ensure successful and high-quality prints.
Troubleshoot Common Support Problems
Even with careful settings, support-related issues can still appear.
Supports that are difficult to remove usually point to a Z-distance set too low or a density that’s too high. Drop the density by 5% and increase the gap slightly, then test again. Conversely, if overhangs are still sagging despite supports being present, the density may be too low—or the supports simply aren’t reaching the right areas.
If tree supports keep failing or collapsing during the print, they may not have a stable enough base. Switching to normal supports for that model, or increasing the tree support branch diameter, typically resolves this. Stringing between support columns is another common complaint—lowering your print temperature by 5°C and increasing retraction distance can help reduce this significantly.
Tips for Better Support Results
A few practical habits will consistently improve your support outcomes.
First, orient your model strategically before adding supports. Rotating a model by 30 to 45 degrees can sometimes eliminate the need for supports altogether, or at least reduce them substantially—saving material and post-processing time without changing the final geometry.
Second, consider your filament type when choosing support settings. PLA is forgiving and works well with standard configurations. PETG tends to bond more aggressively to supports, so increasing the Z-distance and using a support interface layer is especially important with this material. For dual-extrusion printers, using a soluble support material like PVA or HIPS removes the difficulty of manual support removal entirely—the supports dissolve in water or a solvent bath.
Frequently Asked Questions
How Do I Know If My 3D Print Needs Supports?
Check your model for any surface angled more than 45 degrees from vertical, or any horizontal bridge longer than approximately 5mm. Most slicers include an overhang detection tool that highlights these areas automatically. If the highlighted regions cover significant parts of your model, supports are likely necessary for a clean result.
What Is the Best Support Type for Miniatures and Figurines?
Tree supports are generally the best choice for miniatures and figurines. Tree supports branch from the build plate and contact the model at minimal points, which reduces surface scarring on detailed areas like faces and limbs. Normal supports can be too aggressive for fine details and are harder to remove cleanly in tight spaces.
Can I Reuse Support Settings Across Different Models?
You can save support settings as a profile in most slicers, but not every model responds to the same configuration. A setting that works well for a mechanical bracket may not be ideal for an organic figurine. Treat saved profiles as a starting point and adjust Z-distance, density, and support type based on each model’s specific geometry and intended surface finish.
Does Support Type Affect Print Time?
Yes. Tree supports generally take longer to calculate in the slicer but often use less material than normal supports, which can reduce overall print time. Normal supports slice faster but may add more material and post-processing time, particularly on models with many overhangs.
Are Supports Always Necessary for Overhangs?
Not always. Overhangs up to 45 degrees are typically manageable without supports on most FDM printers. Some filaments and printer configurations can push this threshold slightly further. Test prints—small angled ramps printed at varying degrees—are useful for understanding exactly where your specific printer starts to struggle.
Start Printing With Confidence
Supports are one of the most useful tools in your 3D printing workflow—but only when configured correctly. Poorly placed or badly tuned supports waste filament, damage surfaces, and turn post-processing into a frustrating chore. A thoughtful approach to overhang detection, support type selection, and distance settings transforms the experience considerably.
Work through the seven steps on how to add supports to 3d prints above on your next print and pay close attention to how your model responds. Small adjustments to Z-distance or density often make a dramatic difference. With practice, dialing in support settings becomes second nature—and your prints will consistently come out cleaner, stronger, and closer to what you originally designed.

About
Zevric Halden is a dedicated expert in the world of 3D printing, printer repair, and additive manufacturing, with years of hands-on experience troubleshooting, maintaining, and optimizing desktop 3D printers. His professional focus lies in combining practical mechanical knowledge with modern 3D printing technologies to help users solve printer problems, improve print quality, and keep their machines running reliably. As the author of 3DMend, Zevric explores the technical side of 3D printing, making complex printer issues easier to understand for makers, hobbyists, and professionals alike.
Education
Rochester Institute of Technology
(Rochester, New York, USA)
Associate Degree in Mechanical & Manufacturing Technology
- Focused on mechanical systems, manufacturing processes, machine maintenance, and precision tools.
- Developed practical experience with mechanical troubleshooting, electronic components, and computer-controlled equipment.
- Gained hands-on knowledge of CAD systems, rapid prototyping, and additive manufacturing technologies.
Worcester Polytechnic Institute
(Worcester, Massachusetts, USA)
Bachelor’s in Mechanical Engineering & Additive Manufacturing
- Specialized in digital fabrication, 3D printing systems, mechanical design, and manufacturing technologies.
- Studied printer calibration, motion systems, extrusion mechanisms, material behavior, and print optimization.
- Participated in practical engineering projects involving rapid prototyping, machine diagnostics, and 3D-printed components.
Publications and Impact
Through 3DMend, Zevric shares his expertise on 3D printer troubleshooting, maintenance, calibration, hardware repair, print-quality issues, and additive manufacturing. His writing focuses on turning frustrating printer problems into clear, practical solutions that readers can understand and apply.
From nozzle clogs and extrusion problems to bed-leveling issues, calibration errors, overheating, unusual noises, failed prints, and mechanical wear, Zevric’s guides are designed to help users identify the underlying cause rather than simply treating the symptoms.
His work bridges the gap between technical engineering knowledge and everyday 3D printing, making reliable repair and maintenance information accessible to everyone—from first-time 3D printer owners and hobbyists to experienced makers and professionals.
2 thoughts on “How to Add Supports to 3D Prints”