

Pull a fresh part off the build plate, try to slot it into place, and discover it’s a hair too big. Anyone who prints regularly knows the feeling.
Precision matters, and it matters more than most beginners expect. The technology has improved enormously over the past decade, yet the basic question—how accurate are these machines, really?—still catches out newcomers and experienced makers alike.
Knowing the gap between a print that’s “close enough” and one that lands exactly on spec can save you hours of fiddling and a drawer full of wasted filament.
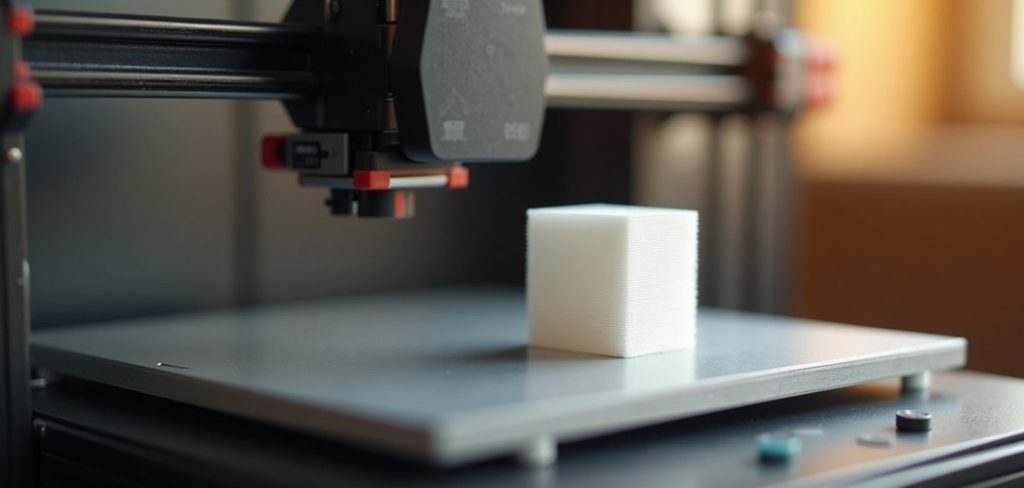
This guide on how precise are 3d printers walks through how precise 3D printers actually are, the factors that shape their accuracy, and the practical ways you can measure and improve your own output.
Prototypes that need to function, decorative pieces that just need to look right—either way, understanding these details tends to produce better prints.
We’ll look at the numbers, a bit of the underlying science, and the hands-on steps that separate a frustrating print from a satisfying one.
How Precise Are 3D Printers?
Most consumer FDM (Fused Deposition Modeling) printers land somewhere around ±0.1 to ±0.3 millimeters in dimensional accuracy. So a part you designed at 50mm wide might arrive measuring anywhere between 49.7mm and 50.3mm.
Resin machines—SLA and DLP in particular—usually do better, often reaching tolerances of ±0.05mm or tighter. Their fine-detail curing process appears to be the reason for that edge.
Precision isn’t one fixed figure, though. It shifts depending on your hardware, the material in the nozzle, and how carefully the machine has been calibrated.
Industrial printers in aerospace and medical work can hit tolerances well beyond anything a hobbyist rig manages, but they carry a price tag to match.
For the rest of us, the real gains come from tuning your settings to wring every bit of accuracy out of the hardware already sitting on the desk.
Accuracy vs. Precision in 3D Printing
People toss around “accuracy” and “precision” as though they mean the same thing. They don’t. Accuracy tells you how close your printed part is to the dimensions you intended.
Precision tells you how consistent the machine is when you run the same object again and again. A printer can be precise yet inaccurate—churning out ten identical parts, every one of them 0.5mm too large.
What you want is both. A machine that’s accurate and precise gives you parts that match the design and repeats that success without drama.
When something’s off with your print quality, it pays to work out which flavor of problem you’ve got. Errors that show up the same way every time usually point to calibration.
Errors that wander around randomly often trace back to something mechanical or environmental.
8 Simple Steps on How Precise 3D Printers Are
Step 1: Calibrate Your Printer’s Axes
Begin with the fundamentals. Your X, Y, and Z axes should travel exactly as far as the firmware claims they do.
Print a calibration cube—the 20mm test cube is the standard choice—then measure each side with digital calipers.
If the numbers don’t match, adjust the steps-per-millimeter values in your firmware until that cube comes out at its intended size.
Step 2: Level the Build Plate
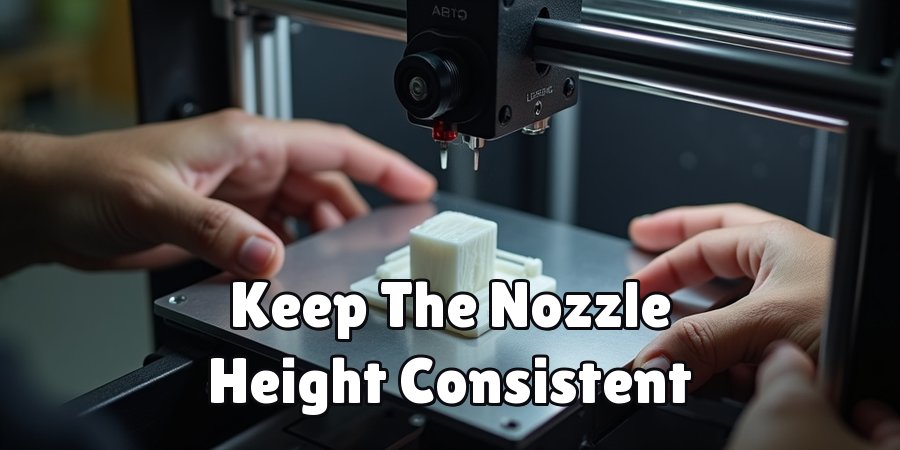
A plate that sits unevenly produces uneven first layers, and that skews the foundation for everything printed on top. Manual leveling works fine, though an automatic bed-leveling sensor takes the guesswork out of it.
Either way, the goal is a nozzle that stays at a consistent height across the whole surface. Leveling the bed remains one of the easiest ways to sharpen dimensional accuracy in those critical opening layers.
Step 3: Check Your Filament Diameter
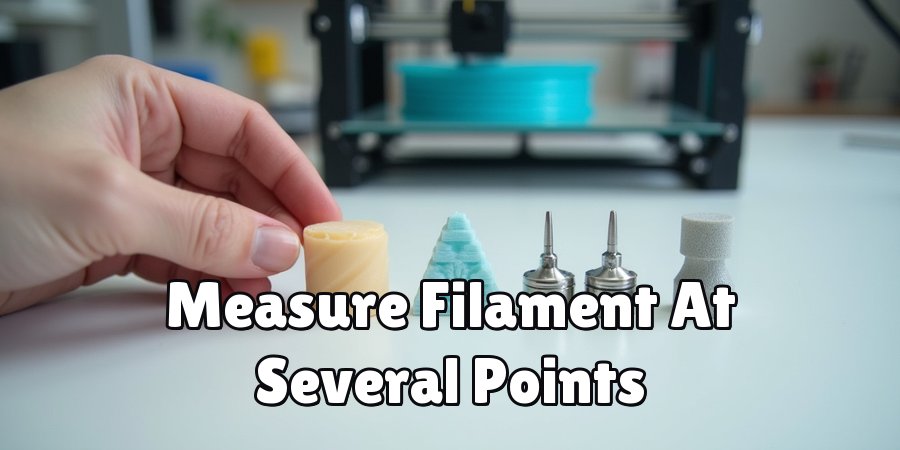
Filament sold as 1.75mm isn’t always exactly 1.75mm. A variation of even 0.05mm changes how much material gets pushed through the nozzle.
Measure your filament at a few points along its length, then update the diameter value in your slicer. It’s a minor tweak that helps the printer extrude the right amount of plastic for accurate parts.
Step 4: Tune Extrusion and Flow Rate
Push too much material and parts come out larger than designed. Push too little, and you get gaps and weak spots. Print a single-wall test object, measure its wall thickness, and compare that against your nozzle diameter. Nudge the flow rate percentage in your slicer until the walls land where they should.
Step 5: Optimize Print Speed
Race the printer, and it may skip steps or start to vibrate, and both of those chip away at precision. Slower speeds generally yield more accurate parts, which shows up most on detailed models. The trick is finding a pace that keeps prints crisp without leaving you waiting half a day for a small part.
Step 6: Control Temperature Settings
Print temperature governs how the material flows and how it cools. Run it too hot, and parts sag or ooze. Run it too cold,ld and the layers refuse to bond properly.
A temperature tower test helps you pin down the right setting for whatever filament you’re running, since every brand and material behaves a little differently.
Step 7: Measure With Digital Calipers
You can’t improve what you don’t measure. A decent set of digital calipers is the single most useful tool for checking precision, and it doesn’t cost much. Take readings across several dimensions on your test prints—width, height, hole diameters—so you build a full picture rather than a single snapshot of your printer’s accuracy.
Step 8: Iterate and Document Your Settings
Precision tends to be a moving target. Keep a log of your settings, the materials you’ve run, and the results each combination gave you. When something clicks, save it as a profile in your slicer.
That record means you won’t be rediscovering the same fix six months from now, staring at the same problem you already solved once.
Understanding and improving your printer’s precision really comes down to a process you can repeat. These eight steps on how precise are 3d printers help you measure, diagnose, and push your accuracy higher.
Common Reasons a 3D Print Is Not the Correct S.ize
A handful of culprits can throw your dimensions off. Thermal expansion ranks near the top—plastics shrink a little as they cool, and ABS shrinks noticeably more than PLA does.
That’s why a part might measure perfectly the moment it comes off the plate, then drift once it fully cools. Slicer settings, wrong steps-per-millimeter values, and belt tension each pull their weight here too.Mechanical trouble deserves a look as well.
Loose belts, worn bearings, a frame with a bit of wobble in it—all of these seed inconsistencies that surface as inaccurate dimensions. Backlash, the small amount of play in your motion system, can leave prints slightly off in particular directions.
Routine maintenance, tightening belts and watching for wear, tends to keep these gremlins from taking hold and keeps your prints on target.
Common Mistakes When Measuring 3D Printer Precision
Even careful makers stumble when they check precision. Measuring a part before it has fully cooled is a common one, and it hands you readings that won’t match the final dimensions.
Leaning on a single measurement is another—one reading can mislead you if the calipers slip or the surface carries a small blemish. Take several and average them instead.Cheap or neglected measuring tools generate bad data too.
Calipers that aren’t zeroed correctly, or that have worn jaws, will skew every number they give you. And plenty of people reach for a complex model to test with, when a plain calibration cube would isolate the problem far more cleanly.
Stick to standardized test objects, measure the same way each time, and check your tools before you draw any conclusions.
Frequently Asked Questions
Q1: What Is a Good Tolerance for a 3D Printer?
For most consumer FDM printers, a tolerance of ±0.1 to ±0.3mm counts as good. Resin printers reach tighter figures, ±0.05mm or better. What qualifies as “good” really hinges on the project, though—functional parts that have to fit together demand tighter tolerances than a decorative model ever will.
Q2: Why Is My 3D Print Slightly Larger Than the Model?
Over-extrusion is the usual suspect when prints come out bigger than intended. Check the flow rate and extrusion multiplier in your slicer, and confirm the filament diameter setting matches reality. Elephant’s foot—where the first layer bulges outward—can also pad out the width at the base.
Q3: Can I Make a Cheap 3D Printer More Accurate?
Yes, and often dramatically so. Calibrating the axes, leveling the bed, tuning extrusion, and easing off the print speed can transform a budget machine’s accuracy. Many affordable printers turn out excellent results once they’re properly dialed in, which means new hardware isn’t always the answer.
Conclusion
Precision in 3D printing isn’t some mysterious quality reserved for expensive machines. It comes from careful calibration, consistent measurement, and a willingness to fine-tune settings you might otherwise ignore.
Most consumer printers can reach genuinely impressive tolerances once you grasp what shapes their accuracy and put in the time to dial things in.
The eight steps on how precise are 3d printers above give you a workable framework for measuring and improving your results, whatever machine sits on your bench.
Start with the fundamentals. Calibrate the axes, level the bed, and pick up a good pair of digital calipers. From there, it’s a matter of testing, documenting, and refining as you go.
The better you understand your printer’s particular quirks, the better your prints get.
Give it patience and a bit of practice, and you’ll be turning out parts that fit and function just as you drew them.

About
Zevric Halden is a dedicated expert in the world of 3D printing, printer repair, and additive manufacturing, with years of hands-on experience troubleshooting, maintaining, and optimizing desktop 3D printers. His professional focus lies in combining practical mechanical knowledge with modern 3D printing technologies to help users solve printer problems, improve print quality, and keep their machines running reliably. As the author of 3DMend, Zevric explores the technical side of 3D printing, making complex printer issues easier to understand for makers, hobbyists, and professionals alike.
Education
Rochester Institute of Technology
(Rochester, New York, USA)
Associate Degree in Mechanical & Manufacturing Technology
- Focused on mechanical systems, manufacturing processes, machine maintenance, and precision tools.
- Developed practical experience with mechanical troubleshooting, electronic components, and computer-controlled equipment.
- Gained hands-on knowledge of CAD systems, rapid prototyping, and additive manufacturing technologies.
Worcester Polytechnic Institute
(Worcester, Massachusetts, USA)
Bachelor’s in Mechanical Engineering & Additive Manufacturing
- Specialized in digital fabrication, 3D printing systems, mechanical design, and manufacturing technologies.
- Studied printer calibration, motion systems, extrusion mechanisms, material behavior, and print optimization.
- Participated in practical engineering projects involving rapid prototyping, machine diagnostics, and 3D-printed components.
Publications and Impact
Through 3DMend, Zevric shares his expertise on 3D printer troubleshooting, maintenance, calibration, hardware repair, print-quality issues, and additive manufacturing. His writing focuses on turning frustrating printer problems into clear, practical solutions that readers can understand and apply.
From nozzle clogs and extrusion problems to bed-leveling issues, calibration errors, overheating, unusual noises, failed prints, and mechanical wear, Zevric’s guides are designed to help users identify the underlying cause rather than simply treating the symptoms.
His work bridges the gap between technical engineering knowledge and everyday 3D printing, making reliable repair and maintenance information accessible to everyone—from first-time 3D printer owners and hobbyists to experienced makers and professionals.