

A clean build plate is where every good print begins.
Let resin residue, dust, or old adhesive collect on your ELEGOO plate, and you’ll start seeing prints lift at the corners, warp in odd places, or refuse to stick at all.
The frustrating part is that grime rarely ruins just one model. It creeps into the accuracy of everything you make afterward, until you’re troubleshooting problems that trace back to a surface you never cleaned.
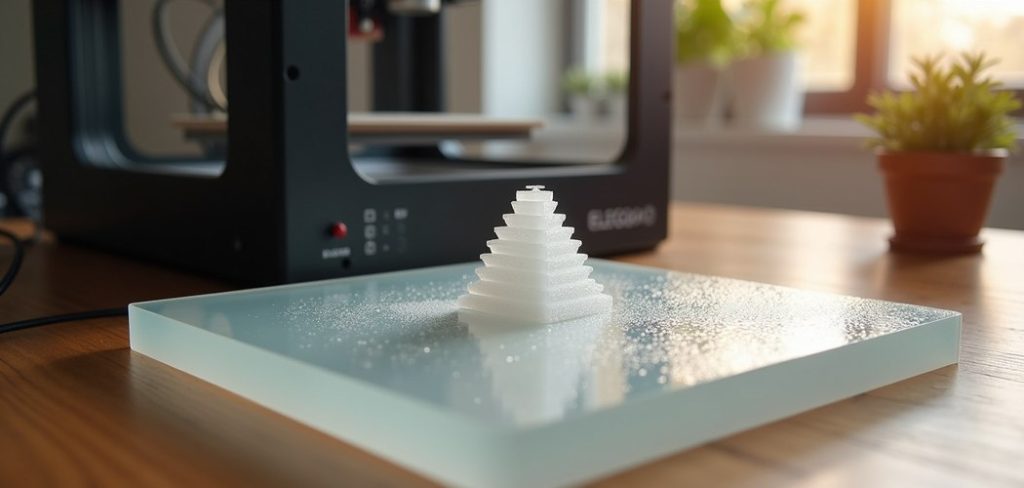
Here’s the reassuring bit. Cleaning an ELEGOO build plate isn’t complicated once you know the sequence. Mars, Saturn, Neptune—it doesn’t much matter which machine sits on your bench.
The job takes a few minutes and a small pile of supplies you probably already own.
What follows is a plain walkthrough: the tools worth gathering, seven steps in the order that actually works, the mistakes that quietly wear plates down, and what to try when adhesion still fights you afterward.
In this guide on how to clean elegoo build plate, we’ll cover the necessary steps and tips to keep your build plate in top condition.
What You Need to Clean an ELEGOO Build Plate
Gather everything first. It sounds obvious, but pausing halfway through with resin smeared across your gloves to hunt for a paper towel is its own small misery. None of this is specialized gear. Most of it lives in a workshop drawer or under the kitchen sink.
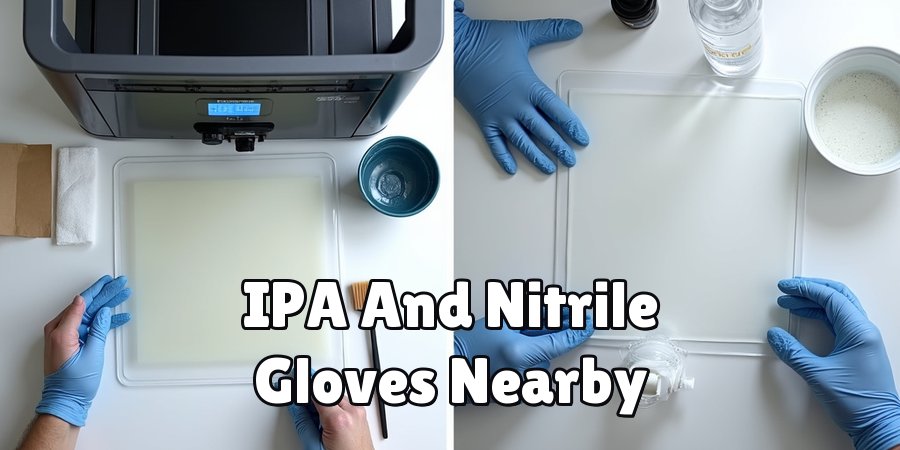
Have these within reach: isopropyl alcohol (IPA) at 90% concentration or higher, a plastic scraper or the one that shipped with your printer, paper towels or lint-free cloths, warm soapy water for the deeper cleans, nitrile gloves, and a soft-bristled brush for the spots that don’t want to budge.
One more thing that people tend to skip—ventilation. IPA fumes get strong fast in a closed room, so open a window or work somewhere airy.
7 Simple Steps on How to Clean Elegoo Build Plate
Step 1: Power Down and Remove the Build Plate
Switch off the printer first. Loosen the thumbscrews or knob securing the plate, then lift it straight up and out. Set it on a flat surface you’ve protected with paper towels. A detached plate gives you access to every edge and corner, which a plate still bolted into the machine simply won’t.
Step 2: Put On Your Gloves
Pull on nitrile gloves before you touch resin or alcohol. Uncured resin irritates skin, and repeated exposure may bring on allergic reactions you’d rather avoid. Gloves also stop the natural oils on your fingers from reaching the plate—oils that quietly undermine adhesion on your next print.
Step 3: Scrape Off Leftover Resin and Prints
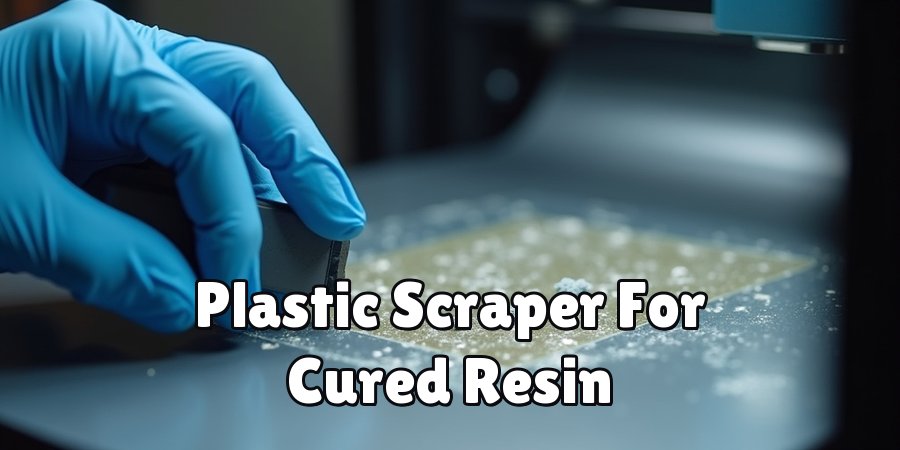
Take the plastic scraper to any cured resin, failed prints, or hardened lumps clinging to the surface. Hold it at a low angle and push steadily. Don’t dig or gouge.
Deep scratches wreck the plate’s texture, and that texture is doing more work than you might think. If a print is really wedged on, a gentle tap under its edge usually breaks the seal.
Step 4: Wipe Down With Isopropyl Alcohol
Dampen a paper towel or lint-free cloth with 90% or higher IPA.
Wipe the whole surface to break down any uncured resin still sitting there, and pay close attention to the textured or sandblasted zones—resin loves hiding in those pits. A single pass rarely does it.
Fold to a clean section each time and keep going until the towel comes away without picking up color.
Step 5: Deep Clean With Warm Soapy Water
For a fuller clean, wash the plate with warm water and a mild dish soap. This lifts the oily film that alcohol and skin can leave behind. Work the soap into the textured surface with your soft-bristled brush, then rinse thoroughly. Any soap left behind can interfere as much as the resin you just removed.
Step 6: Dry the Plate Completely
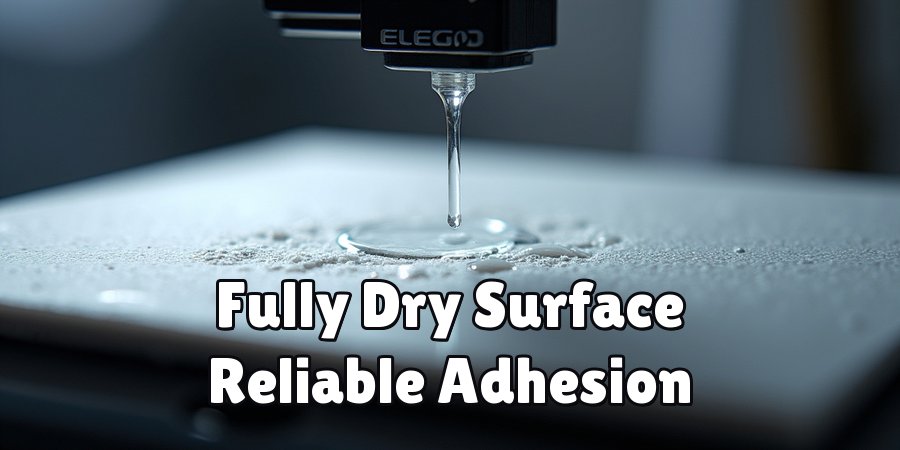
Pat it dry with a clean, lint-free cloth, then give it a few minutes to air-dry so nothing damp lingers in the texture. Trapped water and drying streaks both interfere with that critical first layer. A fully dry surface appears to be one of the underrated factors in reliable adhesion.
Step 7: Reinstall and Re-Level If Needed
Slide the clean plate back in and tighten the thumbscrews. If you pulled the plate out completely or knocked something loose while cleaning, run a quick leveling routine before printing again. A level, clean plate is about the cheapest insurance you’ll find against a wasted print.
Work through these steps on how to clean elegoo build plate in order. Skipping around tends to leave you doubling back, and a spotless plate ready for the next print is the whole point.
Common Build Plate Cleaning Mistakes
Even makers who’ve been at this for years fall into habits that shorten a plate’s life. The biggest culprit? Metal tools and razor blades used for scraping.
Metal leaves scratches and gouges, and those become weak spots where future prints refuse to grip. A plastic scraper is the safer call every time.
Right behind that is the bare-hands habit—skipping gloves and transferring skin oils that chip away at adhesion print after print.
Two more worth naming. People rush the drying stage, or they reach for low-concentration alcohol that leaves a residue instead of clearing it.
IPA below 90% carries too much water to fully dissolve resin, so it tends to leave a tacky film that undoes your effort. And cleaning the plate while it’s still attached to the printer?
That risks splashing resin and alcohol onto components that don’t react well to either. A few extra minutes doing it properly saves you from repairs and a string of failed prints down the line.
Troubleshooting Adhesion After Cleaning
Sometimes prints still won’t hold, even after you’ve cleaned with care. Start with bed leveling. Cleaning can nudge the plate or loosen a screw without you noticing, so re-level following ELEGOO’s instructions.
While you’re there, check the first-layer settings in your slicer—the resin may need more exposure time to bond. A slightly longer bottom-layer exposure clears up a surprising number of stubborn adhesion cases.
If leveling and exposure both check out, look harder at the surface itself. Repeated cleaning and scraping gradually wear down the sandblasted finish that grips your prints. Once that surface goes smooth, the hold disappears with it.
Fine-grit sandpaper, applied lightly, can bring back some of the texture. But if the trouble keeps returning no matter what you try, that could be the plate telling you it’s reached the end of its useful run.
Replacement may be the honest fix.
Frequently Asked Questions
How Often Should I Clean My ELEGOO Build Plate?
Wipe the plate with isopropyl alcohol after every print session to clear uncured resin. A deeper clean with warm soapy water is worth doing every few prints, or the moment you notice residue building up or adhesion weakening. Light, regular cleaning stops grime from hardening and keeps the plate performing longer.
Can I Use Vinegar Instead of Isopropyl Alcohol?
Isopropyl alcohol is the recommended cleaner because it dissolves uncured resin quickly and evaporates without leaving anything behind. Vinegar doesn’t break resin down well and can leave an acidic film. Stick with 90% or higher IPA for the best results, and lean on warm soapy water only for general cleaning.
Will Cleaning Damage the Textured Surface of My Build Plate?
Routine cleaning with IPA, soapy water, and a plastic scraper shouldn’t harm the texture. Damage tends to come from metal scrapers, harsh abrasives, or overly aggressive scrubbing. Handle the plate gently and steer clear of sharp tools, and the sandblasted finish that grips your prints should survive many cleaning cycles.
Q: What is the Best Way to Clean a Textured Build Plate?
There are several ways to effectively clean a textured build plate, but the most recommended method is using rubbing alcohol with at least 90% concentration.
This will not only remove any residue or debris from the surface, but it will also disinfect and leave the surface dry quickly.
Additionally, warm soapy water can be used for general cleaning, but make sure to avoid harsh abrasives or metal scrapers that could damage the texture.
It’s important to handle the build plate gently and avoid aggressive scrubbing to preserve the sandblasted finish that provides grip for your prints.
With proper care, your textured build plate should remain in good condition for a long time.
Conclusion
A clean ELEGOO build plate may be the simplest lever you have for a better print success rate.
Gather the right supplies, follow these seven steps on how to clean elegoo build plate, and you clear resin, dust, and residue in a few minutes—setting up sharp, dependable prints. Small habits carry outsized weight here.
Gloves. High-concentration alcohol. They don’t feel like much in the moment, yet they add up over months of printing.
Fold cleaning into your regular routine instead of treating it as something you get to eventually. A little maintenance now spares you failed prints, wasted resin, and the slow frustration of troubleshooting later. Look after your build plate, and it tends to return the favor—consistent, quality results, print after print.

About
Zevric Halden is a dedicated expert in the world of 3D printing, printer repair, and additive manufacturing, with years of hands-on experience troubleshooting, maintaining, and optimizing desktop 3D printers. His professional focus lies in combining practical mechanical knowledge with modern 3D printing technologies to help users solve printer problems, improve print quality, and keep their machines running reliably. As the author of 3DMend, Zevric explores the technical side of 3D printing, making complex printer issues easier to understand for makers, hobbyists, and professionals alike.
Education
Rochester Institute of Technology
(Rochester, New York, USA)
Associate Degree in Mechanical & Manufacturing Technology
- Focused on mechanical systems, manufacturing processes, machine maintenance, and precision tools.
- Developed practical experience with mechanical troubleshooting, electronic components, and computer-controlled equipment.
- Gained hands-on knowledge of CAD systems, rapid prototyping, and additive manufacturing technologies.
Worcester Polytechnic Institute
(Worcester, Massachusetts, USA)
Bachelor’s in Mechanical Engineering & Additive Manufacturing
- Specialized in digital fabrication, 3D printing systems, mechanical design, and manufacturing technologies.
- Studied printer calibration, motion systems, extrusion mechanisms, material behavior, and print optimization.
- Participated in practical engineering projects involving rapid prototyping, machine diagnostics, and 3D-printed components.
Publications and Impact
Through 3DMend, Zevric shares his expertise on 3D printer troubleshooting, maintenance, calibration, hardware repair, print-quality issues, and additive manufacturing. His writing focuses on turning frustrating printer problems into clear, practical solutions that readers can understand and apply.
From nozzle clogs and extrusion problems to bed-leveling issues, calibration errors, overheating, unusual noises, failed prints, and mechanical wear, Zevric’s guides are designed to help users identify the underlying cause rather than simply treating the symptoms.
His work bridges the gap between technical engineering knowledge and everyday 3D printing, making reliable repair and maintenance information accessible to everyone—from first-time 3D printer owners and hobbyists to experienced makers and professionals.