

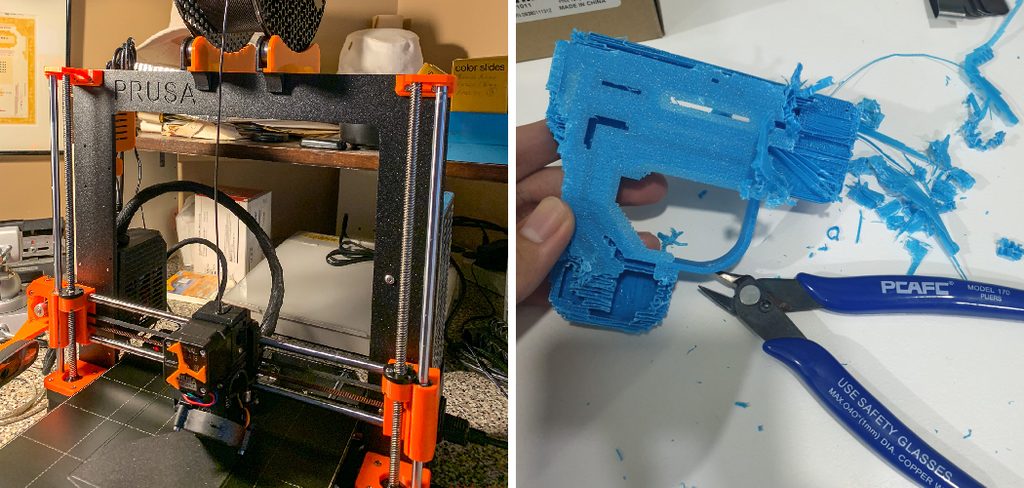
The print finished hours ago. It looks great from across the room. Then you pick it up and feel it, the supports clinging to the underside like they’ve been fused on with intent.
You start picking. And prying. Ten minutes later, your thumbnail hurts, and there’s a gouge where a clean surface used to be.
If that sounds familiar, take heart. Learning how to make supports come off easier is one of those skills that quietly transforms your whole printing experience.
The fix is usually simpler than the struggle suggests. A handful of slicer settings and a couple of habits, really, and supports start popping off with a satisfying snap instead of a fight.
In this guide, I’ll walk you through why supports get stuck in the first place. Then we’ll cover the support types, the tools worth owning, and a step-by-step process that ends the picking-and-prying misery for good.
Why Supports Get Stuck in the First Place
Before you change anything, it helps to understand what’s actually happening when a support refuses to let go. Stuck supports aren’t random bad luck. They trace back to a few specific causes, and each one is fixable.
Once you know the culprits, the fixes make a lot more sense.
Too Little Gap Between Support and Print
Here’s the big one. The support Z distance is the vertical gap between the top of a support and the model resting above it.
When that gap is tiny, the support layer bonds directly to the print. There’s no clean break line, so removal turns into a battle that often scars the surface underneath.
Dense Support Structures
Density plays a quieter role, but it matters. Heavy, tightly packed supports create more contact points and simply more material to fight through.
More plastic means more to cut, peel, and pry. A dense support may hold an overhang beautifully, yet it punishes you at cleanup time.
High Printing Temperatures
Heat is a sneaky offender. An overly hot nozzle keeps each layer molten a fraction longer, so it melds more aggressively with whatever it touches.
That extra melding welds the support to the model surface. Drop the temperature a touch, and the two stop bonding so eagerly.
Poor Interface Settings
The interface is where support meets print, and a badly tuned one causes real grief. When the interface layers pack too tightly against the model, they fuse rather than release.
Thankfully, this is an easy and genuinely satisfying fix. A small tweak to interface spacing often turns a stubborn support into one that lifts away in a single piece.
Understanding Support Types and Removal
Not every support behaves the same way. The type you choose in your slicer shapes how hard, or how easy, the removal will be.
Knowing the differences helps you pick wisely before you ever hit print.
Normal Grid Supports
These are the standard default. Normal supports build a dense grid of columns beneath your overhangs, and they hold strong.
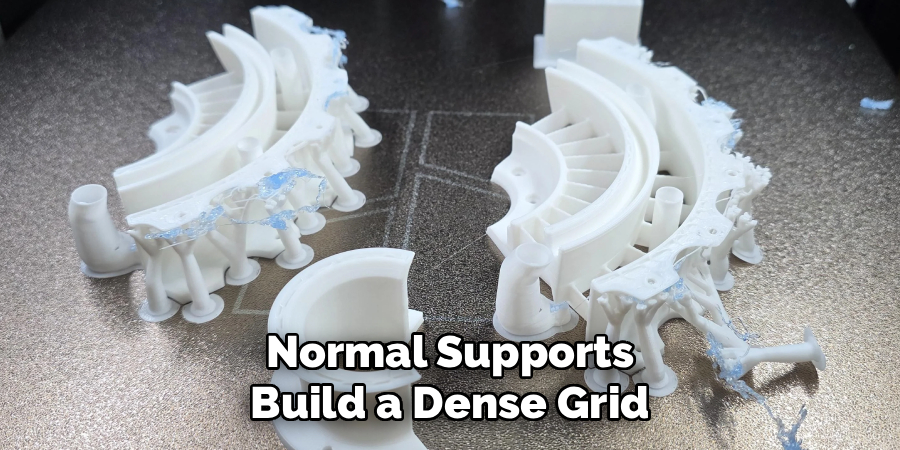
The catch is contact area. Because they touch the model across a wide surface, they cling harder and resist peeling. Reliable, yes, but rarely the friendliest to remove.
Tree Supports
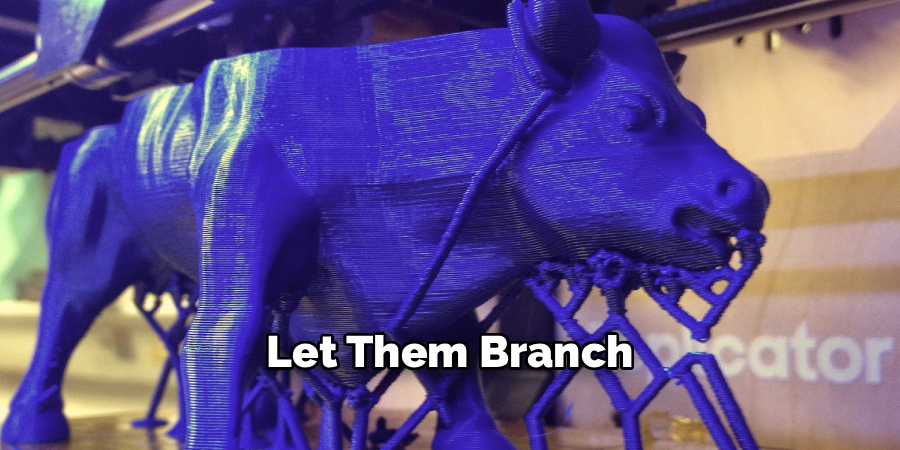
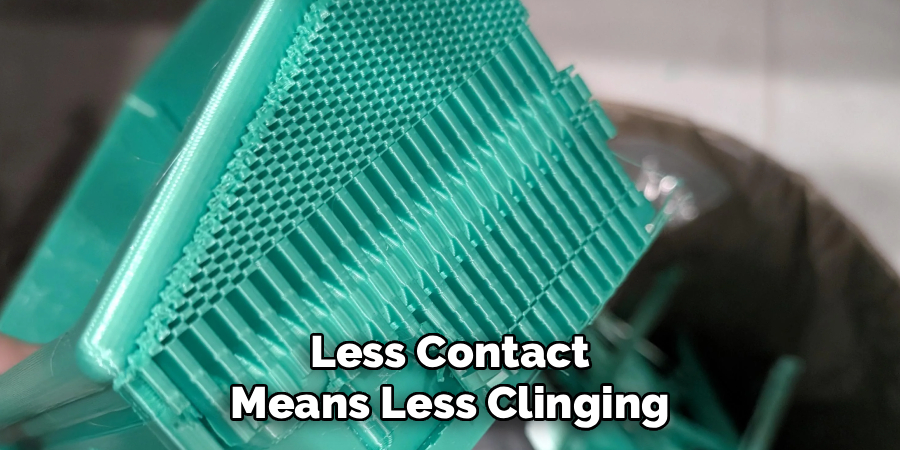
Tree supports take a smarter approach. Instead of a solid grid, they branch upward like limbs, reaching the model at fewer points.
Fewer contact points mean far less to peel. They tend to snap away with minimal effort, and they leave fewer marks behind. For anything organic or detailed, they’re often my first choice.
Interface Layers Explained
Here’s the concept that ties it all together. A well-set interface creates a deliberate weak spot, a clean break line, right where support meets model.
Instead of tearing at the surface, the support lifts off along that line. Get the interface right, and removal stops feeling like demolition and starts feeling like assembly in reverse.
Tools That Make Support Removal Easier
Good settings do most of the work, but the right tools finish the job cleanly. You probably own a few of these already.
Having them within reach turns a frustrating cleanup into a quick, controlled one.
Flush Cutters and Snips
Flush cutters are the workhorse here. They slice cleanly through support bases, giving you control instead of forcing you to yank and hope.
That control matters most near delicate features. A clean snip beats a rough tear every single time, and your print surfaces will show the difference.
Tweezers and Pliers
Fingers can’t reach everywhere, and that’s where these come in. Needle-nose pliers grip stubborn supports firmly, while tweezers slip into tight spots your hands never could.
Internal cavities, narrow gaps, recessed corners. These tools handle the awkward places that would otherwise leave you cursing.
Hobby Knife and Deburring Tool
Once the bulk is gone, small remnants usually linger. A sharp hobby knife trims those leftover nubs, and a deburring tool smooths the edges where supports once touched.
Work slowly with the blade, cutting away from the print. A little patience here gives you that polished, finished look rather than a scarred one.
How to Make Supports Come Off Easier: Step-by-Step Guide
This is the part you came for. Knowing how to make supports come off easier really comes down to a sequence of small, sensible adjustments, so work through these seven steps in order.
Change one thing at a time. That habit lets you see exactly what helped, rather than guessing.
Step 1: Increase the Support Z Distance
Start with the setting that fixes most stuck supports. Raise the vertical gap between support and print, often to somewhere around 0.2 to 0.3mm.
That small buffer stops the support from fusing to the model. It lifts away cleanly instead of tearing at the surface, which is exactly what you want.
Step 2: Switch to Tree Supports
For models with complex or curved shapes, tree supports change everything. Select them in your slicer and let them branch up to your overhangs.
Fewer contact points mean supports snap off with far less effort. They also leave noticeably fewer marks, so your finish stays clean.
Step 3: Lower Support Density
Now trim the bulk. Reduce your support density to a sparse, airy pattern rather than a solid block.
Lighter supports use less filament and pull away with ease. And they still hold overhangs steady, so you rarely sacrifice much in reliability.
Step 4: Tune the Support Interface
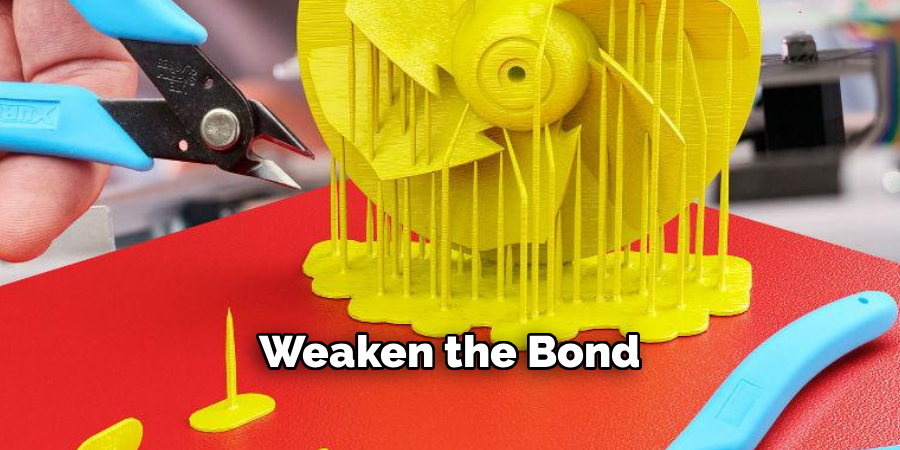
Here’s where the finesse lives. Adjust your interface layers and spacing so the top of each support barely kisses the model above it.
A weaker interface bond creates that clean break line we talked about. The support meets the print just enough to hold, then releases without a fight.
Step 5: Optimize Model Orientation
Sometimes the best support is the one you never needed. Rotate and tilt the model to reduce steep overhangs before you generate anything.
Smart orientation means fewer supports overall. It also opens up easier access for whatever supports remain, which makes removal simpler down the line.
Step 6: Adjust Print Temperature
Circle back to heat. Lower the nozzle temperature slightly, in small increments, to reduce how aggressively the layers meld together.
A cooler print keeps supports from welding themselves to the surface. Just don’t drop so far that layer adhesion suffers, since that trades one problem for another.
Step 7: Remove Supports the Right Way
Finally, let the print cool completely before you touch it. Warm plastic is soft and easily marked, so patience pays off here.
Then peel and cut slowly, using your flush cutters and tweezers rather than brute force. Work methodically, enjoy that clean release, and save the winning settings for next time.
Best Slicer Settings for Easy Support Removal
Most of the battle happens in software, before the print even starts. A few settings do the heavy lifting, so they’re worth understanding on their own.
Dial these in, and cleanup becomes almost pleasant.
Dialing In the Z Distance
The Z distance is a balancing act, not a single magic number. Too small, and supports fuse to the print. Too large, and your overhangs start to droop for lack of support.
Testing small values around that 0.2 to 0.3mm range tends to pay off quickly. A minute of experimentation saves a lot of prying later.
Reducing Interface Density
Interface density controls how tightly the top of a support grips the model. Lowering it weakens the bond just enough for the support to break away smoothly.
You’re deliberately making that connection a little flimsy. That flimsiness is a feature, since it’s precisely what lets the support release cleanly.
Enabling Support Blockers
Support blockers are underused, and they shouldn’t be. They let you place supports only where a print genuinely needs them, rather than blanketing the whole model.
Less support means less cleanup dramatically. A bit of manual placement up front spares you a mountain of picking afterward.
Material-Specific Tips for Removal
Every filament handles supports differently. What peels away effortlessly on one material may cling stubbornly on another, so tailoring your approach helps.
Here’s how the common materials tend to behave.
PLA for Clean, Easy Breaks
PLA is the forgiving one. Its supports usually snap off cleanly, especially with a decent Z distance and light density.
A quick peel, maybe a trim or two, and you’re done. If any material makes support removal feel easy, it’s this one.
PETG and Its Sticky Grip
PETG bonds firmly, sometimes too firmly for comfort. It clings to supports in ways that make simple peeling frustrating.
A wider Z distance and reduced interface contact make a real difference here. Give PETG a little extra separation, and it behaves far more kindly.
Flexible Filaments Like TPU
TPU is the tricky one. Because it’s rubbery, supports stretch and cling rather than snapping free, which turns removal into a slow chore.
Tree supports and generous gaps are essential with flexible filament. Lean on both, and you’ll spare yourself a lot of torn surfaces and stretched edges.
Common Mistakes to Avoid
Everyone stumbles a little while learning this. These are the missteps I see most, and each is easy to sidestep once you know it’s there.
No judgment here. I’ve made all of them at some point.
Setting the Z Distance Too Low
This causes more grief than anything else. A tiny gap fuses supports so tightly that removal scars the print beneath.
If your supports won’t budge cleanly, check this setting first. Widening it a touch usually solves the problem outright.
Using Dense Supports Everywhere
Blanket, high-density supports feel safe. They’re not, really; they’re just harder to remove.
All that extra material wastes filament and turns cleanup into a slog. Support only what needs it, and keep the density light where you can.
Removing Supports While Warm
Impatience is the enemy of a clean finish. Peeling a warm print stretches and marks the soft surface, undoing your careful settings.
Let it cool fully first. Those extra few minutes genuinely pay off in a cleaner result.
Frequently Asked Questions
A few questions come up again and again once people start tuning their supports. Here are honest answers.
What Support Z Distance Works Best?
For most prints, a gap around 0.2 to 0.3mm hits the sweet spot. It’s wide enough to prevent fusing but still close enough to hold overhangs reliably.
That said, the ideal value shifts a little between printers and materials. Test a couple of settings on a small model to find yours.
Are Tree Supports Easier to Remove?
Generally, yes. Tree supports touch the model at fewer points, which makes them the easiest type to peel away.
Less contact means less clinging and fewer marks left behind. For most prints, they’re a smart default over standard grid supports.
Why Do My Supports Leave Marks?
Usually it comes down to three things. A low Z distance, a dense interface, or a printing temperature set too high can all cause marks.
Adjust them one at a time to find the offender. Widening the Z distance is often the quickest win.
Conclusion
Learning how to make supports come off easier turns a dreaded chore into a quick, almost satisfying finishing step. What once felt like destruction becomes a clean, simple release.
The path is clear enough. Increase the Z distance, switch to tree supports, lower the density, tune the interface, and remove everything patiently once the print has cooled.
A few habits carry you the rest of the way. Change one setting at a time, orient your model thoughtfully, and reach for the right tools instead of your fingernails.
So start with a wider Z distance, since that single change solves most stubborn support problems on its own. Run a quick test print, adjust as needed, and lock in what works. There’s a genuine little pleasure in peeling a support away cleanly and revealing a flawless print underneath, knowing you set it up to come off right.

The 3D Mend team — we print, we fail, we work out why, and we write it down. Every guide here started as something that went wrong on one of our own machines.