

The print looked perfect for the first hour. Then you glanced over and your stomach dropped. Somewhere around the halfway mark, every layer above a certain height had slid sideways, leaving a stepped, ruined mess.
Layer shift is one of the most disheartening print failures out there. An overnight job wasted, filament gone, and no obvious culprit staring back at you.
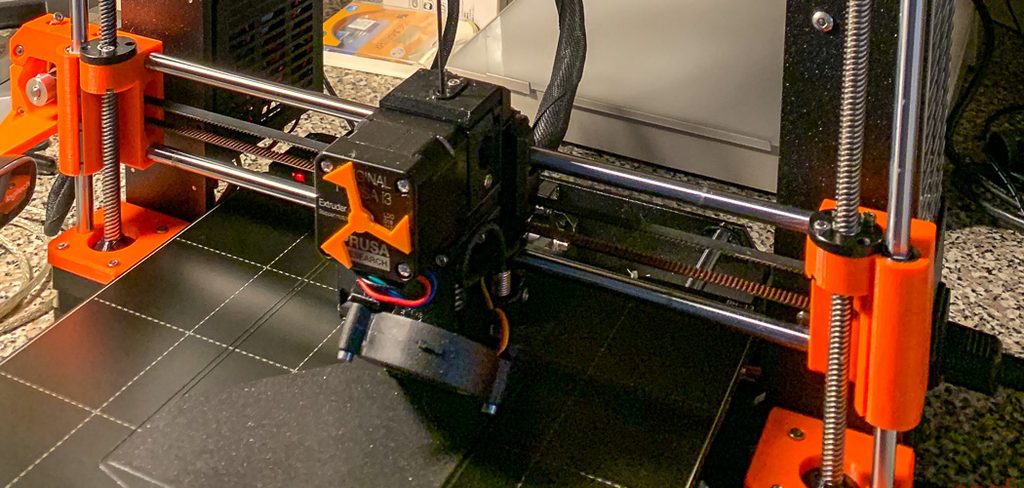
Here’s the reassuring part, though. Learning how to prevent layer shift 3D printing problems is mostly about knowing where to look. The causes tend to cluster around a few mechanical and settings issues, not bad luck.
In this guide, I’ll walk you through what layer shift actually is and why it happens. Then we’ll cover the warning signs, the tools you’ll want, and a step-by-step process to fix it. By the end, you should feel confident starting that tall print again.
What Is Layer Shift and Why It Happens
Before you start tightening things at random, it helps to understand the mechanics. Layer shift happens when the printhead loses its correct position mid-print.
The motors think they’ve moved to one spot. In reality, they’ve landed somewhere else, and every layer after that inherits the mistake. Usually one of four things is to blame.
Loose or Worn Drive Belts
This is the classic offender. The belts that move your printhead along the X and Y axes need to stay taut.
When a belt stretches, slackens, or wears down, it slips against the pulley. Each skipped movement nudges the print off course. Over enough layers, that adds up to a visible sideways jump.
Printing Too Fast or With High Acceleration
Speed is tempting, but it has limits. Push the printer too hard and the motors simply can’t keep up.
When acceleration is aggressive, the head changes direction with a jerk the motor may not fully execute. It skips steps in the process. The firmware assumes the move happened, so the position drifts and stays drifted.
Mechanical Obstructions and Bed Collisions
Sometimes the cause is physical. A warped corner curls up off the bed, and the nozzle catches on it during a pass.
That collision knocks the head off its track in an instant. A stray bump to the machine itself does the same thing. Anything that resists the printhead’s motion can trigger a shift.
Overheating or Underpowered Stepper Motors
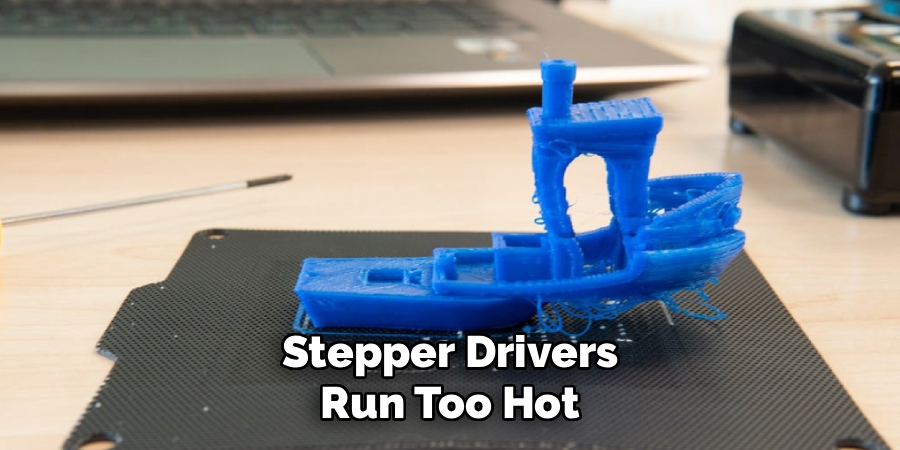
Here’s a subtler one. Stepper drivers that run too hot, or that receive the wrong current, lose their grip on the motors.
An overheated driver may briefly cut out to protect itself. An underpowered motor lacks the torque to complete a fast move. Either way, steps get skipped and the layers slide. The good news is that this is a tuning issue, not a broken machine.
Recognizing the Signs of Layer Shift
Catching a problem early can spare you a wasted print. Layer shift usually announces itself in a few distinct ways.
Learning to read these signs lets you pause and intervene before hours of filament go to waste.
Sudden Sideways Offsets in the Print
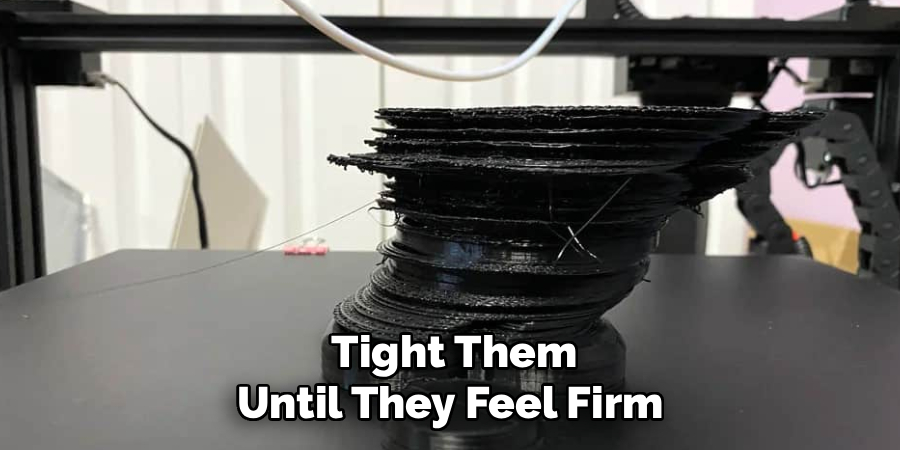
This is the unmistakable one. The print looks clean up to a point, then everything above it sits shifted along one axis.
You’ll see it cleanly along the X or Y direction, rarely both at once. It’s as if someone grabbed the top half and nudged it. That telltale offset is layer shift in its purest form.
Repeated Shifts at the Same Height
Pay attention if the shift happens at the same layer every time you reprint. That consistency is a clue, not a coincidence.
A repeated shift point often means a specific move overwhelms the motor there. Maybe a fast infill pass or a sharp direction change. It could also point to a mechanical snag at that exact spot.
Skipped Steps and Grinding Sounds
Your ears can warn you too. Listen during travel moves and fast sections of the print.
An odd clicking or grinding noise usually means the motor is skipping steps. That sound is a direct signal something’s straining. Don’t brush it off, because it tends to be the audible version of a shift about to happen.
Tools and Preparation You Will Need
The nice thing here is that layer shift fixes rarely need special equipment. Most of what you’ll use is probably already in your toolkit.
A little preparation makes the whole process smoother. Here’s what to have on hand.
Basic Hex and Allen Keys
These are your workhorses. Most printers use hex screws for the belts, pulleys, and frame joints.
A decent set covers nearly every adjustment in this guide. Chances are one came bundled with your printer, so dig it out of the drawer.
A Belt Tension Gauge or Simple Feel Test
Belt tension matters a lot, and there are two ways to check it. A dedicated tension gauge gives you a precise reading, which is handy.
If you don’t have one, the pluck test works surprisingly well. Strum the belt like a guitar string and listen. A properly tensioned belt gives a low, taut hum rather than a dull, slack thud.
Access to Your Slicer and Firmware Settings
Some fixes live in software rather than hardware. You’ll want to know where your speed, acceleration, and motor current settings sit.
Speed and acceleration usually live in the slicer. Motor current often lives deeper, in the firmware or on the board itself. Knowing where to look ahead of time saves you fumbling later.
How to Prevent Layer Shift 3D Printing: Step-by-Step Guide
Here’s the heart of it. Work through these seven steps in order, and change one thing at a time. That single habit makes it far easier to spot which fix actually solved your problem.
Take it slow. Rushing through and adjusting everything at once tends to leave you guessing.
Step 1: Check and Tighten Your Belts
Start with the most common cause. Inspect the X and Y belts for any visible slack or sag.
Then tighten them until they feel firm. When you pluck one, it should give a low, taut hum rather than a floppy thud. Properly tensioned belts keep the printhead exactly where the motors command it, which fixes a surprising number of shifts on its own.
Step 2: Secure Pulleys and Grub Screws
Belts can only work if the pulleys turn with the motor shaft. So check every grub screw.
Each pulley has a tiny set screw that should sit tight against the flat of the motor shaft. If it’s loose, the pulley spins freely while the belt goes nowhere. That causes sudden, mysterious shifts that no amount of belt tension will fix, so give these a firm check.
Step 3: Lower Print Speed and Acceleration
If the mechanics look solid, turn to your settings. Open the slicer and reduce both print speed and acceleration.
Gentler motion gives the motors time to keep up with every command. This matters most on tall or intricate prints, where fast direction changes pile up quickly. You can always creep the speed back up later, once you’ve confirmed the shifts are gone.
Step 4: Clear Obstructions and Prevent Collisions
Now look for anything the nozzle might catch on. Warped corners and curling edges are the usual suspects.
Improving your bed adhesion keeps those edges flat and out of the printhead’s way. Adding a small Z-hop on travel moves helps too, lifting the nozzle slightly so it clears any obstacle. A clean travel path means fewer surprise collisions.
Step 5: Tune Stepper Motor Current
Skipped steps sometimes trace back to the drivers. Check whether your stepper drivers are running hot or set too low on current.
An overheating driver may cut out briefly, while an underpowered motor lacks the torque for fast moves. Adjust the current if you can, or add cooling like a fan over the board. Motors with the right power and temperature grip firmly and stop losing steps.
Step 6: Inspect Rods, Rails, and Frame
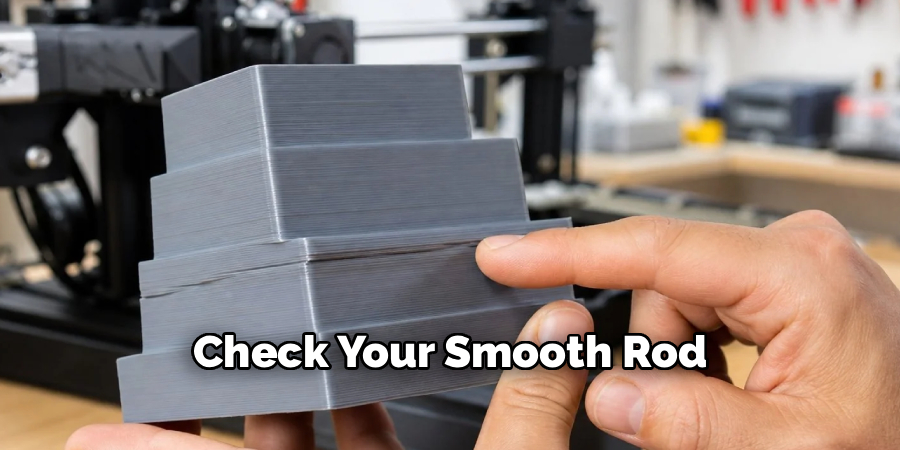
Movement problems can hide in the machine’s bones. Check that your smooth rods, linear rails, and frame bolts are clean, lubricated, and snug.
Binding motion forces the motor to work harder, which invites skipped steps. A wobbly frame quietly throws off alignment even when your belts are perfect. A quick wipe-down and a little lubrication go a long way here.
Step 7: Run a Test Print and Verify
Finally, confirm your work. Print a tall calibration model to check that the fixes hold across the full height.
Watch how it behaves, especially at the height where shifts happened before. If it comes out clean and aligned, you’ve cracked it. Note which settings worked, and take a moment to enjoy a print that rose straight and true.
Best Practices for Shift-Free Printing
A few habits turn a one-time fix into lasting reliability. None of them take much effort, and they save you from re-solving the same problem down the road.
Mostly, they come down to keeping the machine happy and matching your settings to the job.
Keep Motion Components Clean and Lubricated
Smooth movement is the foundation of a shift-free print. Dust, grime, and dry rods all create friction the motor has to fight.
A regular cleaning and a light touch of lubrication on the rods and rails keeps everything gliding. Predictable motion means predictable positioning, which is exactly what you want.
Match Speed to the Model’s Complexity
Not every print deserves the same speed. A chunky, simple shape can handle a fast pace fine.
A detailed or top-heavy model, though, benefits from slowing down. Reducing speed on those prints eases the strain that leads to skipped steps. It’s a small trade of time for reliability, and usually worth it.
Ensure Steady Cooling for Electronics
Your stepper drivers work best when they stay cool. Heat is what makes them stumble.
Keep proper airflow over the control board, whether that’s a dedicated fan or simply good ventilation. Cool drivers hold their grip on the motors, so nothing loses position halfway through a print.
Common Mistakes to Avoid
Everyone makes a few of these while chasing down layer shift. Knowing them in advance saves you some frustration.
No judgment here. Most are simply part of learning how the machine behaves.
Over-Tightening the Belts
It’s tempting to crank the belts drum-tight, thinking tighter is always better. It isn’t.
Excessive tension strains the motor bearings and can create its own alignment problems over time. Aim for firm, not stretched to the limit. A low, musical hum is the target, not a high, screaming one.
Ignoring Small Mechanical Sounds
That faint click or grind is easy to tune out. Don’t.
Those small sounds are often the first hint of a skipped step. Brushing them off lets a minor issue quietly grow into a ruined print. When something sounds off, it usually is.
Bumping or Moving the Printer Mid-Print
This one’s simple but sneaky. A knock to the machine during a long print can shift everything in an instant.
Keep the printer on a stable, undisturbed surface. Resist the urge to nudge it, lean on the table, or move things around nearby. A jolt at the wrong moment undoes hours of careful work.
Tips to Keep Your Printer Reliable Long Term
A little routine maintenance prevents most layer shifts from ever forming. These habits are easy to fold into your normal printing life.
Think of them as small deposits that pay off in fewer failed prints.
Schedule Routine Belt Checks
Belts stretch gradually, so slow you won’t notice until a shift appears. Get ahead of it.
A quick tension check every few weeks catches stretching early. It takes under a minute, and it spares you the disappointment of a failed tall print later.
Maintain a Firmware and Settings Log
Once you’ve dialed in your speeds, acceleration, and current values, write them down. Memory fades, and settings drift.
A simple log lets you restore your working configuration in seconds after an update or a change. Future you will be grateful when something goes sideways and you have a known-good baseline to return to.
Test After Any Hardware Change
Upgraded a part? Did some maintenance? Run a short calibration print before trusting the machine with a big job.
A quick test confirms everything still runs true. It’s far better to catch a new problem on a ten-minute print than three hours into an important one.
When to Seek Expert Help
Most layer shift issues respond to the steps above. But not all of them, and it helps to recognize the limits of a DIY approach.
Knowing when to step back saves you from endless, fruitless tinkering.
Persistent Shifts Despite Every Fix
You’ve tightened the belts, secured the pulleys, slowed things down, and cooled the drivers. And still, the shifts keep coming.
At that point, the trouble may run deeper. A faulty stepper driver or a damaged motor can cause shifts no adjustment will cure. That’s a sign to look at replacement rather than more tuning.
Electronic or Mainboard Issues
Sometimes the problem sits in the electronics themselves. Erratic behavior, heating errors, or an axis that suddenly stops responding all point there.
These aren’t always DIY territory. Reaching out to a community forum, a technician, or the manufacturer for replacement parts is often the smart move. There’s no shame in it when the hardware is genuinely at fault.
Frequently Asked Questions
A few questions come up again and again once people start battling layer shift. Here are honest answers.
Why Does Layer Shift Happen Randomly?
Intermittent shifts are especially maddening, but they usually have a traceable cause. Loose pulleys are a frequent one, since they slip unpredictably.
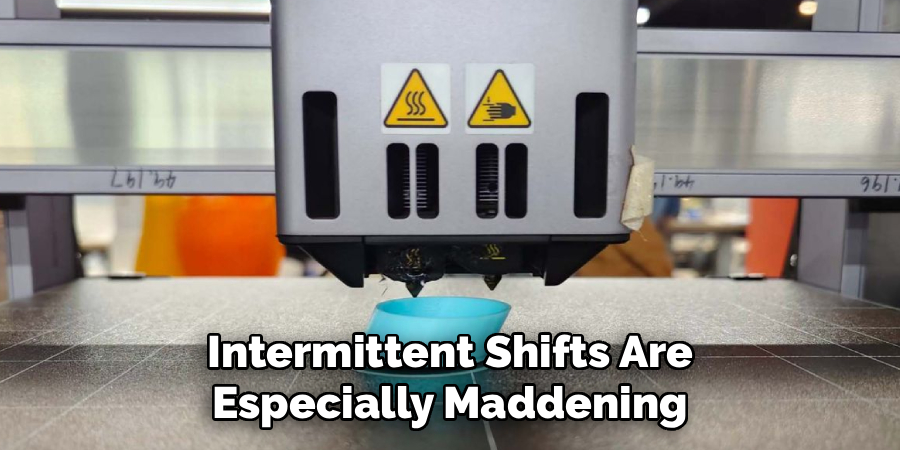
Overheating drivers cause random shifts too, cutting out only when they get hot enough. The occasional obstruction, like a bit of curled filament, rounds out the usual suspects. Random rarely means truly random.
Can Printing Speed Really Cause Layer Shift?
Yes, and it’s one of the most common culprits. High speed and aggressive acceleration push the motors past what they can reliably deliver.
When that happens, they skip steps and the layers drift. Slowing down often solves the problem almost immediately, which is why it’s one of the first things worth trying.
How Tight Should My Belts Be?
Firm, but not stretched to the breaking point. The pluck test is your friend here.
A well-tensioned belt produces a low, musical note when plucked, similar to a bass string. If it thuds dully, it’s too loose. If it sounds high and strained, you’ve gone too far. Aim for that comfortable middle.
Conclusion
Learning how to prevent layer shift 3D printing problems comes down to a balance of mechanical care and smart settings. What feels like a random, crushing failure is usually just a belt, a pulley, or a speed setting waiting for attention.
The path is logical. Tighten your belts and secure the pulleys, then lower your speed, tune the motor current, and clear any obstructions in the printhead’s way.
A few habits keep the results lasting. Change one thing at a time, keep your motion parts clean, and run a test print after any change you make.
So start with a quick belt and pulley check, since those two fixes solve the majority of shifts. Then work through the rest at your own pace. There’s a genuine satisfaction in watching a tall print rise layer by perfect layer, straight and aligned, knowing you’re the one who dialed the machine in to get it there.

The 3D Mend team — we print, we fail, we work out why, and we write it down. Every guide here started as something that went wrong on one of our own machines.