

Light moving through a printed glass panel does something odd to a room. The color sits inside the surface rather than on top of it, and the effect can feel almost lit from within. That single quality is why so many people want to learn how to print glass in the first place.
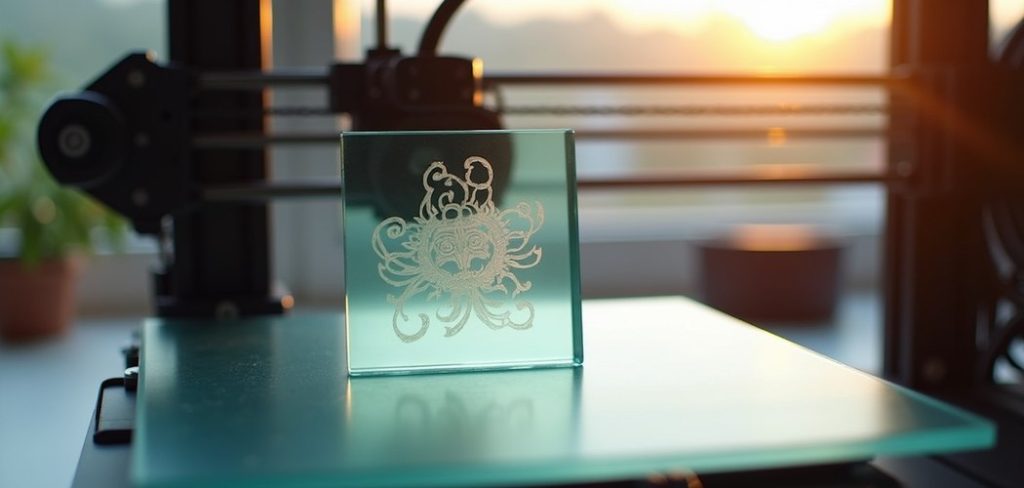
The uses stretch further than you might expect. Custom decor, branded signage, backsplashes, one-off art pieces — glass shows up everywhere once you start looking.
It sounds technical. It reads that way too, at first glance. But the process breaks down into stages that are honestly manageable once you stop treating it as one giant leap.
This guide walks through the methods, the tools, the prep, and a full step-by-step run. By the end, you should feel ready to pick a technique that matches your project and your patience.
Understanding Glass Printing and Why It Matters
Before touching any equipment, it helps to know what you’re actually working with. Glass printing isn’t a single thing. It’s a small family of methods that share one goal.
What Glass Printing Actually Means
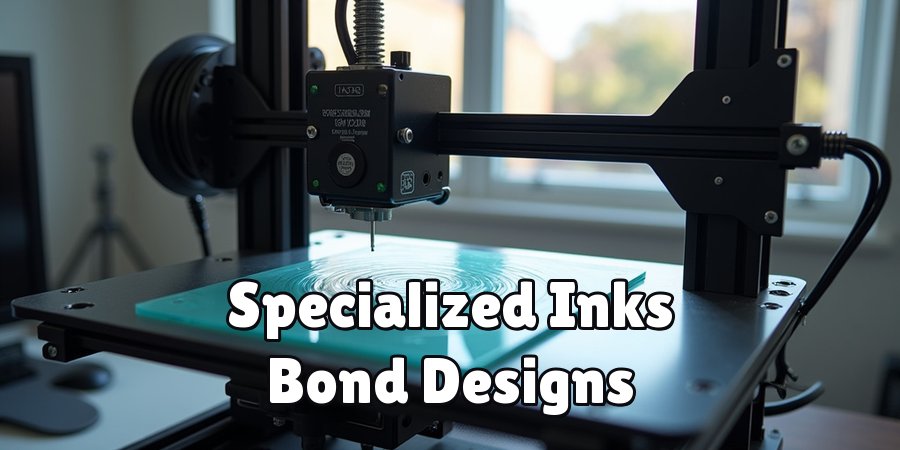
At its core, glass printing means applying an image, text, or pattern directly onto a glass surface. Specialized inks or transfer techniques bond the design so it stays put. The finish varies wildly depending on which route you take.
Common Uses and Applications
You’ll find printed glass in decorative wall panels and kitchen backsplashes. Glassware, promotional items, retail signage — the list keeps growing as the tools get cheaper. Some of the most striking pieces I’ve seen were simple, single-color prints on plain flat panels.
Benefits of Printing on Glass
The appeal comes down to a few things. Printed glass resists fading and moisture in ways paper and vinyl simply can’t match. Colors stay vivid, and the surface carries a premium look that feels expensive even when the project wasn’t.
Choosing the Right Glass Printing Method
Here’s where people tend to stall. Picking a method feels like a commitment, and in a sense it is, since your equipment and budget follow from that choice.
UV Digital Printing
UV printing cures ink instantly under ultraviolet light. It handles full-color, detailed work on flat glass beautifully. If you care about photographic sharpness, this method appears to give the cleanest results, though the printers cost more than most hobbyists want to spend.
Screen Printing on Glass
Screen printing uses stencils and ceramic inks. It leans toward bold designs and larger production runs rather than fine gradients. The setup takes effort, but once you’ve built the screen, repeat prints come fast and cheap.
Sublimation and Decal Transfer
For smaller items, heat-based transfer may be the friendliest starting point. Sublimation and decal methods let you work without industrial gear. They won’t match UV printing for scale, yet they’re forgiving for beginners testing the water.
Gathering Your Tools and Materials
Your exact kit depends on the method you just picked. Still, a few essentials cut across nearly every approach.
Selecting the Right Type of Glass
Not all glass behaves the same under a print. Thickness, surface texture, and whether the glass is tempered all shape how well ink sticks and holds. Smoother, cleaner surfaces generally take detail better, so it’s worth thinking about the glass before the design.
Inks, Coatings, and Primers
Ink alone rarely does the whole job. Bonding primers and coatings help the design grip the surface and stay vibrant over the years. Skipping these could mean a print that looks great on day one and peels by month three.
Equipment and Safety Gear
Beyond the printer or press, keep gloves, eye protection, and proper ventilation close. UV lamps, curing ovens, and solvent-based inks all carry small risks that add up if you ignore them. A little caution here saves a lot of regret later. Your prints tend to speak for themselves. The clearest tell is weak first-layer adhesion. Filament that comes out stringy or rounded, or simply refuses to grab the surface, may suggest the bed is sitting too far down. Rather than flat, tidy lines, the extruder trails thin spaghetti-like strands that wander as the nozzle travels.
How to Print Glass: Step-by-Step Guide
This is the part where planning turns into an actual object. Take it slowly. Rushing any single stage tends to show up in the finished piece, and glass rarely forgives sloppy prep.
Step 1: Clean and Prepare the Glass Surface
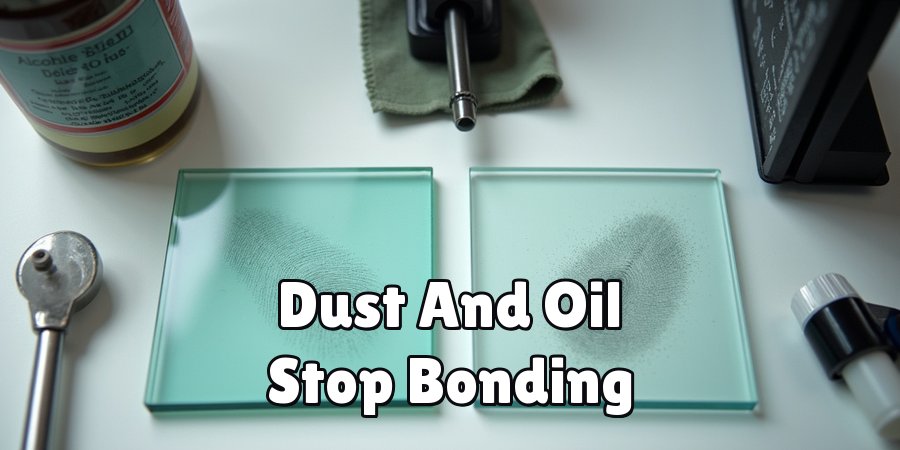
Start with a genuinely clean surface. Dust, oil, and even a faint fingerprint can stop ink from bonding evenly, leaving patchy spots that only appear after curing.
Wipe the glass down with isopropyl alcohol and a lint-free cloth. Let it dry fully. This step feels boring, and that’s exactly why people skimp on it — don’t.
Step 2: Prepare and Position Your Design
With the glass ready, turn to your artwork. Size it, align it, and set the file so placement lands where you intend.
Small misalignments have a way of looking enormous once printed. A quick double-check of positioning now beats scrapping the panel later. If you’re transferring a decal, mark light reference points to guide you.
Step 3: Apply Primer or Coating if Needed
Some methods and some glass types want a bonding layer first. A primer or coating improves adhesion and can make the difference between a print that lasts and one that flakes.
Apply it thin and even. Thick, uneven coats may trap bubbles or leave streaks that telegraph through the final image. Give it the drying time the product actually calls for, not the time you wish it needed.
Step 4: Print or Transfer the Image
Now the main event. Run the print or press the transfer based on whatever method you chose earlier.
For UV and screen printing, follow your machine’s guidance on ink volume and pressure. For sublimation or decals, mind the heat and timing closely. This stage rewards steadiness far more than speed.
Step 5: Cure or Set the Print
Curing locks everything in place. Depending on your setup, that means UV light, a kiln, or applied heat.
Under-curing leaves the design soft and prone to scratching. Over-curing can scorch or discolor it. Somewhere in between sits the sweet spot, and finding it may take a test piece or two before you trust the settings.
Step 6: Inspect and Finish the Piece
Once cured, look the piece over carefully. Check for flaws, missed spots, or edges that need cleaning.
A gentle wipe clears stray residue. If your project calls for it, add a protective finish to guard the surface. Then step back and actually enjoy it — you earned that part.
Preparing Your Artwork for the Best Results
The print can only be as good as the file behind it. This is one of those areas where a little upfront care pays off enormously.
Resolution and File Formats
Low-resolution artwork prints blurry, and no amount of good ink fixes that. Work in high resolution and the correct file type from the start. Vector files, where possible, keep edges crisp at any size.
Color Modes and Transparency
Colors behave differently on glass than on paper or screen. Transparent areas especially can surprise you, since the glass itself shows through them. Testing your color settings on a small sample first may spare you a full-size disappointment.
Designing for Light and Backlighting
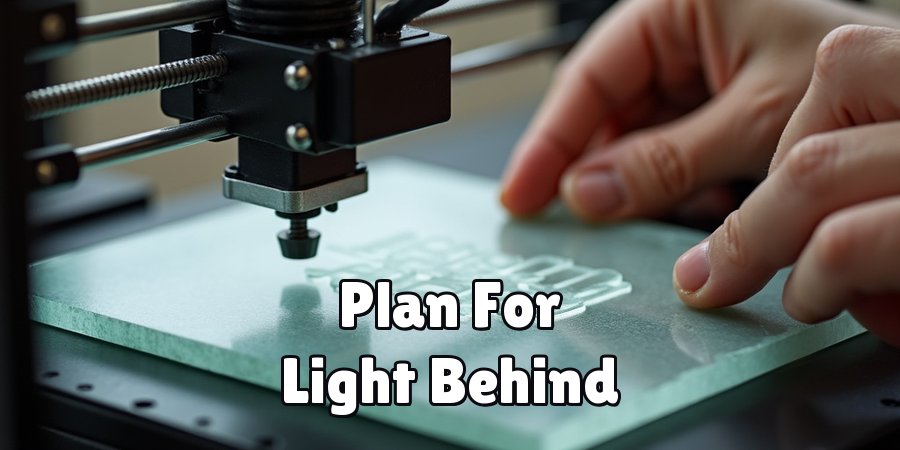
Printed glass interacts with light in a way few other materials do. A design that looks flat on a monitor could come alive when light passes behind it. Plan for that. Think about how the piece will actually be displayed before you finalize the artwork.
Curing, Sealing, and Protecting Your Print
Finishing well is what separates a hobby result from something that looks professional. It’s tempting to relax once the image is down, but this stage deserves real attention.
Choosing the Right Curing Method
UV curing, kiln firing, and heat setting each suit different projects. Match the method to your ink and your glass rather than defaulting to whatever’s easiest. The wrong choice may leave a print that never fully hardens.
Sealing for Durability
A protective coating guards against scratches and fading over time. For pieces that’ll be handled or exposed to sunlight, sealing isn’t optional so much as expected. It’s cheap insurance on hours of work.
Cleaning and Long-Term Care
Printed glass stays looking fresh with gentle care. Skip harsh abrasives and strong solvents that could wear the design down. A soft cloth and mild cleaner keep things sharp for years.
Common Mistakes and How to Avoid Them
Everyone makes these at least once. Knowing them ahead of time won’t stop every stumble, but it thins the herd considerably.
Skipping Proper Surface Cleaning
Residue is the quiet killer of adhesion. A print that lifts or peels almost always traces back to a surface that wasn’t clean enough. Two minutes of wiping prevents a ruined panel.
Using the Wrong Ink or Coating
Matching materials to your method matters more than beginners expect. The wrong ink may look fine briefly, then fail. Check compatibility before you commit to a full run.
Rushing the Curing Process
Patience during curing is hard. You want to see the finished piece now. But pulling a print before it’s fully set undoes much of the careful work that came before, so give it the time it needs.
Tips for Professional-Quality Glass Prints
A few habits separate consistent results from lucky ones. None of these are complicated. They just take a bit of discipline.
Testing on Sample Pieces First
Trial runs feel like a waste until they save you. Before committing to a final piece, test your settings on scrap glass. It’s the cheapest lesson you’ll ever buy.
Controlling Your Work Environment
Dust, temperature, and lighting all influence print quality more than you’d guess. A clean, stable workspace produces more reliable prints. Even something as small as closing a window against airborne dust can help.
Building a Repeatable Workflow
Document your settings. Write down the ink volume, the cure time, the temperature — whatever gave you a good result. That record turns a one-time success into a process you can repeat on demand.
Conclusion
So that’s the full arc of how to print glass, from a clean surface all the way through curing and finishing. None of it is magic, though the results can certainly feel that way when light hits a finished panel just right.
Every impressive printed piece started somewhere ordinary. A wiped-down sheet of glass and a clear plan, really. That’s the same position you’re in now.
Take one small step today. Maybe test a scrap piece, or sketch a design you’ve been sitting on. Skill grows with each attempt, and early imperfections are simply part of learning rather than proof you can’t do it.
Then get your hands on some glass and make something vivid, durable, and genuinely your own.

About
Zevric Halden is a dedicated expert in the world of 3D printing, printer repair, and additive manufacturing, with years of hands-on experience troubleshooting, maintaining, and optimizing desktop 3D printers. His professional focus lies in combining practical mechanical knowledge with modern 3D printing technologies to help users solve printer problems, improve print quality, and keep their machines running reliably. As the author of 3DMend, Zevric explores the technical side of 3D printing, making complex printer issues easier to understand for makers, hobbyists, and professionals alike.
Education
Rochester Institute of Technology
(Rochester, New York, USA)
Associate Degree in Mechanical & Manufacturing Technology
- Focused on mechanical systems, manufacturing processes, machine maintenance, and precision tools.
- Developed practical experience with mechanical troubleshooting, electronic components, and computer-controlled equipment.
- Gained hands-on knowledge of CAD systems, rapid prototyping, and additive manufacturing technologies.
Worcester Polytechnic Institute
(Worcester, Massachusetts, USA)
Bachelor’s in Mechanical Engineering & Additive Manufacturing
- Specialized in digital fabrication, 3D printing systems, mechanical design, and manufacturing technologies.
- Studied printer calibration, motion systems, extrusion mechanisms, material behavior, and print optimization.
- Participated in practical engineering projects involving rapid prototyping, machine diagnostics, and 3D-printed components.
Publications and Impact
Through 3DMend, Zevric shares his expertise on 3D printer troubleshooting, maintenance, calibration, hardware repair, print-quality issues, and additive manufacturing. His writing focuses on turning frustrating printer problems into clear, practical solutions that readers can understand and apply.
From nozzle clogs and extrusion problems to bed-leveling issues, calibration errors, overheating, unusual noises, failed prints, and mechanical wear, Zevric’s guides are designed to help users identify the underlying cause rather than simply treating the symptoms.
His work bridges the gap between technical engineering knowledge and everyday 3D printing, making reliable repair and maintenance information accessible to everyone—from first-time 3D printer owners and hobbyists to experienced makers and professionals.