

You run a finger across a fresh print, expecting satisfaction. Instead, you feel them. Those rigid layer lines, marching up the surface like tiny steps.
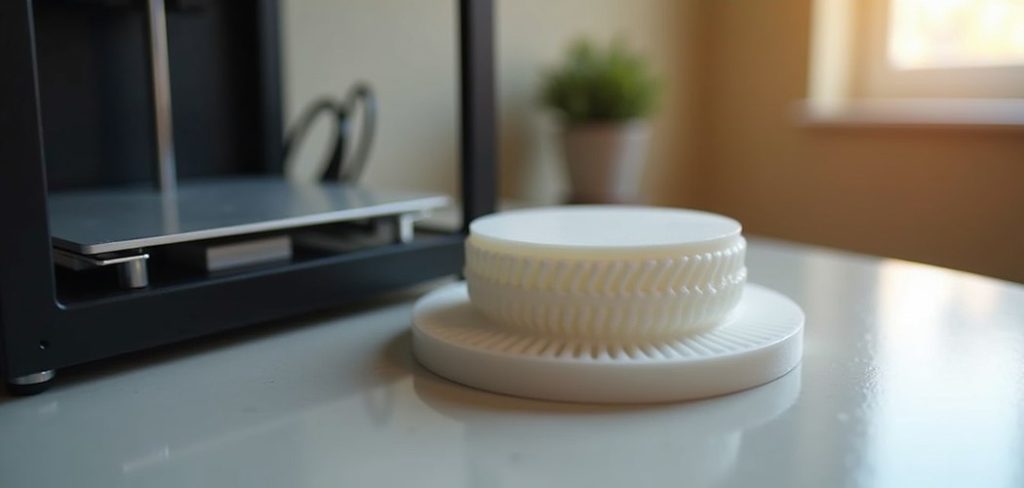
It’s a small letdown, but a familiar one. The print came out fine, technically speaking. It just doesn’t look finished.
That gap between “printed” and “polished” is exactly what this guide tackles. Learning how to smooth 3D prints turns rough plastic into pieces that could pass for store-bought, and the payoff is genuinely satisfying once you see it.
There’s more than one way to get there, too. Simple sanding, chemical smoothing, coatings that fill and gloss over everything. Each suits a different material and a different level of patience.
In this guide, I’ll walk you through why smoothing matters, the tools worth having, and a step-by-step process that covers the whole journey. We’ll also compare the main methods and cover the mistakes that tend to trip people up.
Why Smoothing Your 3D Prints Matters
Skipping the finishing step is tempting. The print works, so why fuss?
Because the difference is more than skin deep. A smooth surface changes how a part looks, how it takes paint, and sometimes how it functions.
A Professional, Polished Appearance
This is the obvious one. Smoothing erases those visible layer lines and gives a print the clean, uniform look of an injection-molded part.
Hold a smoothed piece next to a raw one, and the contrast is striking. The rough version reads as a prototype. The finished version reads as a product.
Better Paint and Finish Adhesion
Here’s a benefit people discover the hard way. Paint applied over layer lines tends to pool in the grooves and streak across the ridges.
A smooth surface holds primer and paint far more evenly. You get consistent color and coverage instead of a patchy, textured mess. If you paint your prints at all, smoothing first makes the paint job look dramatically better.
Improved Function and Feel
There’s also a practical side that’s easy to overlook. Smoother parts slide, seal, and handle better than rigid ones.
This matters for tools, wearables, and anything with moving components. A knob feels nicer in the hand. A cover seats more cleanly. Function and finish, it turns out, often go together.
Understanding Layer Lines and Surface Texture
Before you start smoothing, it helps to understand what you’re actually smoothing. Layer lines aren’t a defect, exactly. They’re just how the process works.
Knowing where they come from makes it easier to choose the right approach for the job.
Why Layer Lines Appear
FDM printing builds objects one thin layer at a time. Each layer sits on the one below, and where they stack, you get a visible ridge.
That’s the whole story, really. The layers are the print. Those little steps are simply the seams between them, and no amount of wishing makes them vanish on their own.
How Print Settings Affect Smoothness
Not every print starts out equally rough, though. Your settings play a large role before you ever pick up sandpaper.
Layer height is the big one. A finer layer height means shorter, less noticeable ridges. Print speed and part orientation matter too, since a well-oriented model hides its worst surfaces where they won’t show. Getting these right reduces the finishing work before it begins.
Matching the Method to the Material
Here’s where it gets material-specific. PLA, PETG, and ABS each respond differently to smoothing.
ABS melts beautifully in acetone vapor, for instance, while PLA shrugs it off entirely. PETG can gum up sandpaper if you’re not careful. So the filament in your printer partly decides which smoothing method actually makes sense for you.
Tools and Materials You Will Need
Gathering your supplies first keeps the whole process from stalling halfway through. What you need depends on the method, but there’s a good deal of overlap.
None of it is particularly exotic, which is reassuring.
Sanding Supplies
Sanding is the backbone of most smoothing, so start here. You’ll want sandpaper across a range of grits, from coarse to fine.
A sanding block helps keep pressure even on flat surfaces. And a bowl of water is worth having for wet sanding at the higher grits, which cuts down on dust and gives a silkier result.
Chemical Smoothing Essentials
If your material allows it, chemical smoothing needs a few extras. Acetone is the classic choice for ABS, along with a sealed container to hold the vapor.
Gloves and good ventilation belong on this list too, and I’d argue they’re non-negotiable. Solvent fumes aren’t something to breathe casually, so treat this method with the respect it deserves.
Coating and Finishing Products
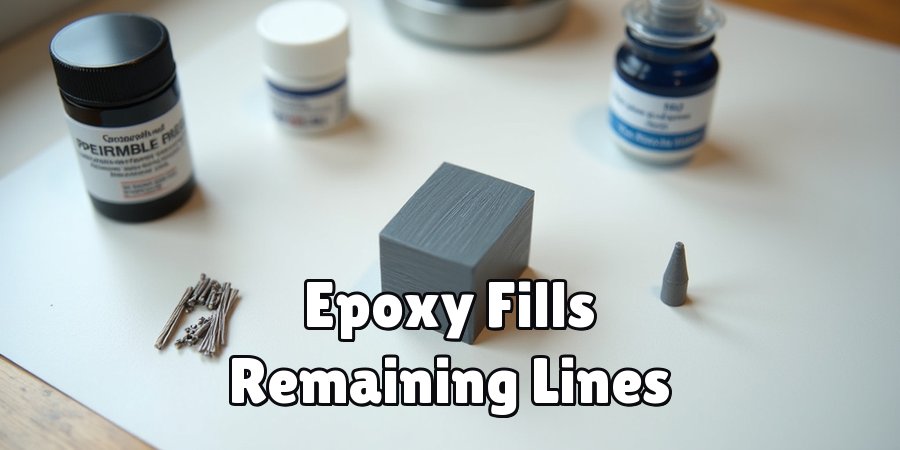
For a truly glassy finish, coatings step in. Epoxy resin fills remaining lines and cures into a hard shell.
Filler primer works similarly for parts you plan to paint. And a clear sealer at the end protects everything. Keep these on hand if you’re aiming for display-quality results rather than a quick tidy-up.
How to Smooth 3D Prints: Step-by-Step Guide
Here’s the core of it. Work through these seven steps in order, though not every print needs all of them. A quick sanding might be enough for one part, while a display piece may earn the full treatment.
Take your time, especially between steps that need curing. Rushing tends to undo careful work.
Step 1: Prepare and Clean the Print
Start by getting the print ready. Remove any supports, trim stray bits with flush cutters, and wipe the surface clean of dust and debris.
This step feels minor, but it isn’t. A tidy starting point makes everything after it faster and more effective. Grit left on the surface can scratch as you sand, so clear it away first.
Step 2: Start Sanding With Coarse Grit
Begin with a lower grit, somewhere around 120 to 220. This is the pass that knocks down the most obvious layer lines.
Use light, even pressure and gentle circular motions. Press too hard in one spot and you’ll gouge a flat, so keep your touch consistent. It’s tedious, admittedly, but this stage does the heavy lifting.
Step 3: Progress Through Finer Grits
Now step up gradually. Move to 400, then 800, then higher if you want a truly refined surface.
Skipping grits is a common temptation, and it usually backfires. Each grit removes the scratches left by the one before. Wet sanding at these higher levels helps a lot, keeping dust down and producing a noticeably silkier finish.
Step 4: Apply Chemical Smoothing (If Suitable)
If you’re working with ABS, this is where vapor smoothing shines. Suspend the part in a container with a little acetone and let the vapor melt the surface just enough to blend the layers.
Keep exposure short and watch closely, since too much softens fine detail into mush. Ventilation and safety gear matter here more than anywhere else. For non-ABS materials, a suitable smoothing agent may work, though results vary.
Step 5: Add an Epoxy or Primer Coating
For a hard, glossy shell, brush on a thin layer of epoxy resin or filler primer. This coating fills the last stubborn lines that sanding alone couldn’t reach.
Go thin and even. A heavy coat drips and pools, which creates new problems instead of solving old ones. Let it cure fully before you touch it again, tempting as it is to check early.
Step 6: Sand the Coating and Refine
Once the coating has cured, give it a light sanding. This levels any drips, high spots, or brush marks left behind.
The goal here is to blend everything into one uniform surface. You’re not removing the coating, just smoothing it flush. A gentle pass with fine grit usually does the trick.
Step 7: Inspect, Seal, and Finish
Finally, examine the print in good light. Angle it toward a lamp or a window, since raking light reveals flaws you’d otherwise miss.
Touch up anything that needs it, then apply paint or a clear sealer to lock in the smoothness. Step back and take it in. That transformation from rough plastic to a clean, finished object is the whole reward.
Comparing the Main Smoothing Methods
With the process laid out, you might wonder which method deserves your effort on a given project. They each have strengths, and the right choice shifts depending on the part.
Here’s how the three main approaches stack up against one another.
Sanding for Control and Versatility
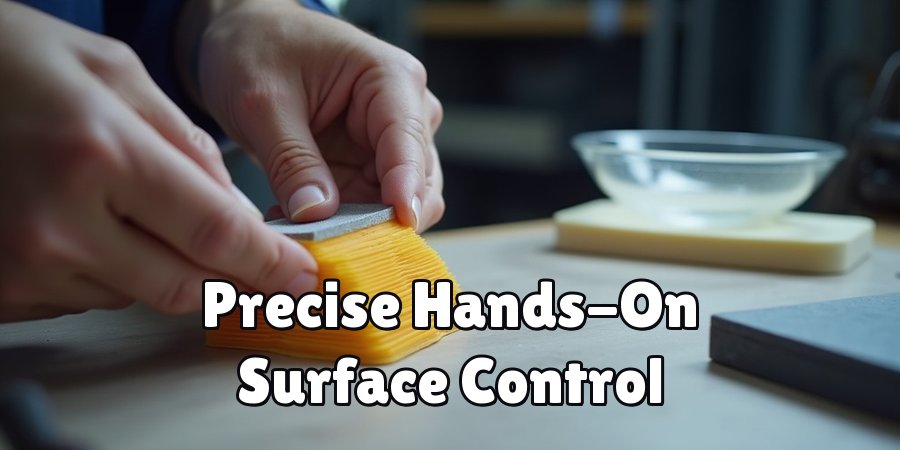
Sanding is the workhorse. It works on nearly any material and gives you precise, hands-on control over the result.
The downside is honest labor. It takes time and a fair bit of elbow grease, especially on larger or detailed parts. But for versatility and reliability, nothing else quite matches it.
Chemical Smoothing for Speed and Shine
Vapor smoothing delivers a glossy finish fast, which is its main appeal. Let the vapor do the work, and layer lines seem to melt away on their own.
The catch is that it suits specific materials, ABS chief among them. It also demands careful safety practices, so it’s less of a casual choice. When it fits, though, the shine is hard to beat.
Epoxy Coating for a Durable, Glassy Surface
Epoxy fills lines and adds real strength to a part, not just a smooth face. That combination makes it a favorite for display pieces and functional components alike.
It’s more involved than a quick sanding, with mixing and cure times to plan around. Still, for a finish that looks glassy and holds up to handling, epoxy earns its place.
Common Smoothing Mistakes to Avoid
Everyone stumbles a little when they start finishing prints. These are the missteps I see most, and each is easy to sidestep once you know it’s coming.
No judgment here. I’ve made all of them at some point.
Sanding Too Aggressively
The urge to speed things up is understandable. So people press hard or jump straight to fine grit.
Both tend to backfire. Heavy pressure can gouge the surface, and skipping grits leaves scratches you’ll fight later. Patience genuinely wins this one.
Ignoring Safety With Chemicals
Chemical smoothing invites shortcuts, and that’s where it gets risky. Poor ventilation and bare hands turn a useful technique into a genuine hazard.
Solvent fumes deserve respect. Open a window, wear gloves, and don’t treat acetone like water. It’s a small habit that protects you every time.
Rushing the Coating Stage
Epoxy and primer reward patience, and punish the lack of it. A thick, hurried coat drips and hides the detail you worked to preserve.
Uneven application means more sanding, not less. Thin layers and full cure times feel slow, but they save you trouble down the line.
Tips for the Smoothest Possible Finish
A few habits push a good finish toward a great one. None of them are difficult, and they compound nicely across projects.
Mostly, they’re about setting yourself up before the work even starts.
Print With Smoothing in Mind
The smoothest finishes begin at the slicer. Lower layer heights and thoughtful orientation reduce the roughness before you touch sandpaper.
It’s easy to forget this and just print, then fight the surface afterward. A little planning up front saves real effort later. Fewer visible layer lines mean less to smooth away.
Take Your Time Between Steps
Finishing rewards a slow hand. Rushing through sanding leaves scratches, and skipping cure times ruins coatings.
Let each stage finish properly before moving on. A part that dries overnight looks far better than one you poked at too soon. There’s no shortcut that beats patience here, frustrating as that may be.
Test on a Scrap Print First
Before you commit to a prized model, try the method on something disposable. A small scrap print costs you almost nothing.
You learn how the material responds, how long the coating takes, and how aggressive to be with the vapor. That practice builds confidence, and it spares you from ruining a print you actually care about.
Frequently Asked Questions
A few questions come up again and again once people start finishing their prints. Here are honest answers.
Can I Smooth PLA Prints?
Yes, though your options narrow a bit. PLA doesn’t respond to acetone, so vapor smoothing is off the table for it.
Sanding works well, and an epoxy coating gives PLA a lovely glassy finish. Between those two methods, you can get PLA looking excellent without any solvents involved.
Is Chemical Smoothing Safe at Home?
It can be, with proper precautions. Good ventilation, gloves, and careful handling of the solvent are what make the difference.
Treat it casually, though, and it turns hazardous quickly. Work in a well-aired space, keep exposure controlled, and never leave solvents open around heat or flame. Done sensibly, plenty of hobbyists smooth ABS at home safely.
How Long Does Smoothing Take?
That depends entirely on how far you take it. A quick sanding might run just a few minutes.
A full multi-step finish, with sanding, coating, and cure times, can stretch across a day. Most of that is waiting rather than active work, so it feels less demanding than it sounds.
Conclusion
Learning how to smooth 3D prints is what bridges the gap between a working part and a finished one. Rough, rigid plastic becomes something that looks and feels genuinely made, and the change is more dramatic than most people expect.
The process follows a clear path. Clean the print, sand through the grits, add chemical smoothing or a coating where it fits, then seal it all in with a protective finish.
A few habits carry you the rest of the way. Progress through grits patiently, respect safety when solvents are involved, and test your method on scrap before the real thing.
So pick a simple model and give it a go. Start small, since the first attempt is really about learning the rhythm of each technique. There’s a quiet satisfaction in running a hand across a print you smoothed yourself and feeling nothing but a clean, even surface.

About
Zevric Halden is a dedicated expert in the world of 3D printing, printer repair, and additive manufacturing, with years of hands-on experience troubleshooting, maintaining, and optimizing desktop 3D printers. His professional focus lies in combining practical mechanical knowledge with modern 3D printing technologies to help users solve printer problems, improve print quality, and keep their machines running reliably. As the author of 3DMend, Zevric explores the technical side of 3D printing, making complex printer issues easier to understand for makers, hobbyists, and professionals alike.
Education
Rochester Institute of Technology
(Rochester, New York, USA)
Associate Degree in Mechanical & Manufacturing Technology
- Focused on mechanical systems, manufacturing processes, machine maintenance, and precision tools.
- Developed practical experience with mechanical troubleshooting, electronic components, and computer-controlled equipment.
- Gained hands-on knowledge of CAD systems, rapid prototyping, and additive manufacturing technologies.
Worcester Polytechnic Institute
(Worcester, Massachusetts, USA)
Bachelor’s in Mechanical Engineering & Additive Manufacturing
- Specialized in digital fabrication, 3D printing systems, mechanical design, and manufacturing technologies.
- Studied printer calibration, motion systems, extrusion mechanisms, material behavior, and print optimization.
- Participated in practical engineering projects involving rapid prototyping, machine diagnostics, and 3D-printed components.
Publications and Impact
Through 3DMend, Zevric shares his expertise on 3D printer troubleshooting, maintenance, calibration, hardware repair, print-quality issues, and additive manufacturing. His writing focuses on turning frustrating printer problems into clear, practical solutions that readers can understand and apply.
From nozzle clogs and extrusion problems to bed-leveling issues, calibration errors, overheating, unusual noises, failed prints, and mechanical wear, Zevric’s guides are designed to help users identify the underlying cause rather than simply treating the symptoms.
His work bridges the gap between technical engineering knowledge and everyday 3D printing, making reliable repair and maintenance information accessible to everyone—from first-time 3D printer owners and hobbyists to experienced makers and professionals.