

You pull a PETG print off the bed, proud of how tough it feels, and then you notice the surface. Learning how to smooth PETG is a different beast than smoothing PLA, and anyone who’s tried both knows the frustration firsthand.
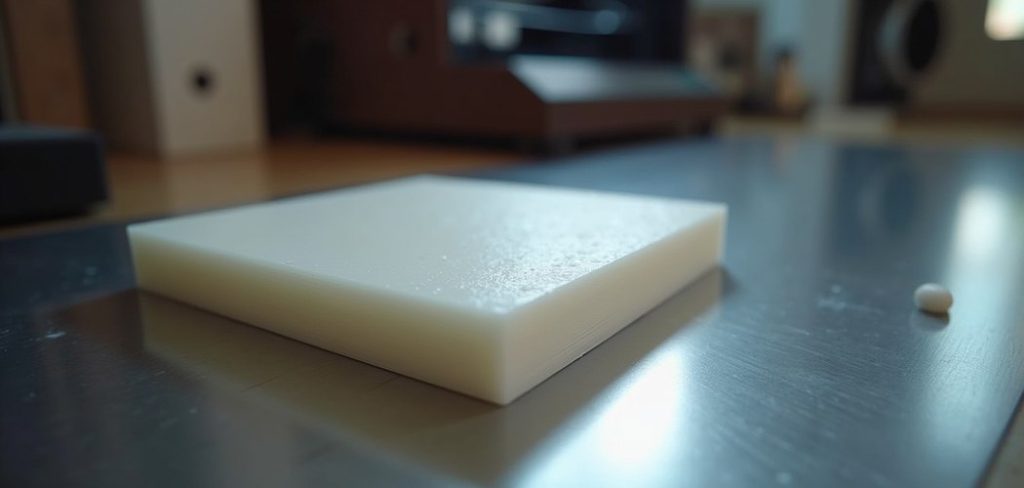
The layer lines cling stubbornly. There’s often a stringy haze clinging to the corners too.
Here’s the truth. PETG resists the easy tricks that work on other filaments, which throws a lot of people off.
But it can look genuinely great with the right approach. In this guide, I’ll cover why PETG fights back, the tools that actually help, and a step-by-step process to get a sleek, paint-ready finish.
Why Smoothing PETG Is So Challenging
Let’s start with the bad news, because it explains everything else. PETG behaves in ways that make finishing harder than you might expect.
Understanding the reasons helps you avoid wasted effort. Once you know what you’re up against, the workarounds make a lot more sense.
PETG Resists Common Chemical Smoothing
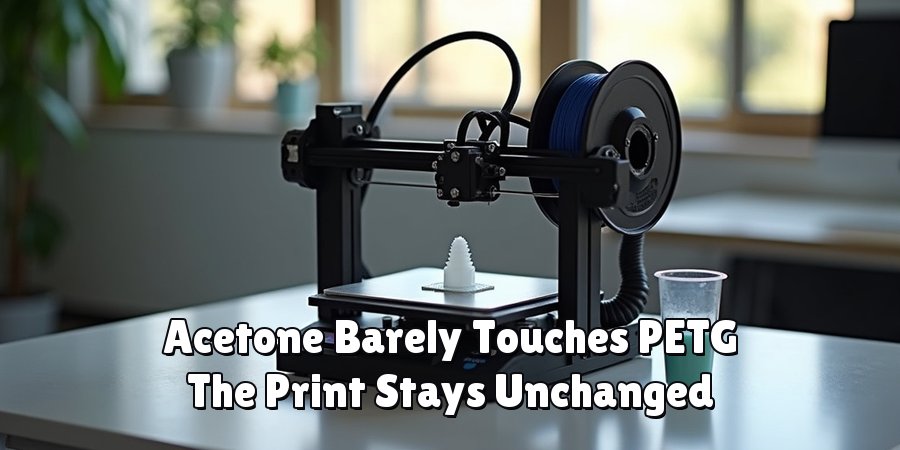
Here’s the first hurdle. Acetone, the go-to solvent for smoothing ABS, barely touches PETG.
You can soak a PETG print in acetone, and it’ll mostly just sit there, unchanged. That rules out the vapor smoothing method that makes ABS look effortless.
So the popular chemical shortcut simply isn’t on the table. That single fact reshapes how you have to approach the whole job.
A Softer, Gummier Surface When Sanding
PETG also sands differently, and not in a good way. It’s softer and more flexible than PLA, so it tends to gum up rather than powder cleanly.
Sand it dry, and the friction heats the surface. That heat softens the plastic, which then loads your sandpaper with sticky little clumps.
The result feels less like sanding and more like smearing. It’s manageable, but it demands a specific technique we’ll get to shortly.
Stringing and Surface Artifacts
Then there’s PETG’s famous tendency to string. Those thin wisps and small blobs leave extra texture scattered across the print.
Before any real smoothing can begin, you have to clean that mess up. Otherwise you’re just polishing around a bunch of bumps.
It’s an annoying extra step. But skipping it tends to guarantee a disappointing finish.
Understanding PETG Before You Start
A little knowledge up front saves you a lot of trial and error. PETG isn’t difficult, exactly. It’s just particular.
Knowing how it compares to other filaments, and what shapes its surface, helps you pick the right method with confidence.
How PETG Differs From PLA and ABS
PETG sits in an interesting middle ground. It blends decent strength with a bit of flexibility and strong chemical resistance.
That chemical resistance is a double-edged thing. It makes PETG durable and food-safe-ish for many uses, yet it’s exactly why solvents won’t smooth it.
Compared to PLA, PETG is tougher and more heat-tolerant. Compared to ABS, it’s easier to print but harder to finish. Every material trades something.
How Print Settings Affect Smoothness
How rough your print starts out depends heavily on your slicer. Layer height is the obvious factor, since finer layers mean shorter ridges to sand down.
Temperature and retraction matter just as much for PETG, though. Dialed-in retraction cuts the stringing that would otherwise create surface artifacts.
Get these settings right, and you’re finishing a cleaner canvas. It’s genuinely less work than fixing a stringy, ridged print after the fact.
Setting Realistic Expectations
I’ll be straight with you here. PETG can look excellent, but a flawless mirror finish takes real patience and layered techniques.
Don’t expect one quick sanding session to deliver glass. That’s not how this material works.
What you can reasonably achieve is a smooth, even, professional-looking surface. And with an epoxy coating on top, you may get remarkably close to that glossy ideal.
Tools and Materials You Will Need
Gathering everything first keeps you from stalling halfway through. The list isn’t long, and you probably own some of it already.
What you need shifts a little depending on which method you lean on. Here’s the practical rundown.
Sanding Supplies
Sanding is where most of the work happens, so start here. You’ll want wet/dry sandpaper across a range of grits, from coarse to fine.
A sanding block helps keep pressure even on flat faces. And a bowl of water is essential, not optional, since wet sanding is the trick that stops PETG from gumming up.
Heat Smoothing Gear
If you want to add gloss, a heat source comes into play. A heat gun works well, and some people use a small torch, though that’s riskier.
Grab heat-resistant gloves too. A stable, ventilated workspace rounds it out, because you’re melting plastic surfaces here, however lightly.
Coating and Finishing Products
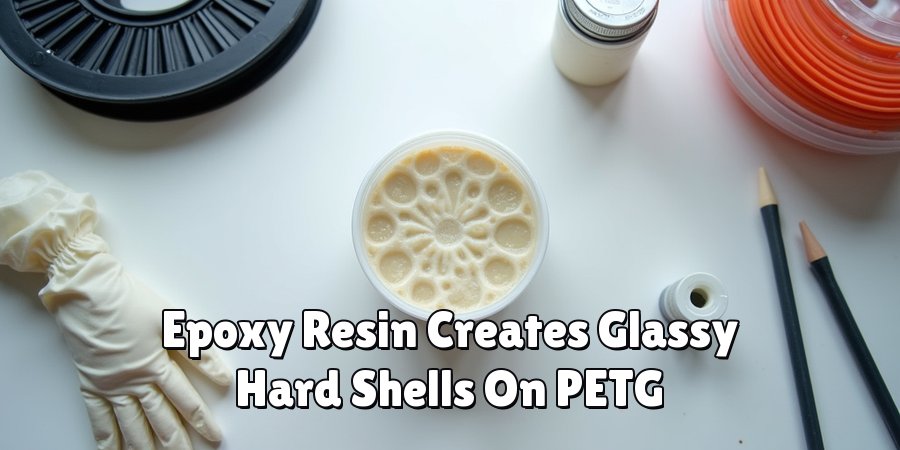
For that hard, glassy shell, epoxy resin is the star. PETG’s chemical resistance actually works in your favor here, since the epoxy bonds well without the plastic reacting oddly.
You’ll also want gloves, mixing tools, and filler primer if you plan to paint. Keep these ready if you’re chasing display-quality results rather than a quick tidy-up.
How to Smooth PETG: Step-by-Step Guide
Here’s the heart of it. Work through these steps in order, though not every print needs all of them. A quick wet sanding might suffice for one part, while a showpiece may earn the full treatment.
Take your time between stages, especially with curing. Rushing tends to undo careful work.
Step 1: Clean and Prep the Print
Start by getting the print ready. Remove supports, snip away any stray strings, and wipe the surface clean of dust and oils.
This step feels minor, but it sets the tone. A tidy starting point makes everything after it faster.
Leftover strings become bumps you’ll fight later. Clear them now while it’s easy.
Step 2: Start Sanding With Coarse Grit
Begin around 120 to 220 grit to knock down the worst layer lines. This is the pass that does the heavy lifting.
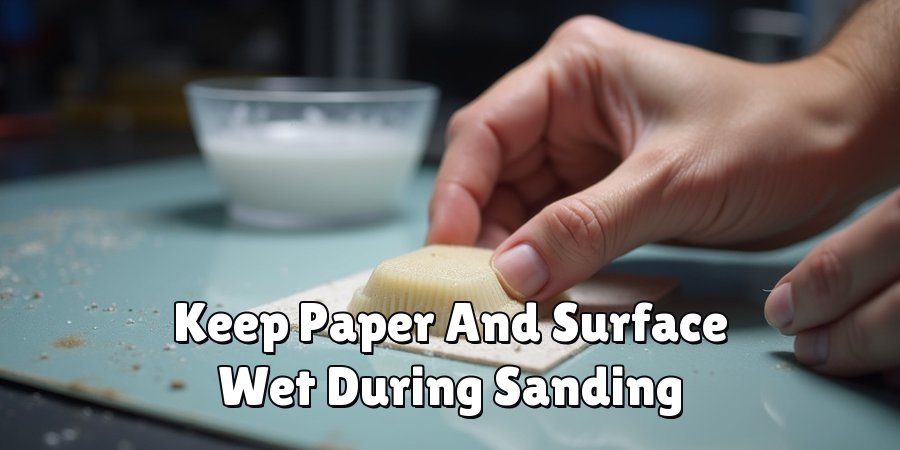
Here’s the critical part for PETG. Wet sand from the very start.
Keep the paper and surface wet, and the plastic won’t gum up or overheat. Dry sanding at this stage almost guarantees a sticky mess, so don’t skip the water.
Step 3: Progress Through Finer Grits
Now step up gradually. Move to 400, then 800, then higher if you want a truly refined surface.
Skipping grits is tempting and usually backfires. Each grit clears the scratches left by the last one.
Patient wet sanding produces a silky, even texture. It’s tedious, I won’t pretend otherwise, but this is where PETG starts looking properly finished.
Step 4: Try the Heat Gun Technique
For added gloss, a heat gun can help. Pass it gently and evenly across the surface from a safe distance, watching for a subtle sheen to appear.
Constant motion is everything here. Keep the gun moving, and use light exposure.
Linger too long and the surface warps or droops, taking your fine details with it. This method rewards a steady hand and punishes impatience.
Step 5: Apply an Epoxy Coating
For the smoothest results, mix and brush on a thin, even layer of epoxy resin. This fills the last stubborn lines that sanding couldn’t reach.
Go thin. A heavy coat drips and pools, creating new problems instead of solving old ones.
PETG’s chemical resistance makes this coating especially reliable, since the plastic won’t react with the resin. Let it cure fully before touching it again, tempting as an early check might be.
Step 6: Sand and Refine the Coating
Once the epoxy has cured, give it a light sanding. This levels any drips, high spots, or brush marks left behind.
The aim is to blend everything into one uniform surface. You’re not stripping the coating off, just smoothing it flush.
A gentle pass with fine grit usually handles it. Wet sanding still applies here for the cleanest result.
Step 7: Inspect, Seal, and Finish
Finally, examine the print under strong light. Angle it toward a lamp or window, since raking light exposes flaws you’d otherwise miss.
Touch up anything that needs it. Then apply paint or a clear sealer to lock in the smoothness.
Step back and take it in. That shift from a stringy, rigid print to a smooth, gleaming part is the whole reward.
Comparing the Best PETG Smoothing Methods
With the process laid out, you might wonder which method to lean on for a given project. Each has its place, and the right pick depends on the part and your patience.
Here’s how the three main approaches compare.
Sanding for Control and Versatility
Wet sanding is the reliable workhorse. It works on any PETG part and gives you precise, hands-on control over the outcome.
The trade-off is effort. It takes time and rewards patience above all.
For versatility, though, nothing else quite matches it. You can smooth almost anything with grit and water alone.
Heat Smoothing for Speed and Shine
A heat gun adds gloss quickly, which is its main appeal. Done well, it brings a shine that sanding alone struggles to reach.
But it demands a steady hand. Warping and drooping are real risks if you get careless.
I’d call this the higher-reward, higher-risk option. Practice on scrap before trusting it with a real print.
Epoxy Coating for a Durable, Glassy Finish
Epoxy fills lines and adds genuine strength, not just a smooth face. That combination makes it a favorite for display pieces and functional parts alike.
It’s more involved, with mixing and cure times to plan around. Still, for a glassy finish that survives handling, epoxy earns its spot.
Common Mistakes to Avoid
Everyone stumbles a little when they start finishing PETG. These are the missteps I see most, and each is easy to sidestep once you know it’s coming.
No judgment here. I’ve made all of them.
Sanding Dry and Overheating the Surface
This is the big one for PETG specifically. Dry sanding gums up your paper and softens the plastic almost immediately.
The friction generates heat, and heat is PETG’s enemy during sanding. Wet sanding solves it nearly every time.
So keep water in the picture from the first grit. It’s the single habit that makes PETG cooperate.
Holding the Heat Gun Too Close
The heat gun tempts people to speed things along by getting close. Resist that.
Excess heat warps geometry and melts detail into a blob. Distance and constant motion are what keep the surface glossy rather than ruined.
When in doubt, back off and slow down. You can always add more heat, but you can’t un-melt a droop.
Applying Epoxy Too Thick
More epoxy seems like it should mean better coverage. It doesn’t.
A thick coat drips, pools, and hides the detail you worked to preserve. It also cures unevenly.
Thin layers win. Build up gradually if you need more, rather than dumping it all on at once.
Tips for the Smoothest Possible PETG Finish
A few habits push a decent finish toward a great one. None are difficult, and they add up across projects.
Mostly, they’re about setting yourself up before the real work begins.
Print With Smoothing in Mind
The smoothest finishes start at the slicer. Lower layer heights, tuned retraction, and thoughtful orientation all reduce the roughness before you touch sandpaper.
It’s easy to just hit print and deal with the surface later. But a cleaner starting print means far less sanding, and much less stringing to clean up.
Work in Thin, Patient Layers
Whether it’s sanding, heat, or epoxy, gradual beats aggressive every time with PETG. Thin epoxy coats, brief heat passes, and steady sanding all outperform rushing.
This material seems to punish impatience more than most. Slow down, and it tends to reward you with a surface that actually looks intentional.
Test on a Scrap Print First
Before committing to a prized model, try your method on something disposable. A small scrap print costs you almost nothing.
You learn how PETG responds to the heat, how the epoxy flows, how much pressure the wet sanding needs. That practice builds confidence and spares you from wrecking a print you care about.
Frequently Asked Questions
A few questions come up again and again once people start finishing PETG. Here are honest answers.
Can You Use Acetone to Smooth PETG?
Not effectively, no. PETG resists acetone, so the vapor smoothing that works on ABS won’t do much here.
Stick with the reliable routes instead. Wet sanding, careful heat, and an epoxy coating are what actually deliver a smooth PETG surface.
Does a Heat Gun Really Work on PETG?
It can, with a light touch. Gentle, even heat may add a nice gloss to the surface.
The key is keeping the gun moving and at a safe distance. Hold it too close or too long, and you’ll warp the part rather than polish it.
How Long Does Smoothing PETG Take?
That depends on how far you take it. A light wet sanding might run just a few minutes.
A full multi-step finish, with sanding, heat, and epoxy cure times, can stretch across a day. Most of that is waiting rather than active work, so it feels less demanding than it sounds.
Conclusion
Figuring out how to smooth PETG takes a bit more patience than other filaments, but the payoff is real. Those strong, stringy prints can become polished pieces that look genuinely made.
The trick is respecting what PETG needs. Combine wet sanding, careful heat smoothing, and a protective coating, and the results speak for themselves.
Keep the key habits close. Sand wet, keep the heat gun moving, and build epoxy in thin layers.
So pick a small model and give it a try. Start simple, since the first attempt is really about learning how PETG responds under your hands. There’s a quiet satisfaction in running a finger across a smooth, gleaming part you finished yourself.

About
Zevric Halden is a dedicated expert in the world of 3D printing, printer repair, and additive manufacturing, with years of hands-on experience troubleshooting, maintaining, and optimizing desktop 3D printers. His professional focus lies in combining practical mechanical knowledge with modern 3D printing technologies to help users solve printer problems, improve print quality, and keep their machines running reliably. As the author of 3DMend, Zevric explores the technical side of 3D printing, making complex printer issues easier to understand for makers, hobbyists, and professionals alike.
Education
Rochester Institute of Technology
(Rochester, New York, USA)
Associate Degree in Mechanical & Manufacturing Technology
- Focused on mechanical systems, manufacturing processes, machine maintenance, and precision tools.
- Developed practical experience with mechanical troubleshooting, electronic components, and computer-controlled equipment.
- Gained hands-on knowledge of CAD systems, rapid prototyping, and additive manufacturing technologies.
Worcester Polytechnic Institute
(Worcester, Massachusetts, USA)
Bachelor’s in Mechanical Engineering & Additive Manufacturing
- Specialized in digital fabrication, 3D printing systems, mechanical design, and manufacturing technologies.
- Studied printer calibration, motion systems, extrusion mechanisms, material behavior, and print optimization.
- Participated in practical engineering projects involving rapid prototyping, machine diagnostics, and 3D-printed components.
Publications and Impact
Through 3DMend, Zevric shares his expertise on 3D printer troubleshooting, maintenance, calibration, hardware repair, print-quality issues, and additive manufacturing. His writing focuses on turning frustrating printer problems into clear, practical solutions that readers can understand and apply.
From nozzle clogs and extrusion problems to bed-leveling issues, calibration errors, overheating, unusual noises, failed prints, and mechanical wear, Zevric’s guides are designed to help users identify the underlying cause rather than simply treating the symptoms.
His work bridges the gap between technical engineering knowledge and everyday 3D printing, making reliable repair and maintenance information accessible to everyone—from first-time 3D printer owners and hobbyists to experienced makers and professionals.