

You finally found the perfect model, and then reality hits. It’s too big for your build plate, or maybe you want to hide magnets inside it. Learning how to split a 3D print in half solves both problems, and honestly, it’s easier than most beginners expect.
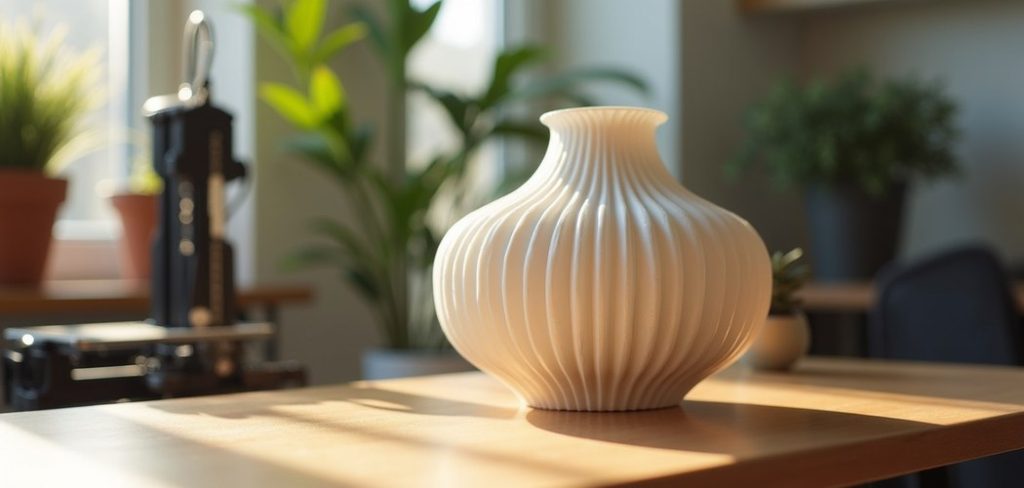
There’s a small thrill in it, too. Taking one ambitious object and breaking it into printable, manageable pieces feels a bit like solving a puzzle.
In this guide, I’ll walk you through why you might split a print, the different types of cuts you can make, and the exact steps to do it well. We’ll also cover reassembly, common mistakes, and a few questions people ask before they start. No advanced modeling background required.
Why You Might Need to Split a 3D Print
Splitting a model isn’t just a workaround for size limits, though that’s often the first reason people try it. There are several situations where cutting a print apart genuinely improves the result.
Once you understand the reasons, you start spotting opportunities everywhere. A tricky overhang here, a bulky base there.
Printing Models Larger Than Your Build Plate
This is the classic scenario. You want a helmet, a large vase, or a statue that dwarfs your printer’s bed.
Splitting lets you tackle the model one section at a time, then join the pieces later. Suddenly your compact printer can produce something far bigger than its footprint suggests.
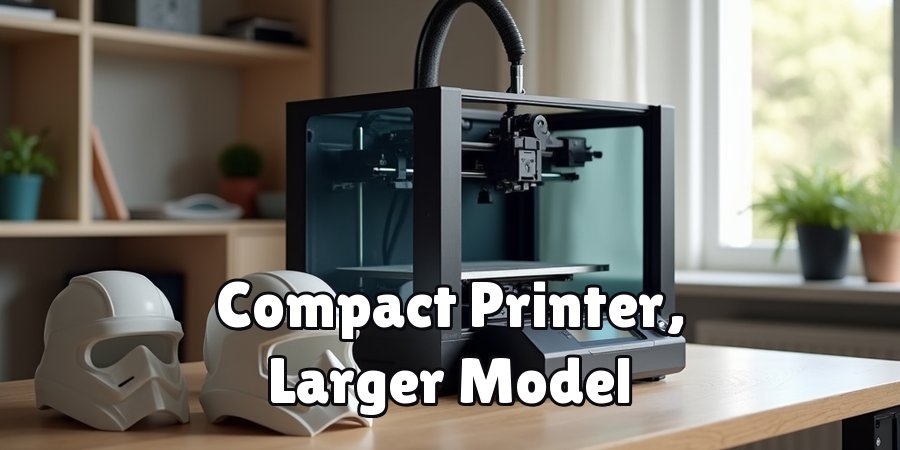
Reducing the Need for Supports
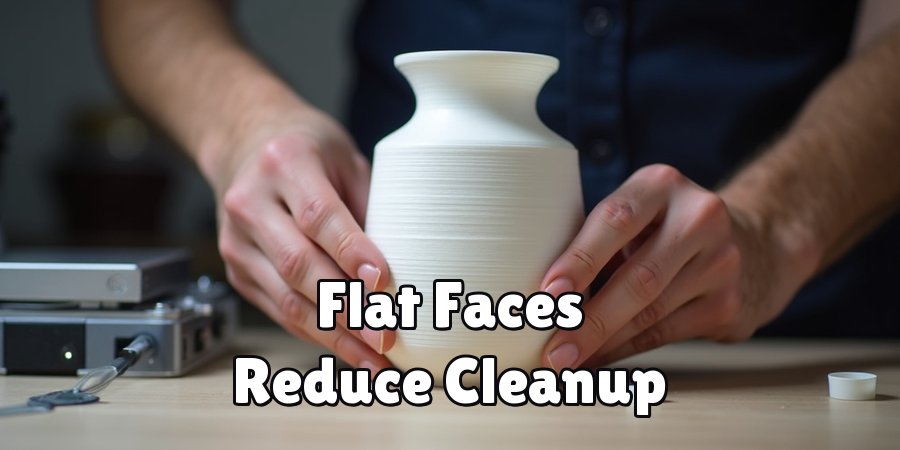
Here’s a benefit that surprises people. Cutting a model along the right plane can expose a flat surface that sits neatly on the bed.
That flat face often eliminates the messy overhangs that would otherwise demand supports. Less support material tends to mean less waste, less cleanup, and a smoother finish underneath.
Improving Print Quality and Detail
Every part of a model prints best in a particular orientation. When a piece is whole, you’re forced to compromise.
Splitting frees you from that trap. You can orient each half for the sharpest detail, hide the seam where nobody will notice it, and let fine features print upright instead of drooping across a bridge.
Creating Hollow or Multi-Part Designs
Some of the most creative uses have nothing to do with size at all. Splitting a print opens the door to hollow interiors and hidden compartments.
Think storage boxes, magnet mounts, or parts printed in different colors and snapped together. A single cut can turn a solid object into something with a secret inside.
Types of Splits You Can Make
Not every cut is created equal. The kind of split you choose depends on the model, the finish you want, and how much effort you’re willing to put into reassembly.
Knowing your options up front saves a lot of second-guessing later.
Simple Flat Cuts
This is where most people begin, and for good reason. A single straight slice through one axis is quick, predictable, and forgiving.
Flat cuts work well on symmetrical shapes and beginner projects. If you’re splitting a print for the first time, start here and build confidence before trying anything fancier.
Angled and Custom Plane Cuts
Sometimes a straight horizontal or vertical cut leaves the seam in an awkward spot. That’s where angled planes come in.
Tilting the cutting plane can tuck the seam out of sight or give a piece a better surface to rest on. It takes a little more thought, but the payoff in appearance is often worth it.
Interlocking or Keyed Splits
For a stronger, cleaner join, you can build alignment right into the cut. Pins, pegs, and puzzle-style joints all fall into this category.
These keyed splits help the halves line up perfectly and hold together during assembly. They add a step to your workflow, sure, but they tend to make the final result feel far more solid.
Tools and Software You Will Need
You probably already own most of what you need. Splitting a print leans more on software than on special equipment.
A few adhesives and alignment aids round out the kit for the physical side of things.
Slicer Software With Cut Features
Many popular slicers include built-in cutting tools, which is the simplest place to start. Cura, PrusaSlicer, and Bambu Studio all let you slice a model along a plane without any separate program.
For straightforward flat cuts, this is often all you’ll ever need. Open the model, position the plane, and split.
3D Modeling Programs for Advanced Splits
When you want more control, dedicated modeling software steps in. Blender, Meshmixer, and Fusion 360 give you the freedom to make custom cuts, add connectors, and repair meshes.
These programs have a steeper learning curve, no question. But if you plan to design interlocking joints or angled seams, the extra capability pays off quickly.
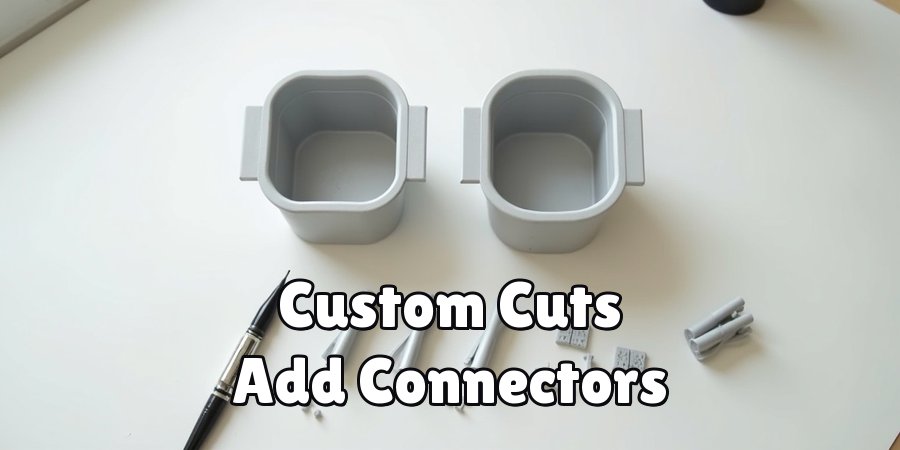
Adhesives and Alignment Aids
Once the halves are printed, you’ll need to join them. Super glue works fast for small parts, while epoxy holds up better under stress.
Dowels and magnets help with alignment and, in the case of magnets, let pieces come apart again. Keep a few on hand, since the right aid depends entirely on the project.
How to Split a 3D Print in Half: Step-by-Step Guide
Here’s the core of it. Work through these seven steps in order, and take your time with each one. The process is logical, but rushing tends to leave you with mismatched halves or an ugly seam.
Each step builds on the last, so nothing here should feel like a leap.
Step 1: Import Your Model Into the Software
Open your chosen slicer or modeling program and load the STL or 3MF file. Drag it in or use the import button, whichever feels natural.
Then position the model on the virtual bed so you can see it clearly from every angle. A good view now makes the cutting decision much easier in a moment.
Step 2: Choose the Right Cutting Plane
This is the step that shapes everything after it. Decide where to slice based on the print’s size, its support needs, and where a seam would be least noticeable.
A smart plane choice can save you hours. Aim for a spot that lands the seam on the back, the bottom, or a natural edge of the model.
Step 3: Apply the Cut
Now activate the cut or plane tool, position it precisely, and confirm the slice. The software separates the model into two distinct halves.
Take a second to look at both pieces. Make sure neither one hides a nasty overhang you missed, because it’s far cheaper to fix that here than after printing.
Step 4: Add Alignment Features
If your software allows it, insert pins, pegs, or connector holes at the cut face. These small additions guide the halves together during assembly.
They matter more than they seem. Alignment features keep the pieces from sliding out of place while glue sets, and they add real strength to the finished join.
Step 5: Orient Each Half for Printing
Rotate each piece so the flat cut face sits directly on the bed. This is where a lot of the quality benefit comes from.
A flat face on the plate usually means fewer supports and a cleaner joining surface. It also tends to give the seam a tighter, more even fit later on.
Step 6: Slice and Preview Both Halves
Slice each part and study the layer preview carefully. Check that supports look right and that no settings drifted where they shouldn’t.
A quick review here catches problems before they cost you filament and time. It’s a small habit, but one that saves plenty of frustration.
Step 7: Print and Verify the Fit
Print both halves, then dry-fit them together before you reach for any glue. Slide the pins into their holes and see how the pieces meet.
If the fit is snug and clean, wonderful. If not, a little sanding on the mating surface usually sorts it out, and there’s real satisfaction in that first perfect click.
Best Practices for Splitting 3D Prints
A few habits separate a decent split from an almost invisible one. None of them take much effort, and they compound nicely over time.
Think of these as the small refinements that make your future prints look professional.
Cut Along Flat, Natural Surfaces
Whenever you can, slice where the model already has a flat area. A cut placed along an existing edge hides the seam and simplifies the join.
This one trick does a lot of quiet work. It reduces cleanup, improves alignment, and keeps the visible surfaces looking intact.
Plan for Seam Placement
Give the seam some thought before you cut, not after. Positioning it on the back or underside keeps the display side of your model clean.
It’s easy to focus only on getting a printable shape. But a seam in the wrong spot can undo all your careful work on detail and finish.
Test With a Small Print First
If you’re splitting something large or complicated, a quick trial run is worth it. Scale the model way down and print a tiny version to confirm the fit.
This may feel like an extra chore. Yet catching a bad joint on a two-inch test beats discovering it after a twelve-hour print of the full piece.
How to Reassemble the Two Halves
Printing the pieces is only half the job, so to speak. Joining them cleanly is what turns two parts back into one convincing object.
The good news is that reassembly follows a simple, forgiving rhythm.
Dry-Fit Before Gluing
Always test the alignment before committing to adhesive. Press the halves together, check the seam, and confirm the pins seat properly.
Glue is permanent, or close to it. A dry fit lets you spot a problem while you can still fix it, rather than after everything has set crooked.
Choose the Right Adhesive
Match your adhesive to the material and the stress the part will face. Super glue suits small, low-stress joins and cures fast.
Epoxy handles bigger surfaces and heavier loads with more strength. For tougher jobs, plastic welding can fuse the plastic itself, which may hold better than any surface bond.
Sand and Finish the Seam
Once the glue has cured, turn your attention to the join line. Light sanding smooths any ridge where the halves meet.
For a truly seamless look, a bit of filler followed by primer and paint can hide the seam almost completely. It’s the finishing touch that separates a repair from a reproduction.
Common Mistakes to Avoid
Everyone stumbles a little when they start splitting prints. These are the missteps that show up most often, and each one is easy to sidestep once you know it’s coming.
No judgment here. I’ve made every one of these at least once.
Cutting in the Wrong Spot
A poorly placed cut can leave an obvious seam or a fragile, thin-walled joint. It’s tempting to slice wherever feels convenient.
Resist that. Take a moment to consider both appearance and strength before you confirm the plane, because moving the cut afterward means starting over.
Forgetting Alignment Pins
Skipping connectors seems harmless until the halves refuse to line up. Without pins, the pieces tend to slip and shift while you’re gluing.
The result is a crooked seam and a weaker bond. Adding even simple pegs makes assembly smoother and the final join noticeably sturdier.
Ignoring Print Orientation
Orienting the halves carelessly undoes much of the benefit of splitting in the first place. You end up with extra supports and weaker surfaces exactly where you didn’t want them.
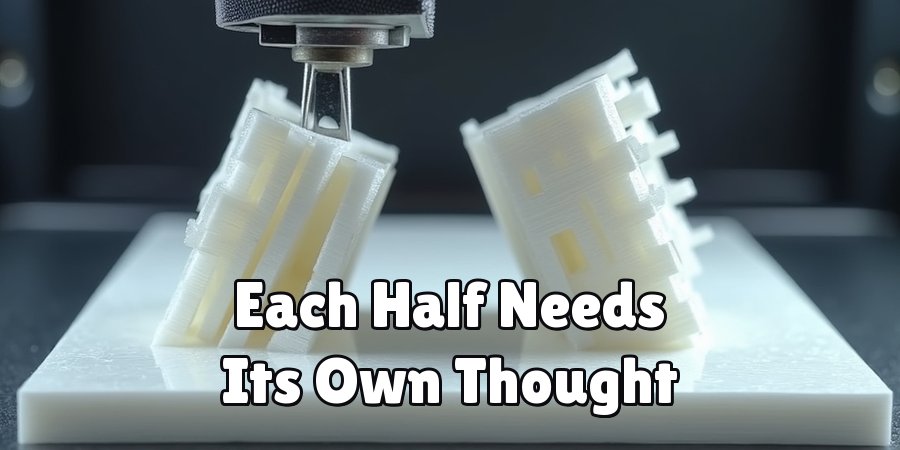
So give each piece its own thought. The whole point of splitting is often to print each half in its ideal position, and that only works if you take the time to set it up.
Frequently Asked Questions
A few questions come up again and again once people start splitting their models. Here are honest answers.
Can I Split Any 3D Model in Half?
In most cases, yes. The vast majority of models can be split without trouble.
That said, very complex or organic shapes may need extra planning to find a clean cutting plane. The more intricate the geometry, the more thought the split tends to require.
Will the Seam Be Visible After Gluing?
It depends on how much finishing you’re willing to do. A rough glue-up will leave a visible line.
But with careful cutting, patient sanding, and a little filler and paint, you can make the seam nearly invisible. Where you place the cut matters just as much as how you finish it.
What’s the Best Software for Splitting Prints?
For beginners, the cut tools built into slicers like Cura or PrusaSlicer are hard to beat. They’re simple and get the job done for most flat cuts.
More advanced users often reach for Meshmixer or Blender. Those programs offer custom planes, connectors, and repair tools that the basic slicers can’t match.
Conclusion
Learning how to split a 3D print in half unlocks a surprising amount of freedom. Bigger models, cleaner prints, hidden compartments, and multi-color builds all become possible, usually with tools you already own.
The process really does come down to a handful of moves. Choose a smart cutting plane, add alignment pins, orient each half thoughtfully, then join and finish the seam with care.
A few habits make all the difference. Dry-fit before you glue, plan where the seam will sit, and test a scaled-down version when the stakes are high.
So take that oversized model sitting in your print queue and give it a try. Start with something simple to build your confidence. There’s a genuine satisfaction in pressing two clean halves together and watching one finished, ambitious print come to life.

About
Zevric Halden is a dedicated expert in the world of 3D printing, printer repair, and additive manufacturing, with years of hands-on experience troubleshooting, maintaining, and optimizing desktop 3D printers. His professional focus lies in combining practical mechanical knowledge with modern 3D printing technologies to help users solve printer problems, improve print quality, and keep their machines running reliably. As the author of 3DMend, Zevric explores the technical side of 3D printing, making complex printer issues easier to understand for makers, hobbyists, and professionals alike.
Education
Rochester Institute of Technology
(Rochester, New York, USA)
Associate Degree in Mechanical & Manufacturing Technology
- Focused on mechanical systems, manufacturing processes, machine maintenance, and precision tools.
- Developed practical experience with mechanical troubleshooting, electronic components, and computer-controlled equipment.
- Gained hands-on knowledge of CAD systems, rapid prototyping, and additive manufacturing technologies.
Worcester Polytechnic Institute
(Worcester, Massachusetts, USA)
Bachelor’s in Mechanical Engineering & Additive Manufacturing
- Specialized in digital fabrication, 3D printing systems, mechanical design, and manufacturing technologies.
- Studied printer calibration, motion systems, extrusion mechanisms, material behavior, and print optimization.
- Participated in practical engineering projects involving rapid prototyping, machine diagnostics, and 3D-printed components.
Publications and Impact
Through 3DMend, Zevric shares his expertise on 3D printer troubleshooting, maintenance, calibration, hardware repair, print-quality issues, and additive manufacturing. His writing focuses on turning frustrating printer problems into clear, practical solutions that readers can understand and apply.
From nozzle clogs and extrusion problems to bed-leveling issues, calibration errors, overheating, unusual noises, failed prints, and mechanical wear, Zevric’s guides are designed to help users identify the underlying cause rather than simply treating the symptoms.
His work bridges the gap between technical engineering knowledge and everyday 3D printing, making reliable repair and maintenance information accessible to everyone—from first-time 3D printer owners and hobbyists to experienced makers and professionals.