

A clogged 3D printer nozzle is one of the most frustrating problems you’ll encounter as a maker—it stops your prints cold and leaves you troubleshooting instead of creating. The good news? You don’t need to be a technical expert to fix it. This guide walks you through everything you need to know, from safety precautions and the right tools to a clear step-by-step process for getting your printer back on track.
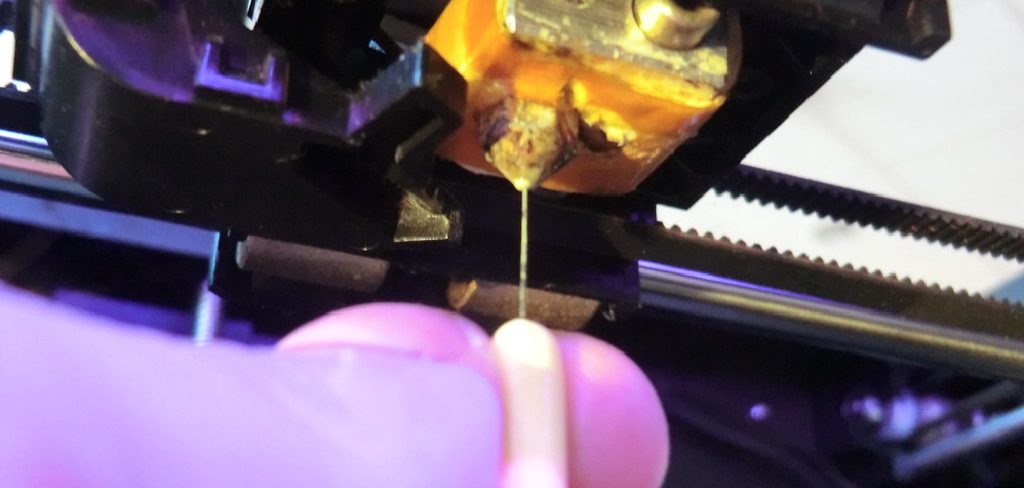
The method matters, too. Whether the clog is partial or completely blocking filament flow, rushing the process or reaching for the wrong tools can permanently damage your nozzle—turning a minor inconvenience into a costly repair. Read through this guide on how to unclog 3d printer nozzle carefully before you begin, and you’ll have your printer running smoothly again in no time.
Safety Precautions
Before attempting any maintenance on your 3D printer, safety comes first. The nozzle reaches extremely high temperatures during operation—often exceeding 200°C (392°F)—which means burns are a real risk if you handle the printer carelessly. Always allow the printer to cool down before touching any metal components, unless a specific step requires the nozzle to be heated.
Your workspace matters, too. Heating filament can release fumes, some of which may be harmful with prolonged exposure. Keep flammable materials away from the printer, wear heat-resistant gloves when handling hot components, and never leave the printer unattended while it’s heating up. These aren’t just precautions for beginners—even experienced makers skip them at their peril.
Tools and Materials Needed
Having the right tools on hand before you start makes the entire process faster and far less stressful. Here’s what you’ll need:
Heat-Resistant Gloves
Protect your hands from the high temperatures of the nozzle and heated bed throughout the cleaning process.
Needle-Nose Pliers
Used to grip and remove stubborn filament residue, or to hold the nozzle steady during maintenance.
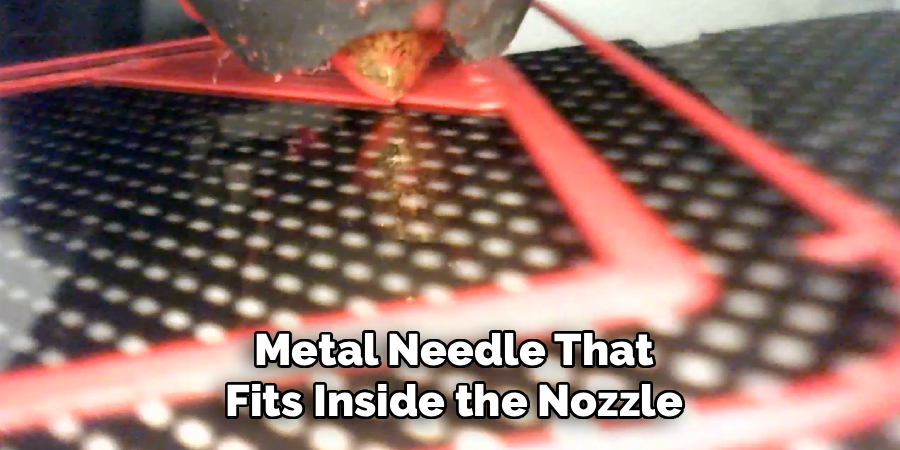
Acupuncture Needle or Nozzle Cleaning Needle
A thin metal needle that fits inside the nozzle opening to physically break up and dislodge blockages.
Brass Wire Brush
Ideal for gently scrubbing the exterior of the nozzle to remove burnt filament buildup without scratching the metal.
Replacement Filament
Fresh filament is needed to perform the cold pull technique and to test the nozzle after cleaning.
Isopropyl Alcohol (90% or Higher)
Used to clean the nozzle and surrounding components, dissolving oil and residue that can contribute to future clogs.
Wrench or Socket Set
Required to remove the nozzle from the printer if a deep clean or replacement becomes necessary.
7 Simple Steps on How to Unclog 3d Printer Nozzle
Step 1: Heat the Nozzle to Printing Temperature
Start by heating the nozzle to the standard printing temperature for whichever filament is currently loaded. For PLA, that’s typically around 200°C; for ABS, aim for 230°C. Heating the nozzle softens the clogged material inside, making it far easier to remove. Never attempt to pull or push filament through a cold nozzle—doing so can worsen the blockage or cause permanent damage.
Step 2: Manually Push Filament Through the Nozzle
Once the nozzle reaches printing temperature, try manually feeding filament through the extruder. Push it firmly but gently—you’re trying to force the softened clog out through the nozzle tip. If filament comes out, even in small, inconsistent amounts, that’s a good sign. If nothing moves, don’t force it. Move on to the next step to loosen the blockage before trying again.
Step 3: Use a Cleaning Needle to Break Up the Clog
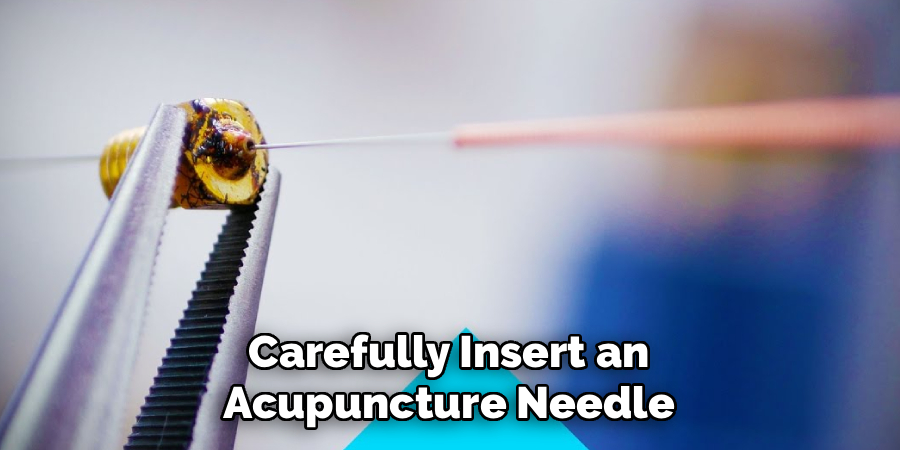
With the nozzle still at printing temperature, carefully insert an acupuncture needle or nozzle cleaning needle into the nozzle tip. Move it in and out gently—slight circular motions work well—to break apart the clogged material. This step tends to be particularly effective for partial blockages where filament is still moving, just inconsistently. Keep your heat-resistant gloves on throughout. The nozzle is hot enough to cause a serious burn in under a second.
Step 4: Perform the Cold Pull Technique
The cold pull—sometimes called the atomic pull—is widely regarded as one of the most reliable methods for clearing stubborn clogs, and for good reason. Heat the nozzle to printing temperature, push a length of filament through manually, then let the nozzle cool to around 90°C for PLA or 110°C for ABS. Once it reaches that temperature, pull the filament out in one smooth, steady motion. The filament should pull debris and residue out with it. Repeat this process two to three times until the pulled filament comes out clean and smooth.
Step 5: Clean the Exterior of the Nozzle
After clearing the internal blockage, use a brass wire brush to clean the outside of the nozzle while it’s still warm. Burnt filament accumulates on the nozzle tip over time and can quietly degrade print quality. Brush gently in short strokes to avoid scratching the surface. One thing worth flagging here: steel brushes are a bad idea. They can scratch brass nozzles and leave behind metal particles that contaminate future prints.
Step 6: Flush the Nozzle with Cleaning Filament
Once the clog has been removed, flush the nozzle with a dedicated cleaning filament—or a neutral-colored PLA—to purge any remaining residue. Heat the nozzle to printing temperature and extrude around 100–150mm of cleaning filament. This step clears out any debris that the cold pull may have missed and ensures the nozzle is fully clean before you resume normal printing. Check that the filament exits in a clean, consistent stream rather than curling or sputtering.
Step 7: Test Print and Check Extrusion
Run a simple test print—a calibration cube or a first-layer adhesion test both work well—to confirm the nozzle is extruding correctly. Watch for signs of under-extrusion, gaps in the layers, or inconsistent flow. Any of these could indicate the clog hasn’t been fully cleared. If the print looks clean and consistent, you’re good to go. If issues persist, repeat the cold pull technique or consider replacing the nozzle entirely.
Following these steps on how to unclog 3d printer nozzle, you should be able to successfully clear any clogs and get back to printing high-quality models.
When to Replace the Nozzle?
Sometimes, cleaning simply isn’t enough. If you’ve worked through the steps above multiple times and the printer is still under-extruding or producing poor-quality prints, the nozzle may be worn out or damaged beyond what any cleaning method can fix.
Brass nozzles—the most common type—tend to degrade after prolonged use, and the process accelerates when printing with abrasive filaments like glow-in-the-dark PLA, carbon fiber, or metal-infused materials. These filaments essentially sand down the nozzle opening from the inside, widening it gradually until print precision suffers.
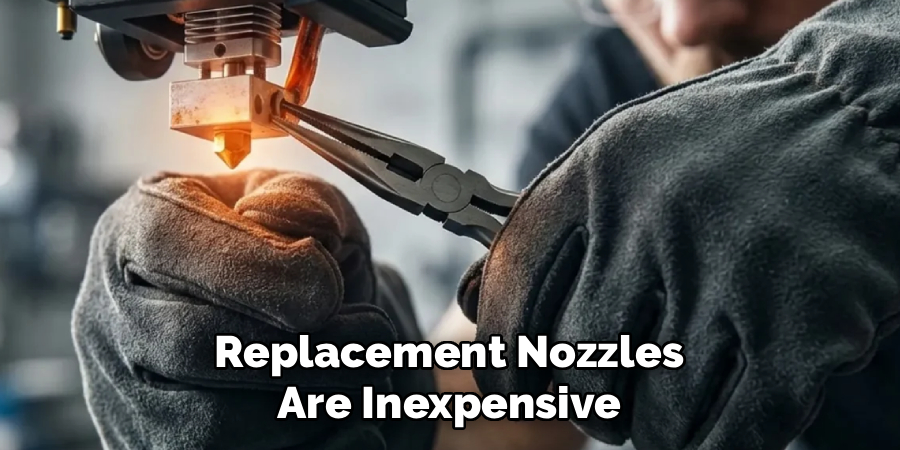
Signs that replacement may be the right call include a visibly enlarged or deformed nozzle tip, clogs that return almost immediately after cleaning, and a consistent drop in print quality that no amount of maintenance seems to resolve. Replacement nozzles are inexpensive and widely available. If you regularly print with abrasive materials, upgrading to a hardened steel nozzle could be worth the investment.
Common Mistakes to Avoid
Most nozzle-cleaning mistakes come down to impatience. Trying to remove filament from a cold nozzle, using excessive force, or skipping the cold pull technique are all errors that can worsen a clog or crack the nozzle outright. Early warning signs—slight under-extrusion, inconsistent flow—are easy to dismiss, but they’re your printer signaling that a clog is developing before it becomes a full blockage. Catching it early is always easier than dealing with it later.
The other frequent error is using the wrong tools. Steel brushes and oversized needles can scratch or widen the nozzle opening, affecting print precision in ways that are difficult to detect until print quality starts to suffer noticeably. Stick to the tools outlined in this guide, take your time with each step, and let the printer heat up fully before beginning. A little patience goes a long way in preserving your equipment.
Frequently Asked Questions
How Do I Know If My 3D Printer Nozzle Is Clogged?
The most common signs include filament not extruding during a print, inconsistent or “stringy” extrusion, gaps or missing layers, and clicking or grinding sounds from the extruder motor. If your printer appears to be struggling to push filament through at the correct rate, a partial or full clog is the most likely cause.
How Often Should I Clean My 3D Printer Nozzle?
As a general rule, a basic nozzle check and cleaning every 200–300 hours of printing—or whenever print quality changes noticeably—is a reasonable approach. If you switch between filament types frequently, particularly between materials with significantly different printing temperatures, cleaning the nozzle between swaps may help prevent contamination and reduce the likelihood of clogs building up over time.
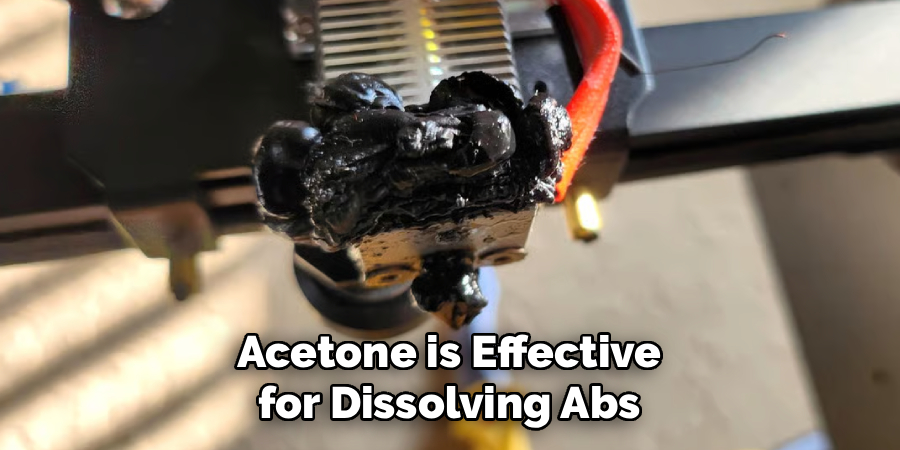
Can I Use Acetone to Clean a 3D Printer Nozzle?
Acetone is effective for dissolving ABS filament and can be used to soak a removed nozzle overnight to break down stubborn buildup. That said, it appears to have little effect on PLA or PETG, so it’s not a universal solution. Always remove the nozzle from the printer before soaking it, and ensure it’s completely dry before reinstalling. Using acetone directly on a mounted nozzle is not recommended.
Get Back to Printing
Unclogging a 3D printer nozzle is a straightforward process once you know the right steps and have the proper tools ready. From heating the nozzle correctly to performing a thorough cold pull, each step plays a specific role in clearing the blockage without causing further damage to your printer.
That said, the best clog is one that never forms. Regular maintenance, quality filament, and attention to early warning signs will keep most clogs from developing in the first place. Keep this guide bookmarked for the next time your printer acts up—and get back to creating without the frustration. Thanks for reading this guide on how to unclog 3d printer nozzle.

About
Zevric Halden is a dedicated expert in the world of 3D printing, printer repair, and additive manufacturing, with years of hands-on experience troubleshooting, maintaining, and optimizing desktop 3D printers. His professional focus lies in combining practical mechanical knowledge with modern 3D printing technologies to help users solve printer problems, improve print quality, and keep their machines running reliably. As the author of 3DMend, Zevric explores the technical side of 3D printing, making complex printer issues easier to understand for makers, hobbyists, and professionals alike.
Education
Rochester Institute of Technology
(Rochester, New York, USA)
Associate Degree in Mechanical & Manufacturing Technology
- Focused on mechanical systems, manufacturing processes, machine maintenance, and precision tools.
- Developed practical experience with mechanical troubleshooting, electronic components, and computer-controlled equipment.
- Gained hands-on knowledge of CAD systems, rapid prototyping, and additive manufacturing technologies.
Worcester Polytechnic Institute
(Worcester, Massachusetts, USA)
Bachelor’s in Mechanical Engineering & Additive Manufacturing
- Specialized in digital fabrication, 3D printing systems, mechanical design, and manufacturing technologies.
- Studied printer calibration, motion systems, extrusion mechanisms, material behavior, and print optimization.
- Participated in practical engineering projects involving rapid prototyping, machine diagnostics, and 3D-printed components.
Publications and Impact
Through 3DMend, Zevric shares his expertise on 3D printer troubleshooting, maintenance, calibration, hardware repair, print-quality issues, and additive manufacturing. His writing focuses on turning frustrating printer problems into clear, practical solutions that readers can understand and apply.
From nozzle clogs and extrusion problems to bed-leveling issues, calibration errors, overheating, unusual noises, failed prints, and mechanical wear, Zevric’s guides are designed to help users identify the underlying cause rather than simply treating the symptoms.
His work bridges the gap between technical engineering knowledge and everyday 3D printing, making reliable repair and maintenance information accessible to everyone—from first-time 3D printer owners and hobbyists to experienced makers and professionals.